Windows 11 - Where is Everything?
With Microsoft’s recent release of Windows 11, they’ve moved many things around and have done a lot of front-end and back-end remodeling. Gone are the days of barebones control panel and having everything in one place. Now you have to navigate extensively and search for what you want to find.
The topics we’ll be addressing today is how to find your display settings in Windows 11, how to access them, and how to edit them to best suit your needs. Are you feeling lost and confused? You won’t be at the end of this tutorial!

Where do I Find Settings?
There are two different initial ways to access the display settings, and this section will cover both.
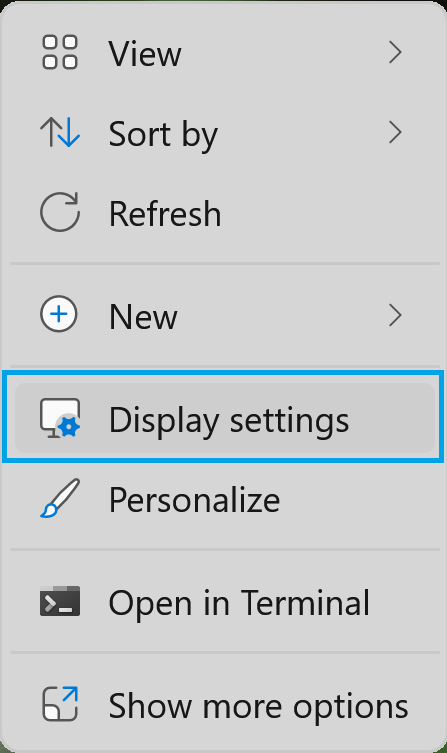
Right Click Approach
1.) Right-click your desktop and select Display Settings.
Search Bar Approach
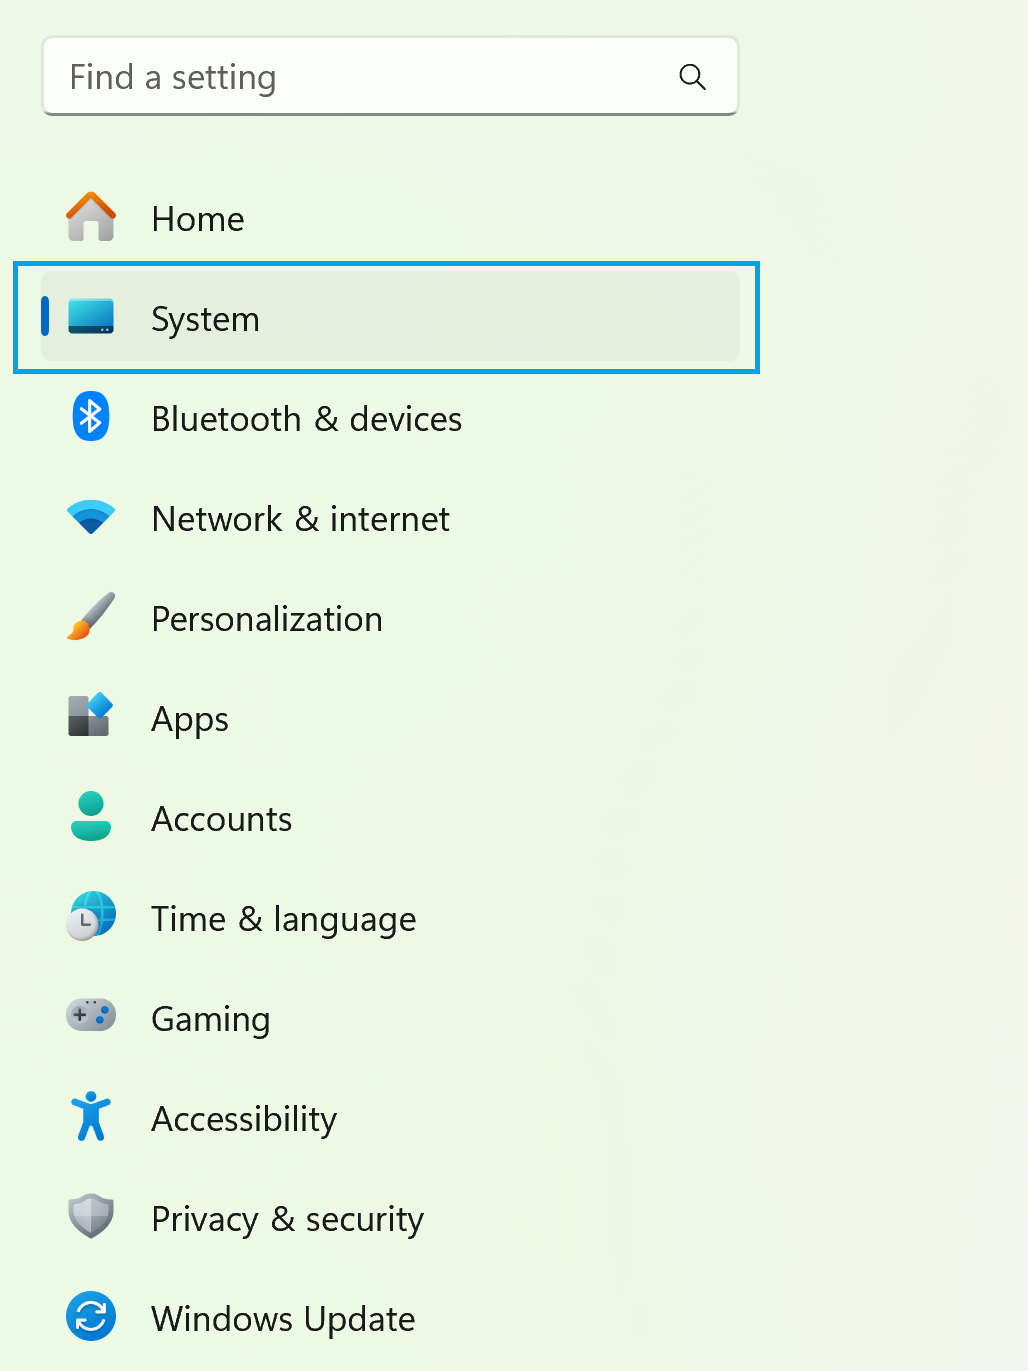
1.) In your search bar at the bottom of your screen type in settings.

2.) Select system in your menu list.
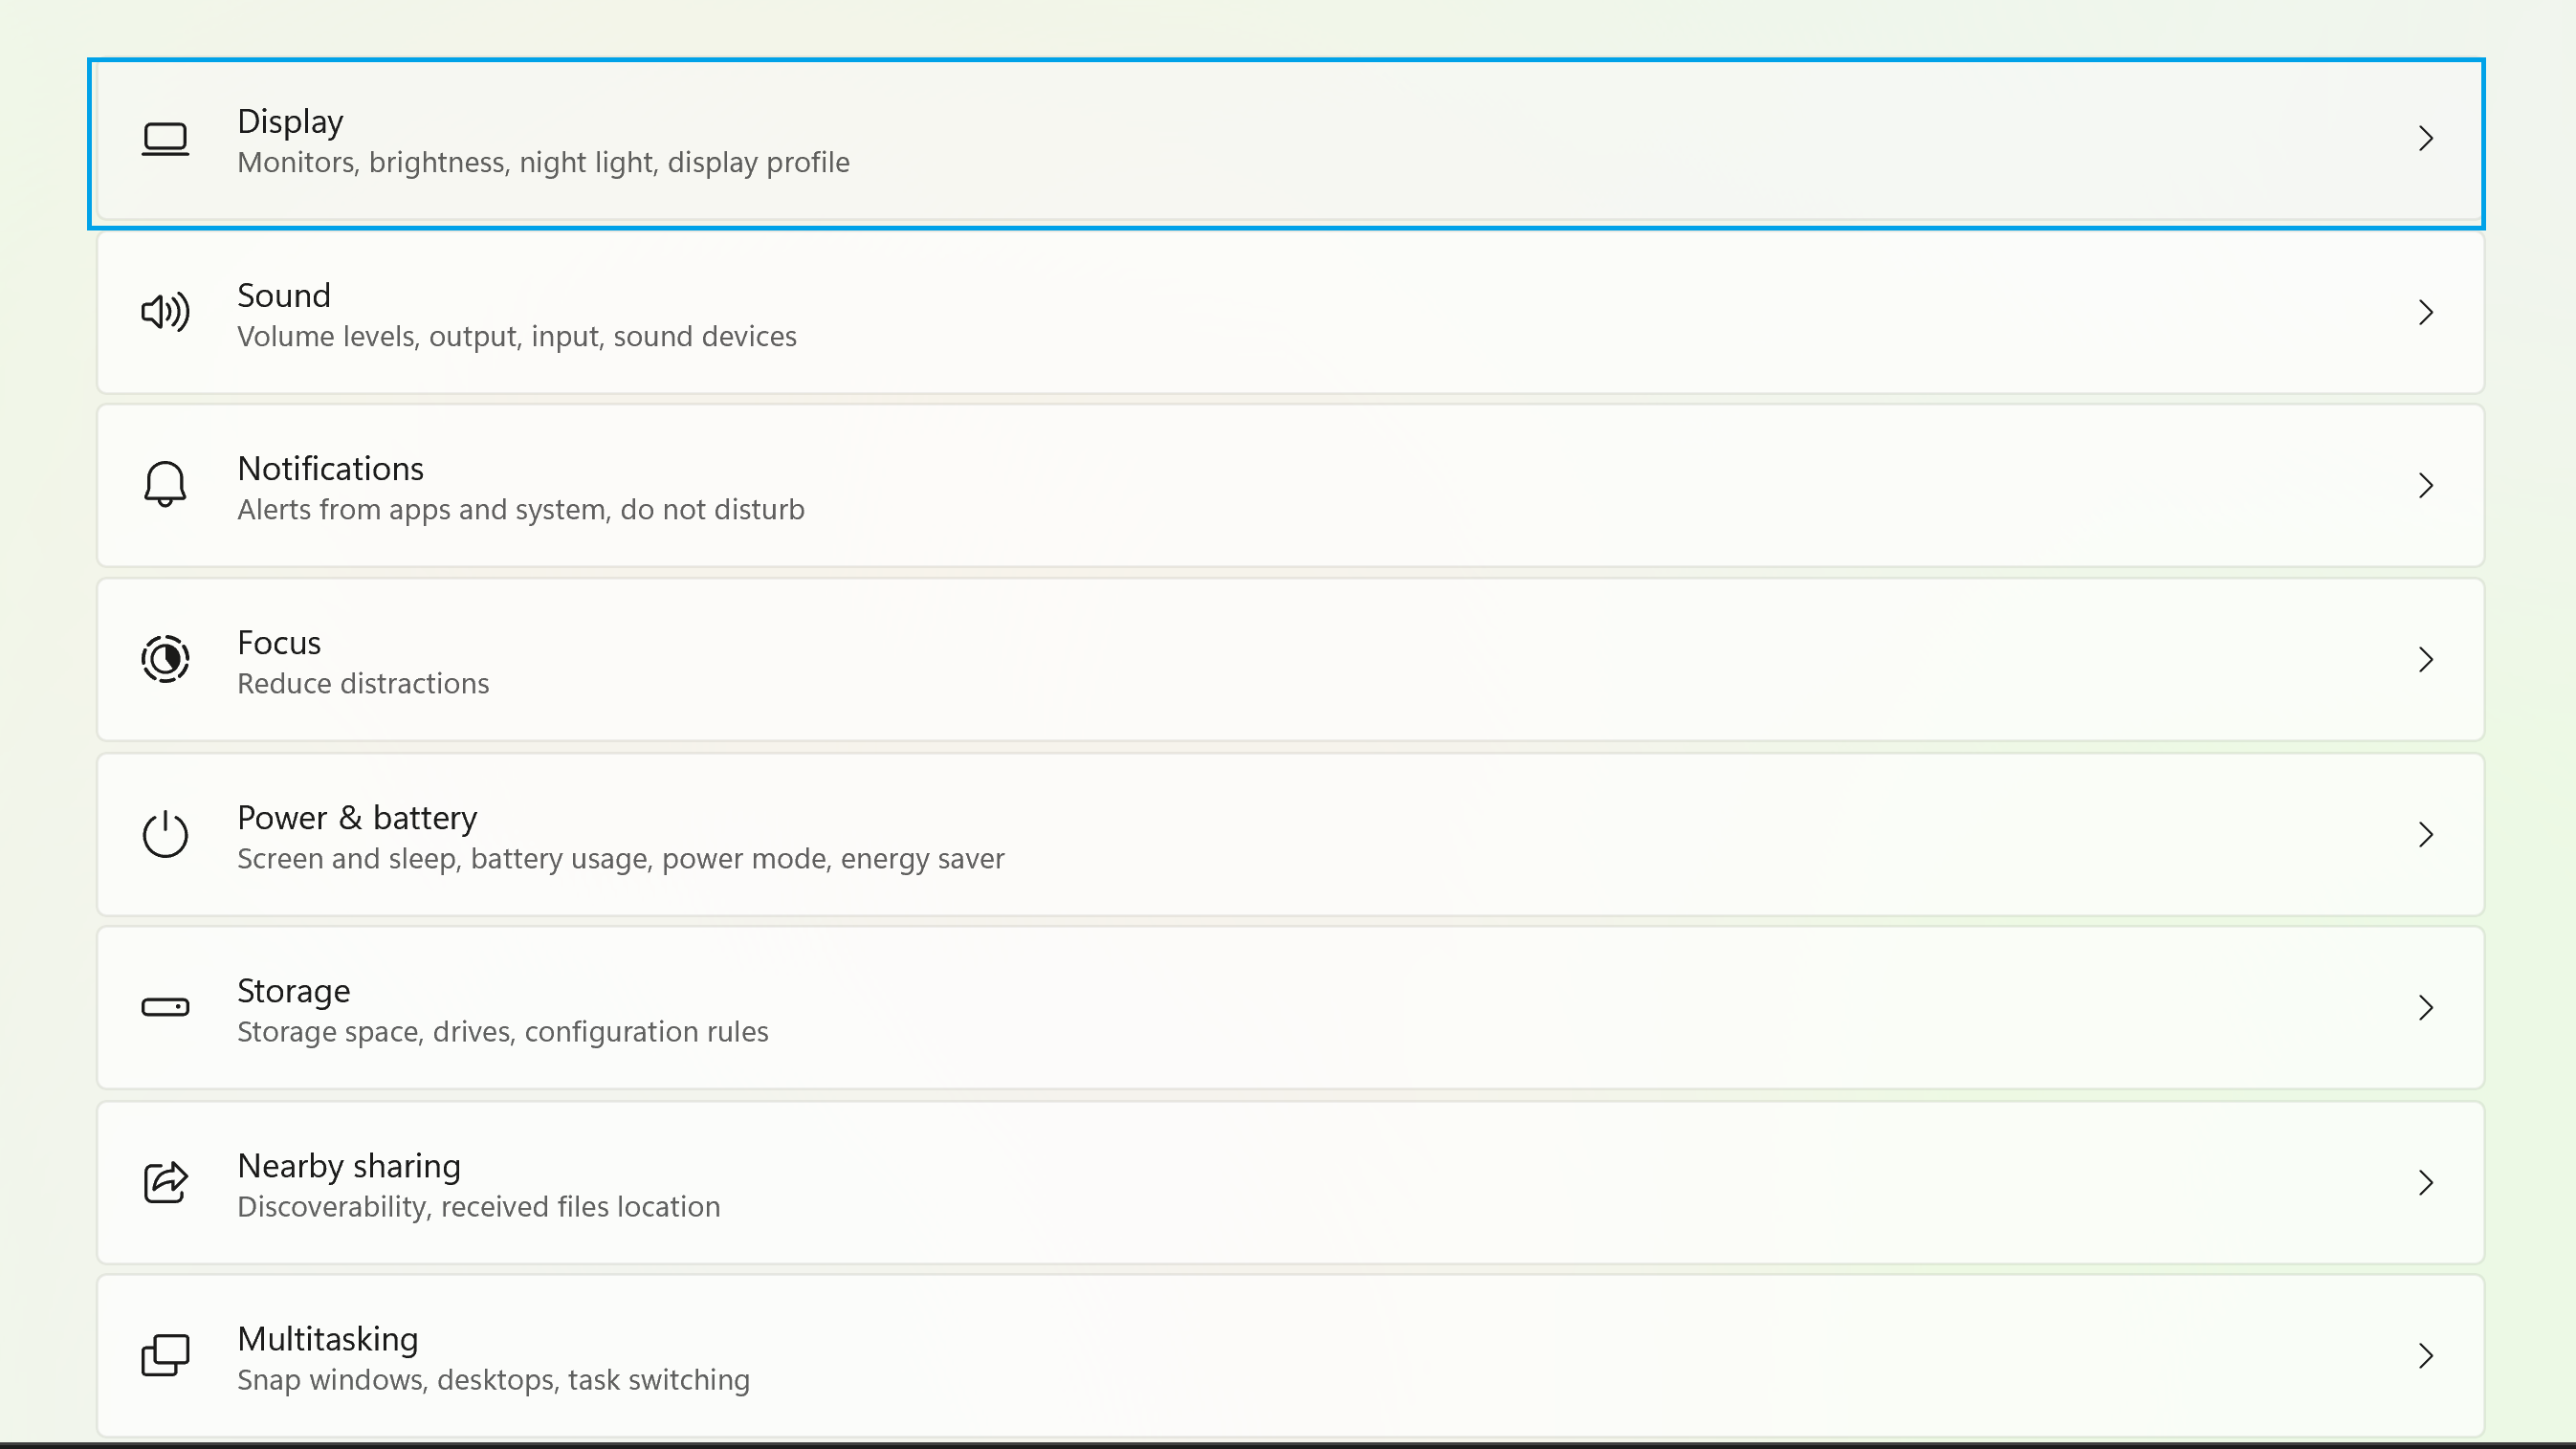
3.) Select Display in your menu list.
The Brightness Bar
The brightness option allows you to edit the brightness levels of your monitor so you either make it very dark, very bright, or just right. It allows the option to prevent temporary blindness and to avoid light mode at all costs.
1.) Select the brightness slider and drag it to adjust it to your desired brightness level.

The Night Light
The night light option allows you to enable warmer colors on your display to block blue light. This allows for an experience that’s easier on the eyes if you’re working late into the night.
1.) Toggle the button to On to enable night light or Off option to disable it.

The Scale
The scale option allows you to customize the UI font size for your system. You can either make it smaller or larger based on your needs. However, it’s suggested you pick the recommended option to provide a balanced experience that’s enjoyable.
1.) Click the box and select what scale percentage you would prefer.

Display Resolution
The display resolution option gives you the ability to adjust the resolution for your connected display. It provides a broad list of options to choose from to customize your viewing experience.
1.) Click the box and select what resolution you would prefer.

Display Orientation
The display orientation option allows you to customize your desktop with options such as landscape, portrait, landscape (flipped), and portrait (flipped). This allows you to change the direction of your digital display. For example, if you take a picture with a camera, you can either line up so that it’s horizontal or vertical. This affects the outcome and you’ll have a different size photo.
1.) Select the box and pick which option you would like to switch based on your preference.

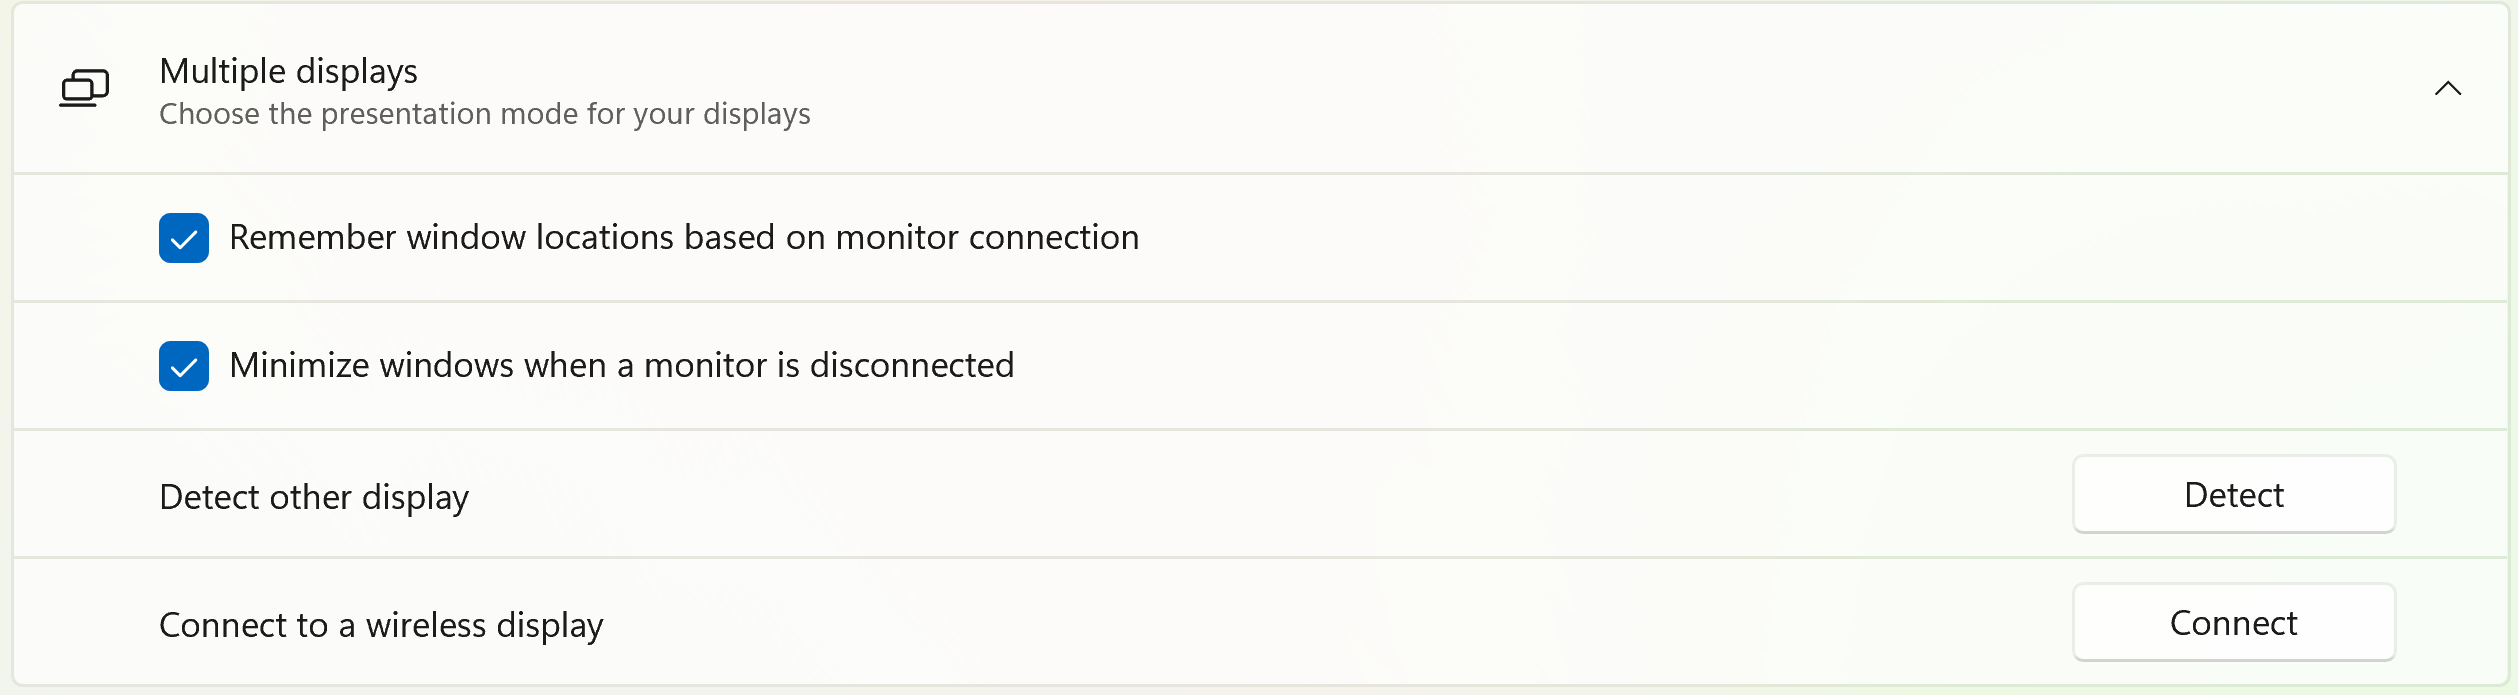
Multiple Displays
The multiple displays option allows you to change the presentation mode for your displays, detect new displays, and connect to wireless displays. This makes it easier to connect multiple monitors and allows you to customize them with ease.
Mission Accomplished
Congratulations! You have successfully accessed the display settings tab in Windows 11 and customized the settings according to your taste! We’ve looked at how to change brightness, resolution, scale, and more. The display settings options provide a vast toolbox that you can experiment and truly create a unique experience that caters to you. Explore the settings tab and continue to experiment to find out what else you can do with Windows 11. Thanks for following along and I hope you enjoyed the tutorial.
