Windows 11 - I Can Change My Text?
Have you ever felt that the text in Windows 11 is bland, boring, and needs a little spice? Have you thought that the on-screen keyboard needs a little TLC? If yes, Windows gives you the option to change these options and create the visual experience you desire. The opportunities aren’t endless, but they do give you a wide variety that allow you to customize the UI to different colors so it’s not just gray or black.
The topics we’ll be addressing today are how to find your text input settings in Windows 11, how to access them, and how to edit them to create your own unique visual experience. You might be a bit confused now, but at the end of the tutorial, you’ll be able to turn Windows 11 into something that you truly enjoy. Let’s get started!

Where do I Find Settings?
The most important step in changing your text settings is knowing how to get there. Windows 11 has a habit of moving what we’re used to into different categories. Now we practically need a map to navigate this digital forest!
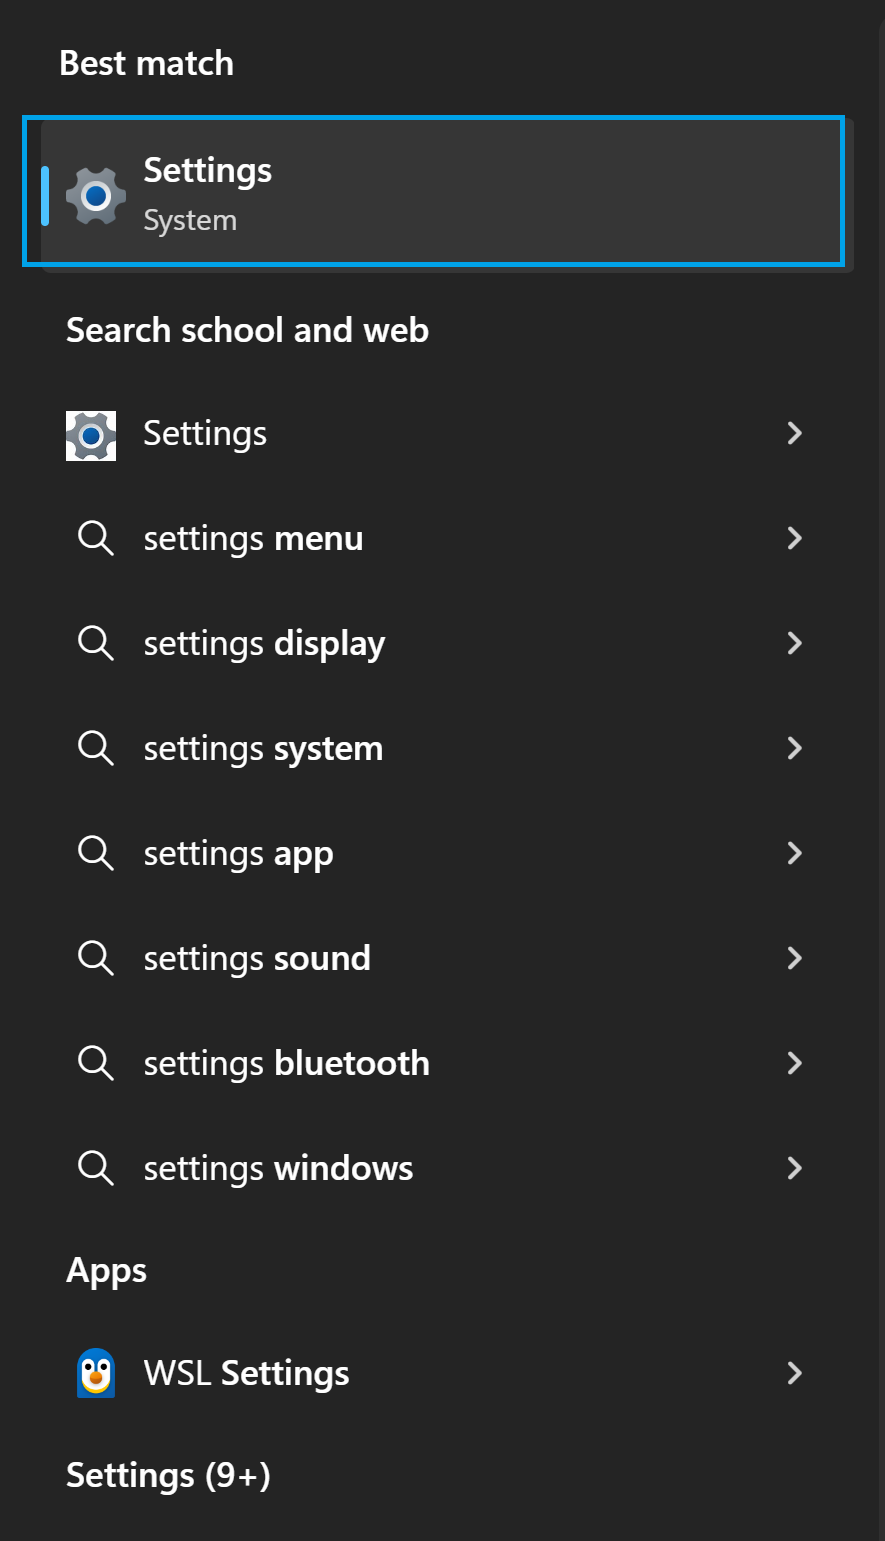
1.) In your search bar at the bottom of your screen type in settings.

2.) In the menu that pops up select settings.
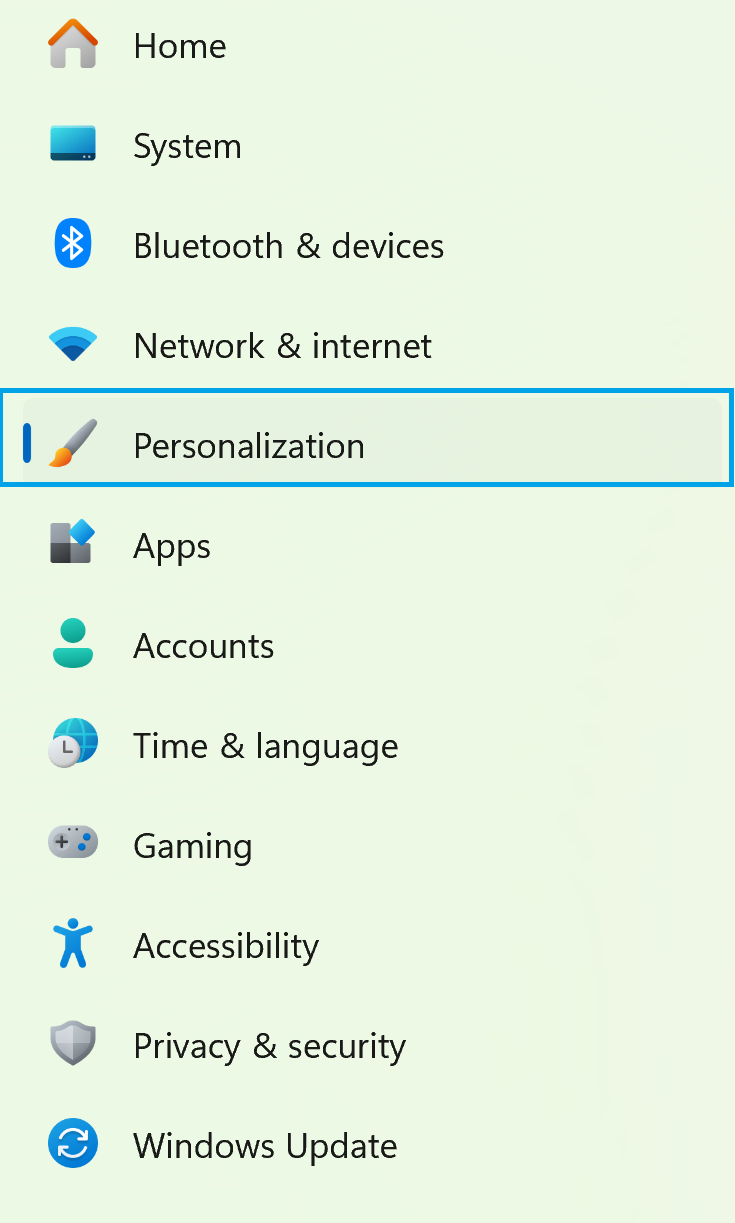
3.) Select Personalization in the menu that shows up.
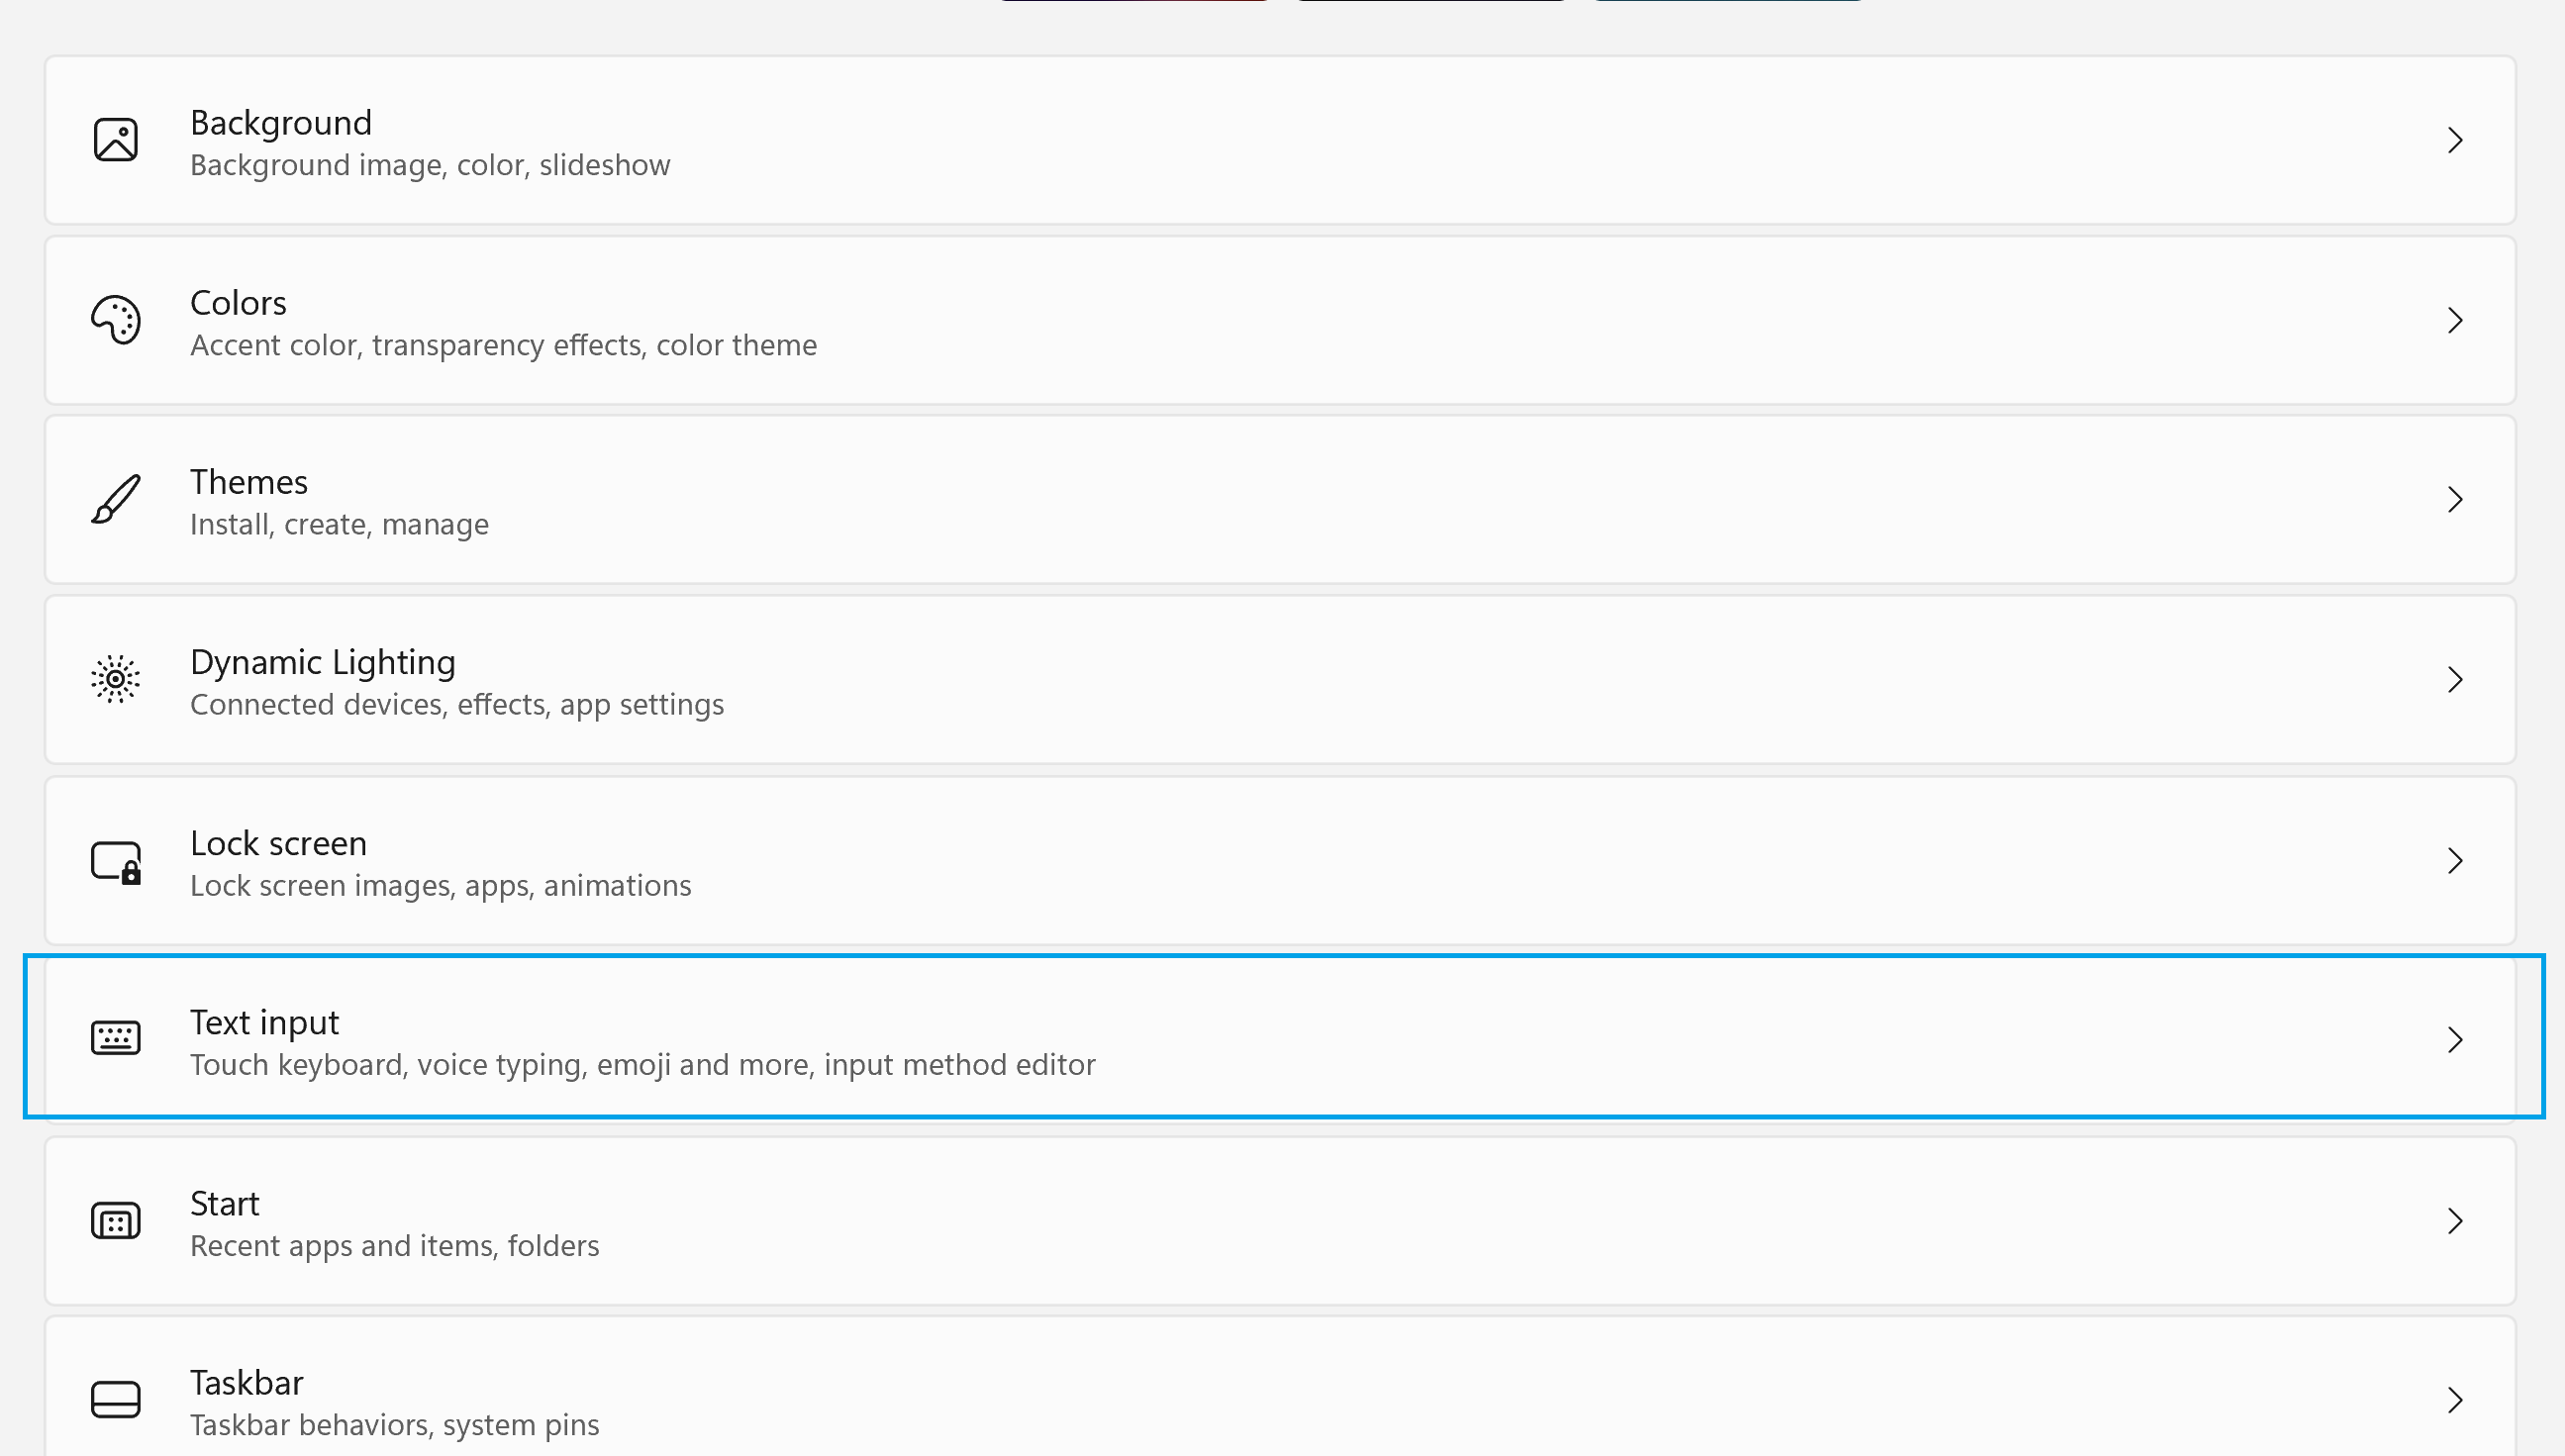
4.) You’ll see a large menu, select Text Input to proceed.
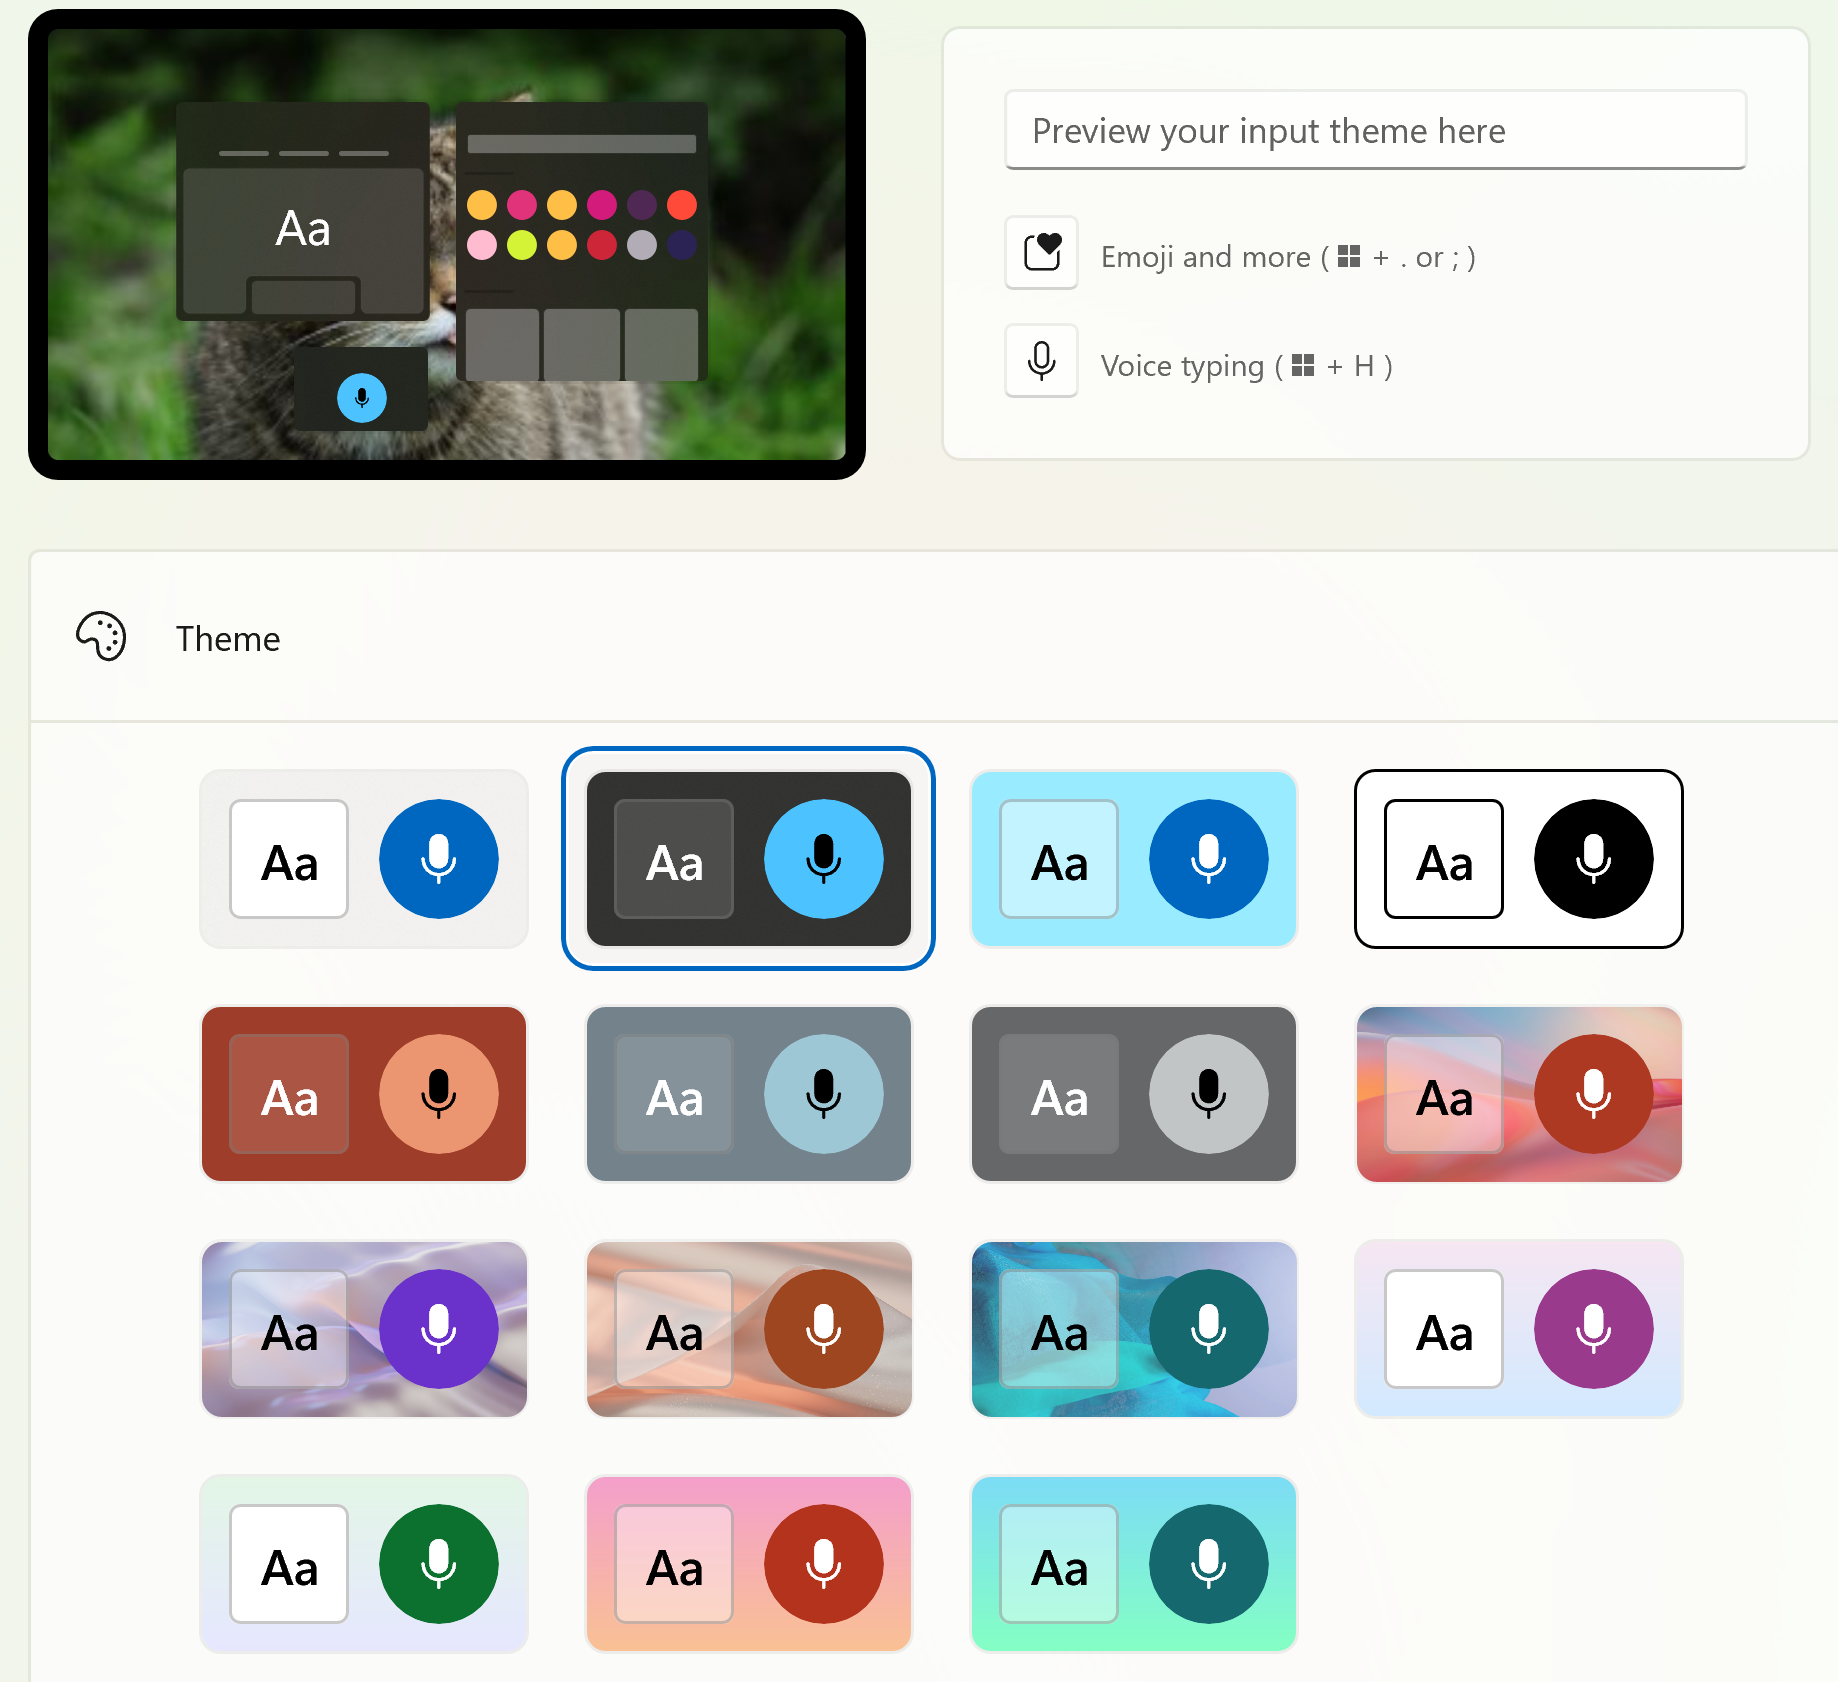
Text Input Menu
We have arrived at our destination and this is where all the fun will happen! Here in the text menu, we’ll be changing the color of our on-screen keyboard, parts of our UI, and other options. There’s also the ability to change the UI colors for the emoji and voice text options! We’ve spent enough time here, let’s keep going!
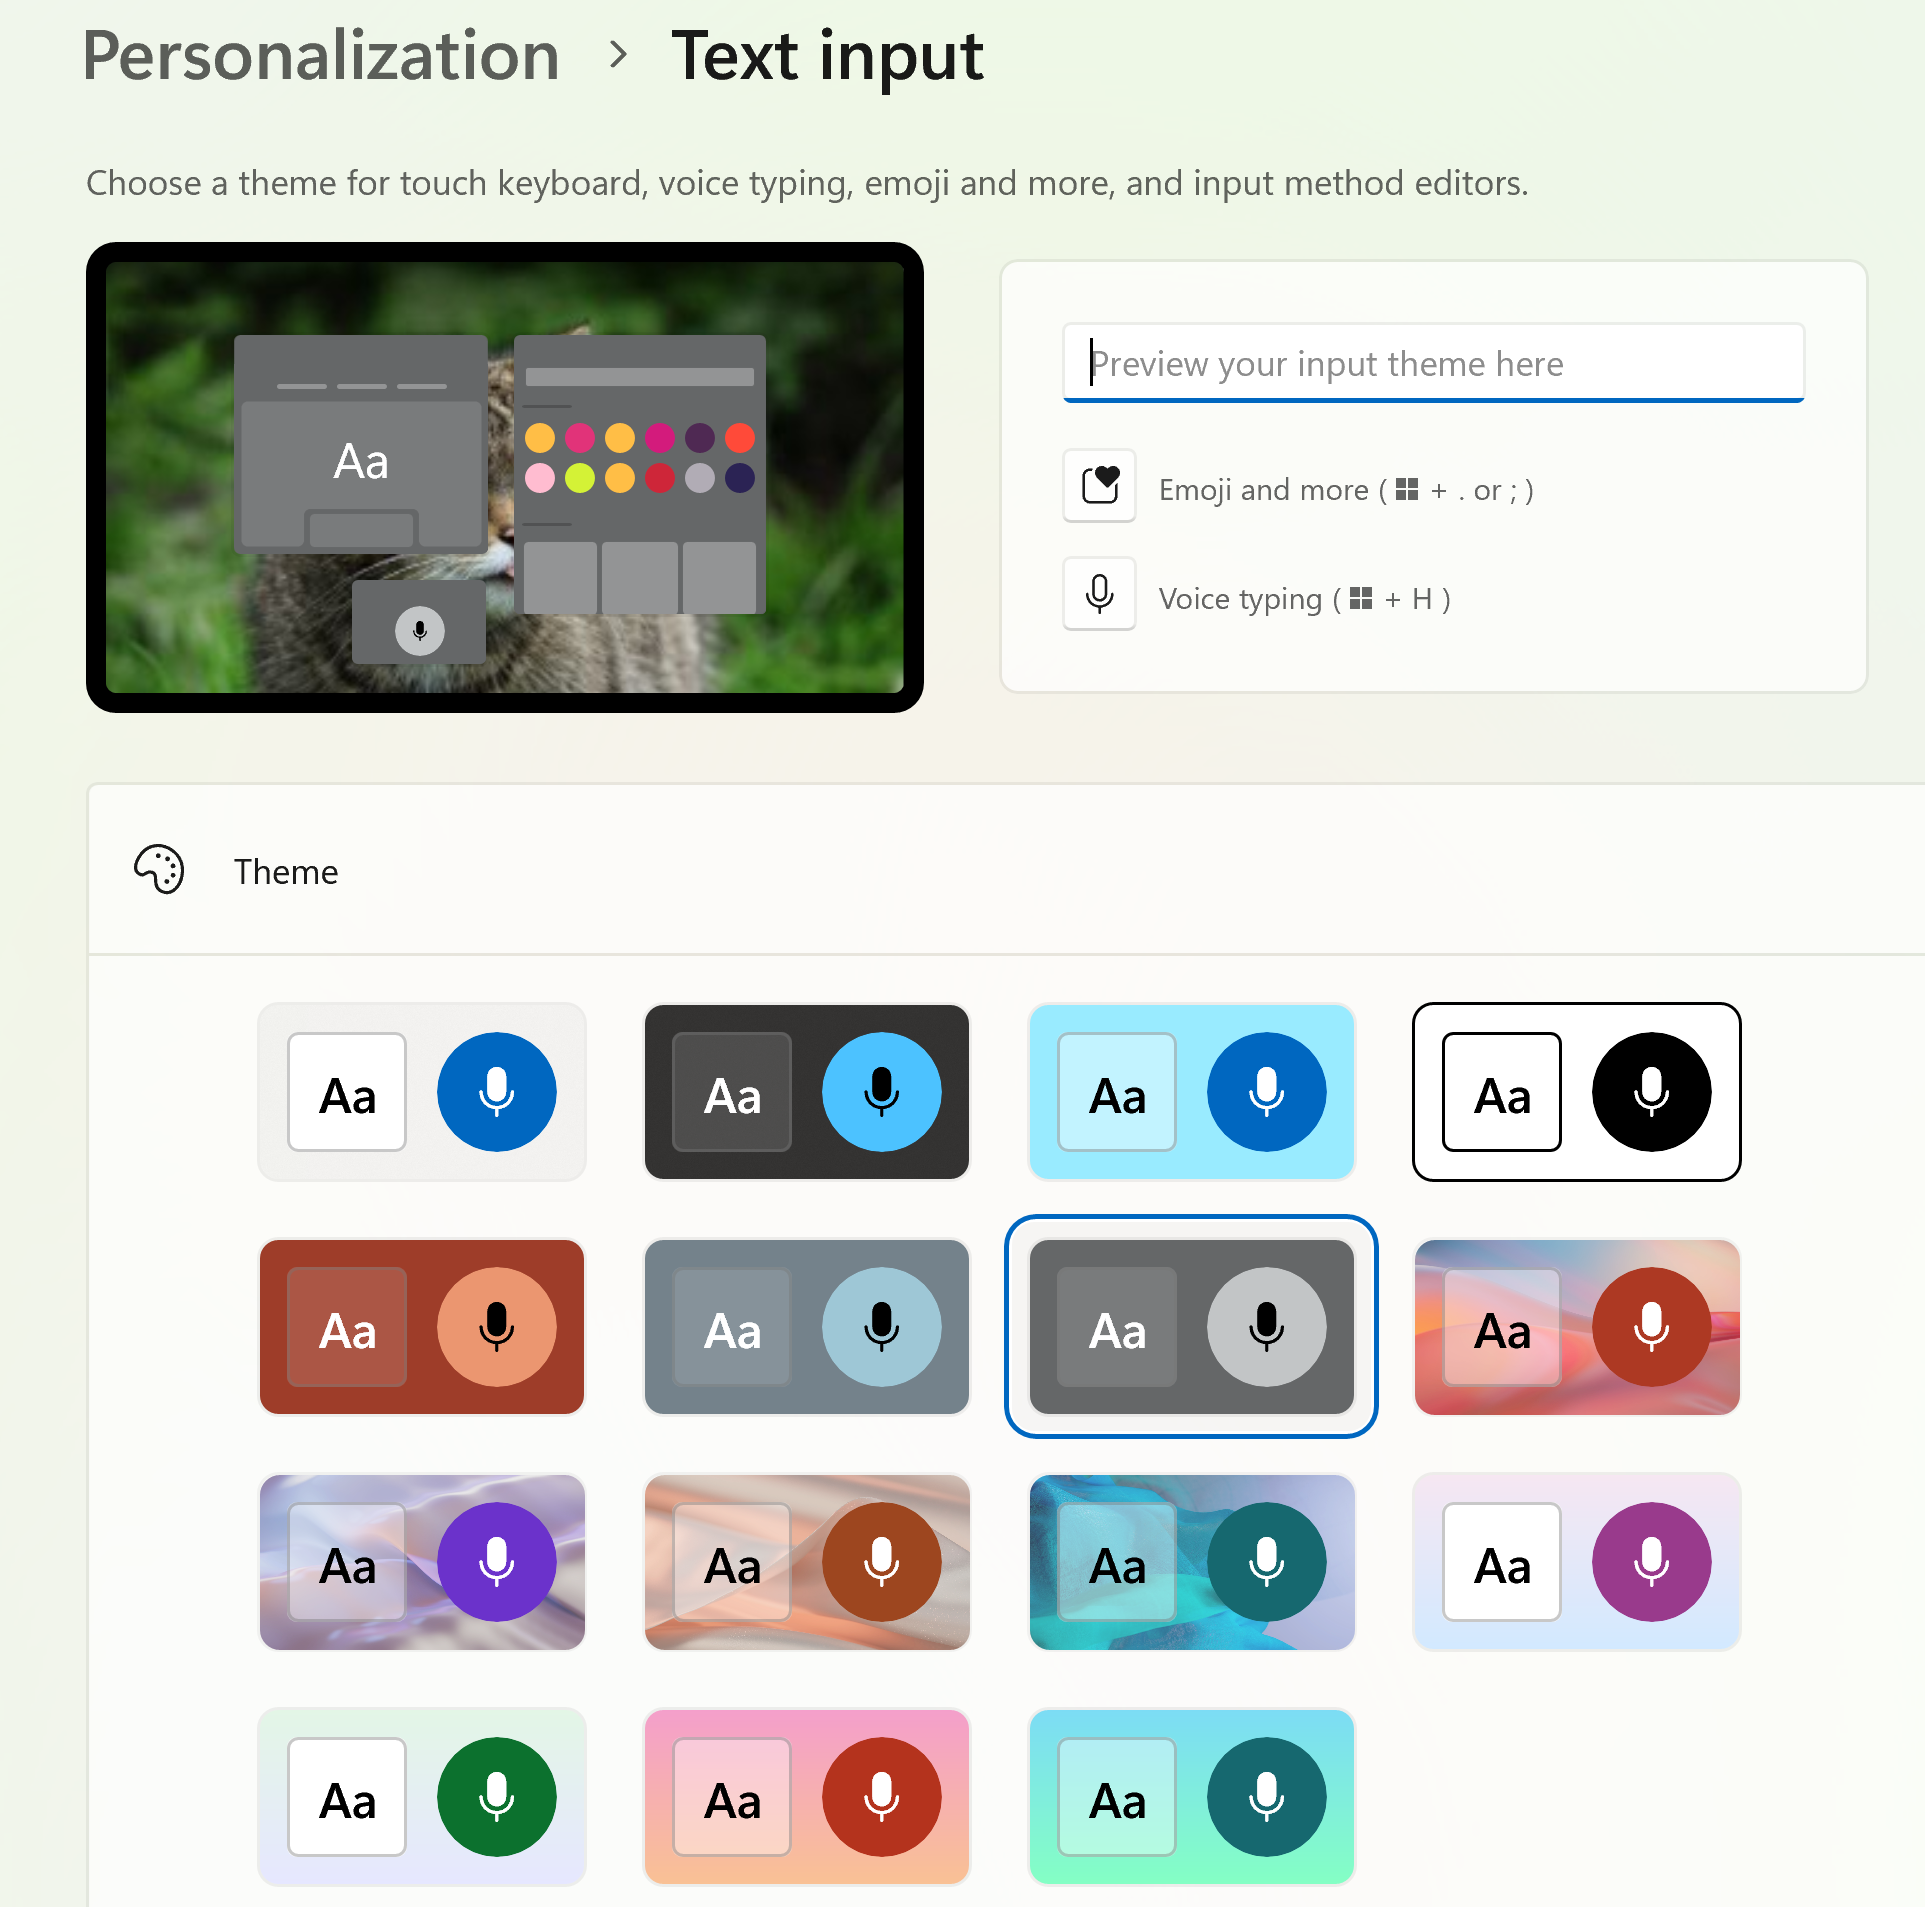
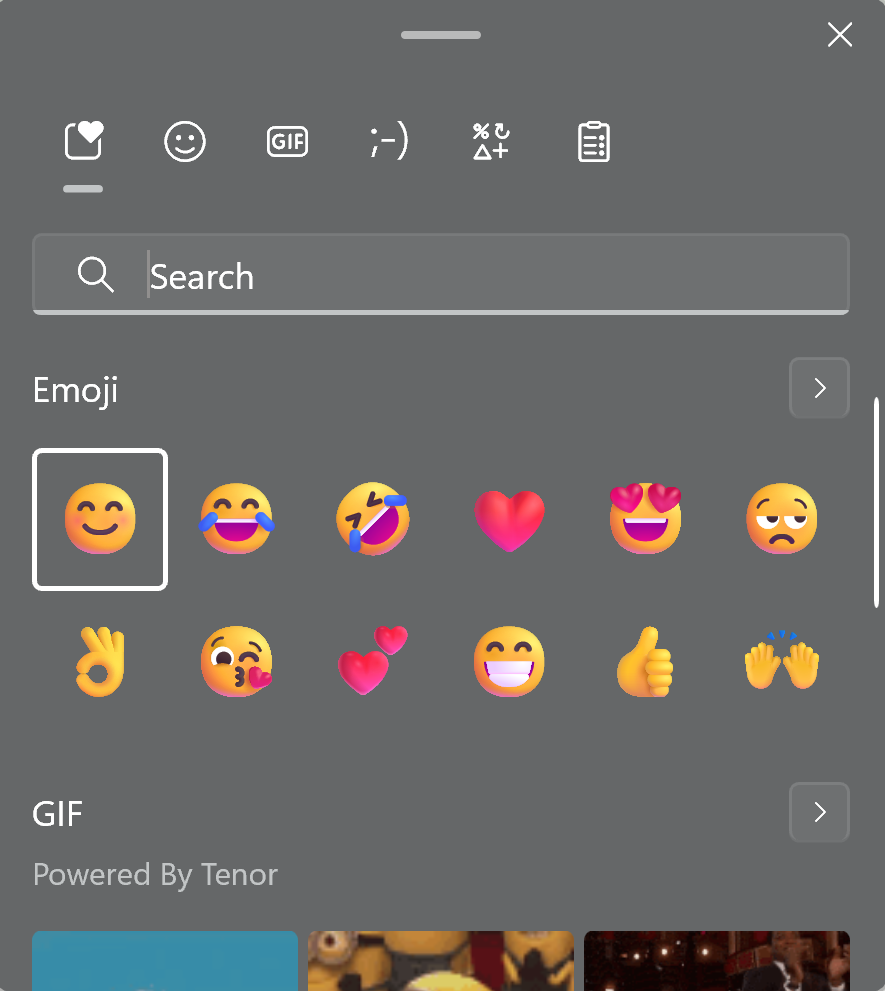
1) Click the Emoji and more box to access your emoji box.
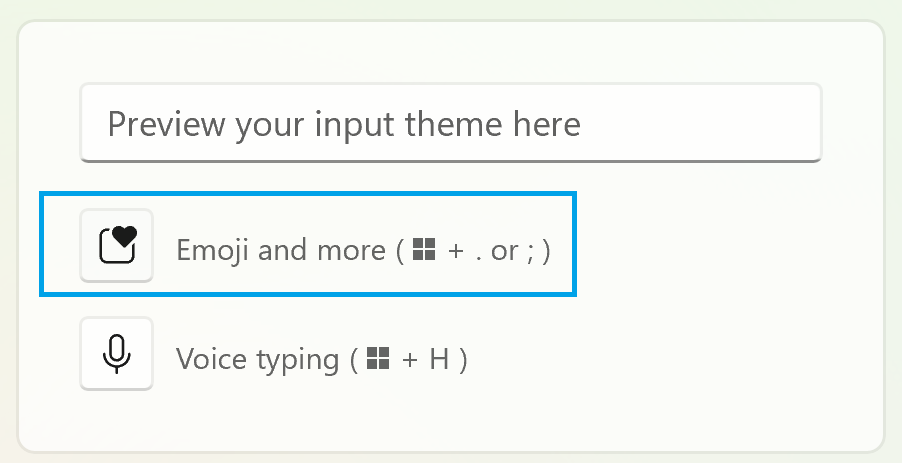
Here you can use emojis and gifs when writing! It’s a unique feature that I recently found myself.
2.) Exit out of the Emoji box with the X in the top right corner and select the voice typing box.
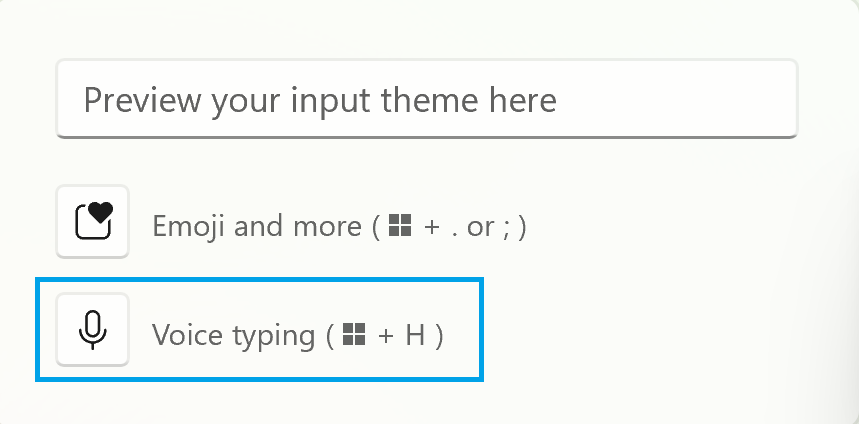
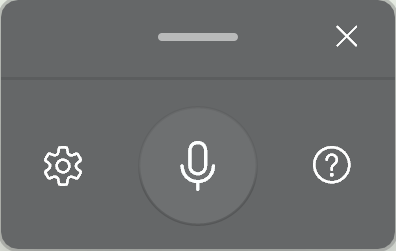
We have discovered the voice typing box! This allows you to type with your voice! It’s a unique accessibility feature that provides an option to type without a keyboard.
Theme Selection
Here we have the option to select a color theme for the UI. As you switch through the colors, you can see that they change in your preview box. On my screen, I have selected the black theme and it’s now previewing in the box. Experiment for a bit to see which color you enjoy the most!
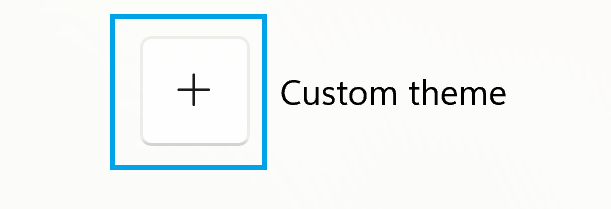
Custom Theme - True Customization
We have come to the exciting part, are you ready? With a custom theme, you’re able to fine-tune and pick what colors you want from a palette. This allows you to manually pick what you want and to create a truly unique outcome. Let’s get started!
1.) Press the + on the custom theme box to access the custom theme menu.
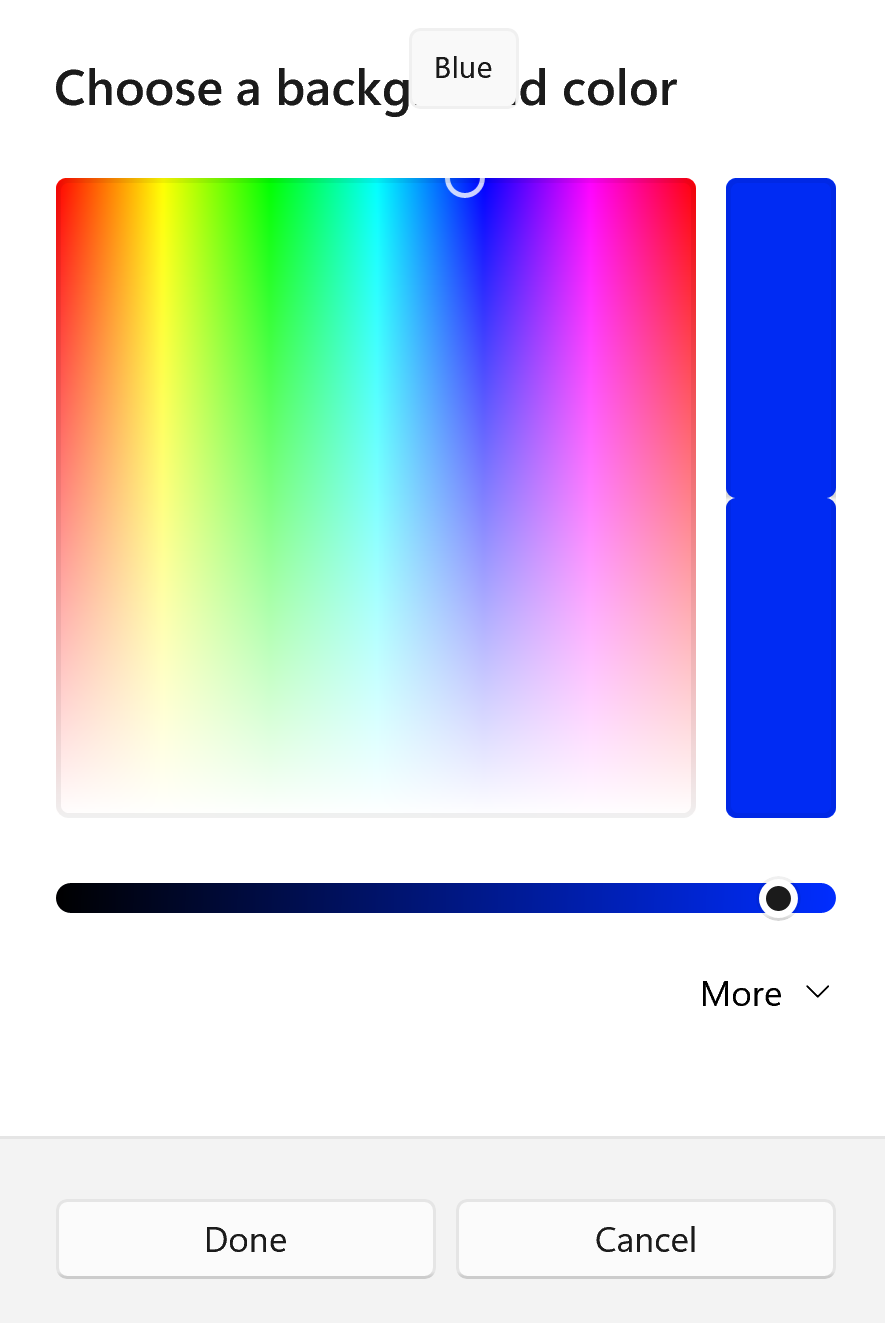
2.) Click the colored box on the right to access a palette that will allow you to pick your background color.
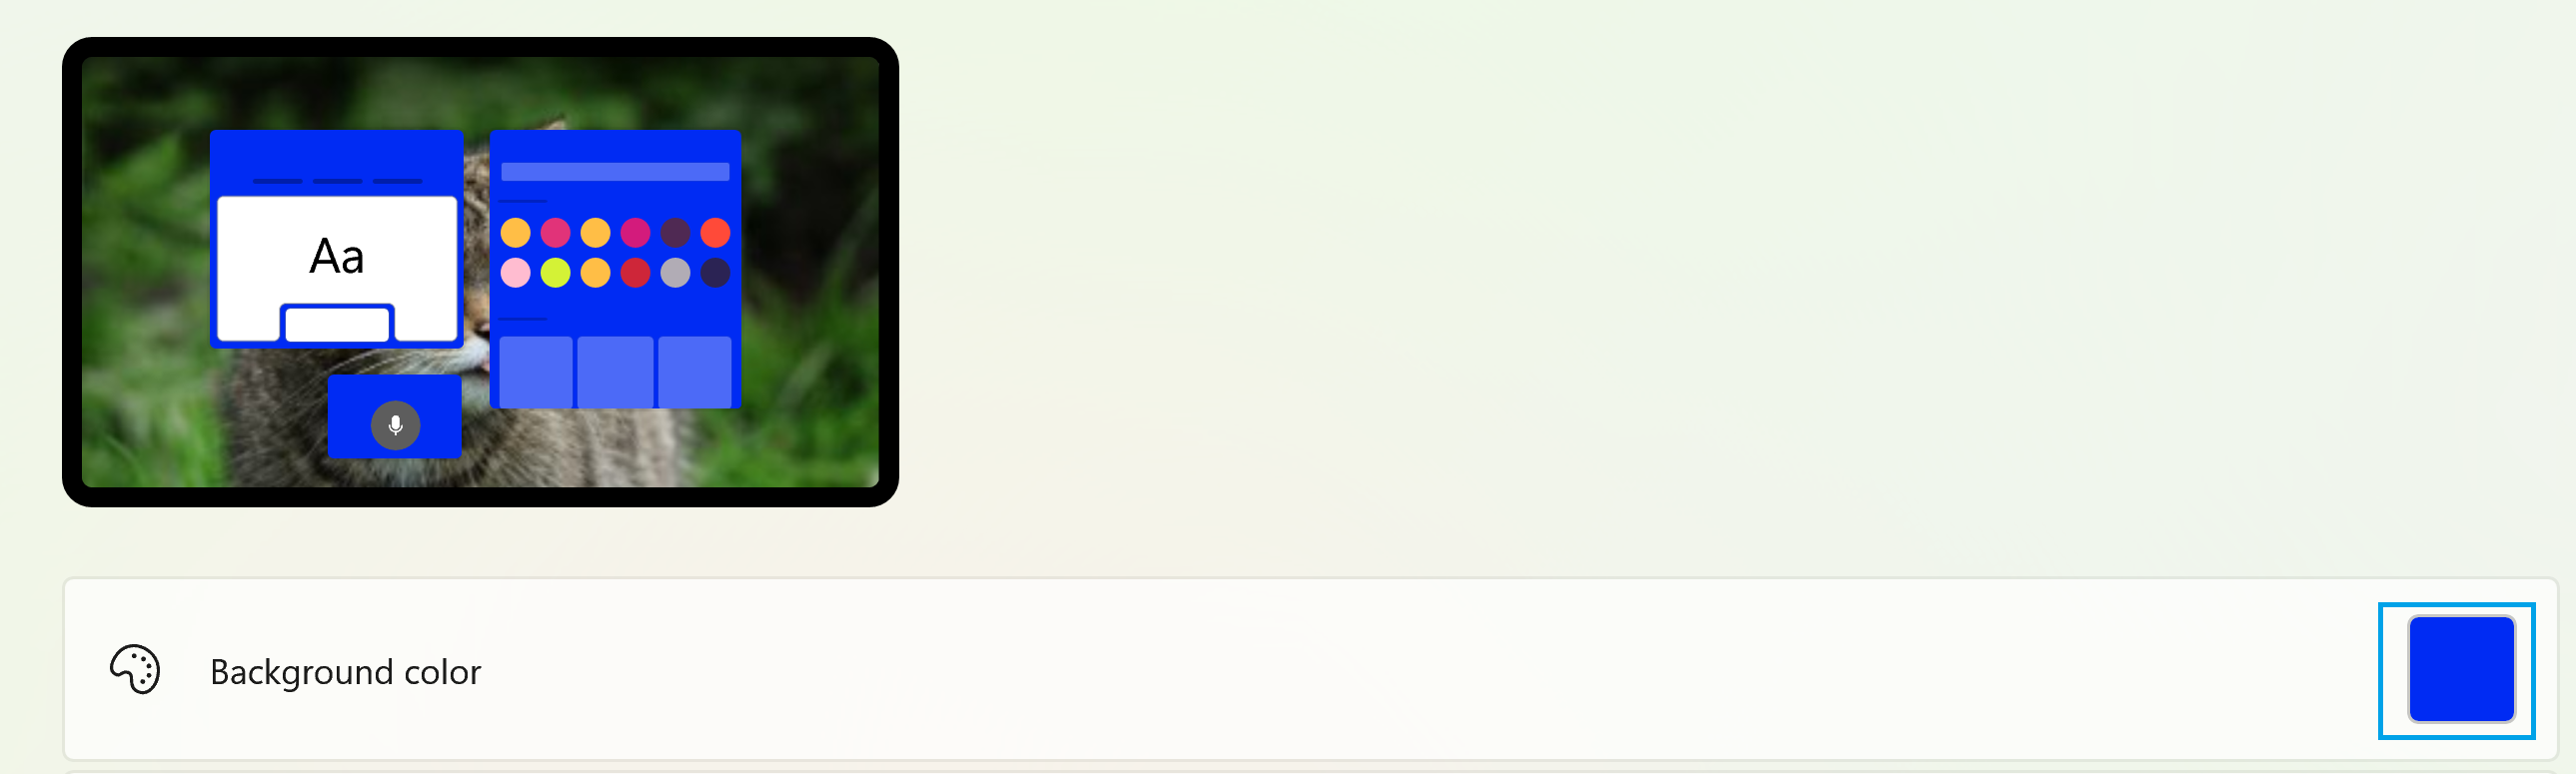
3.) Use the color palette to find a color that you enjoy the most. I have selected blue.
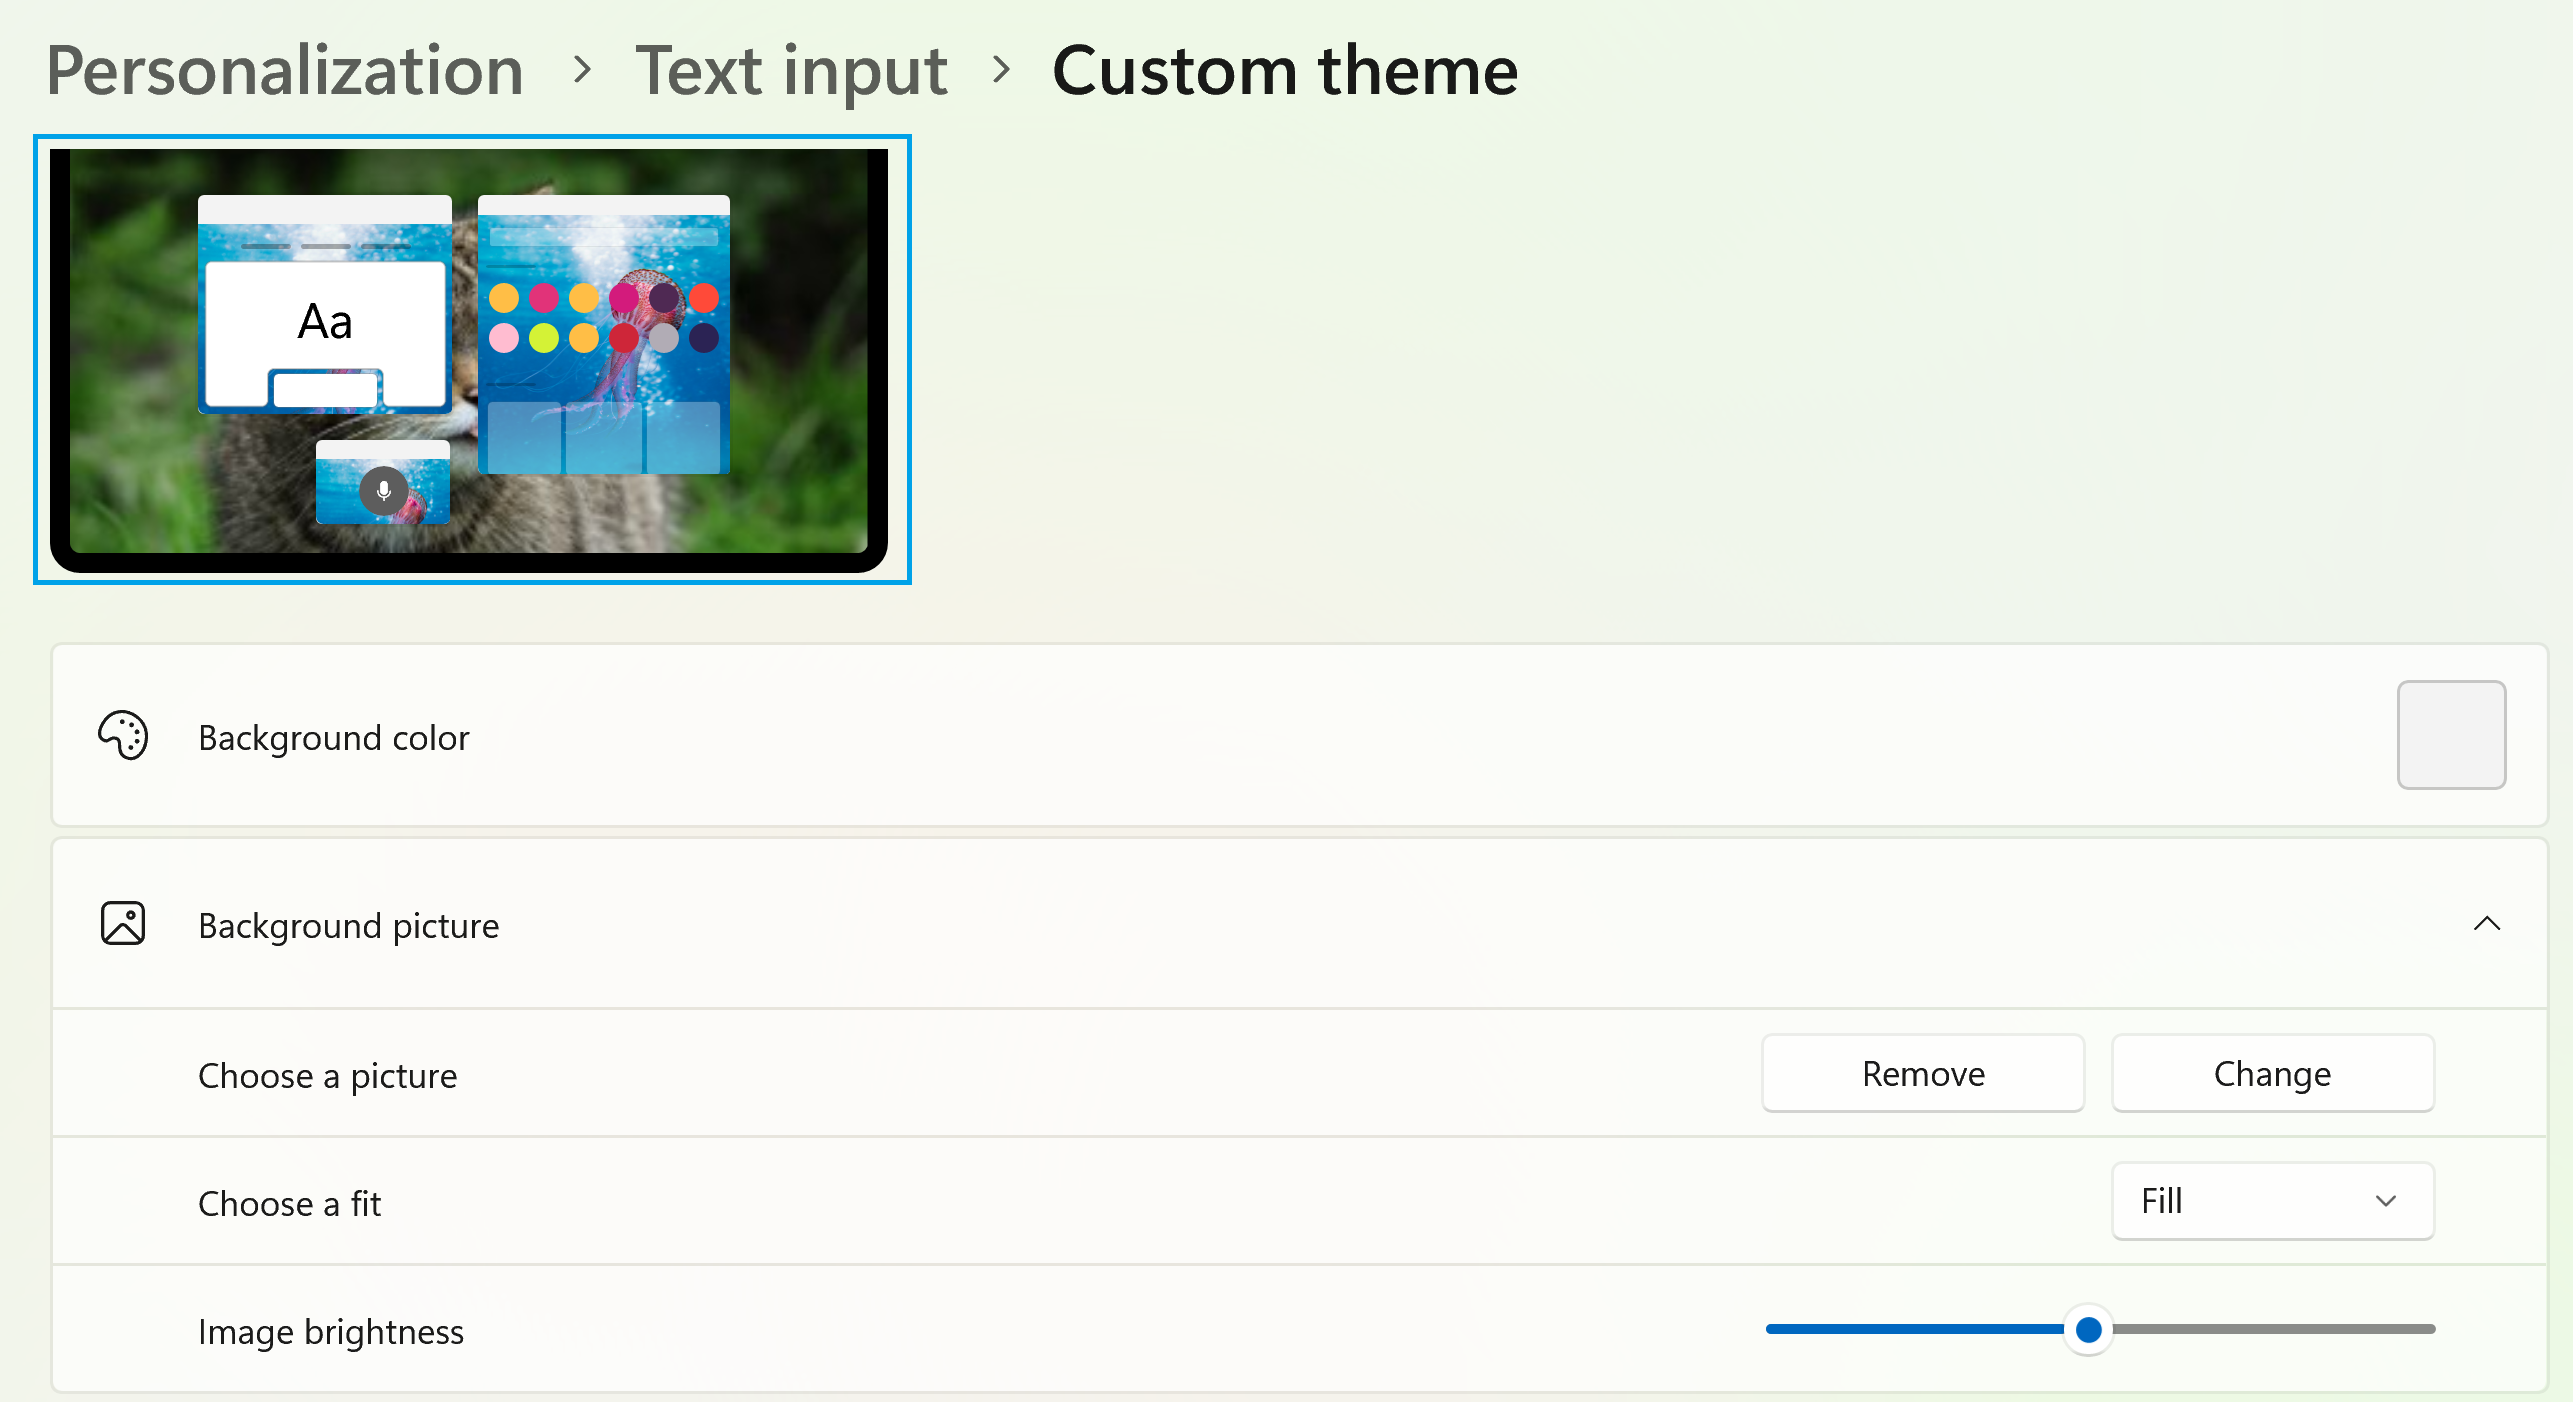
Custom Theme Picture
In this part of the custom theme menu, you’re able to choose your custom picture, fit, and image brightness levels.
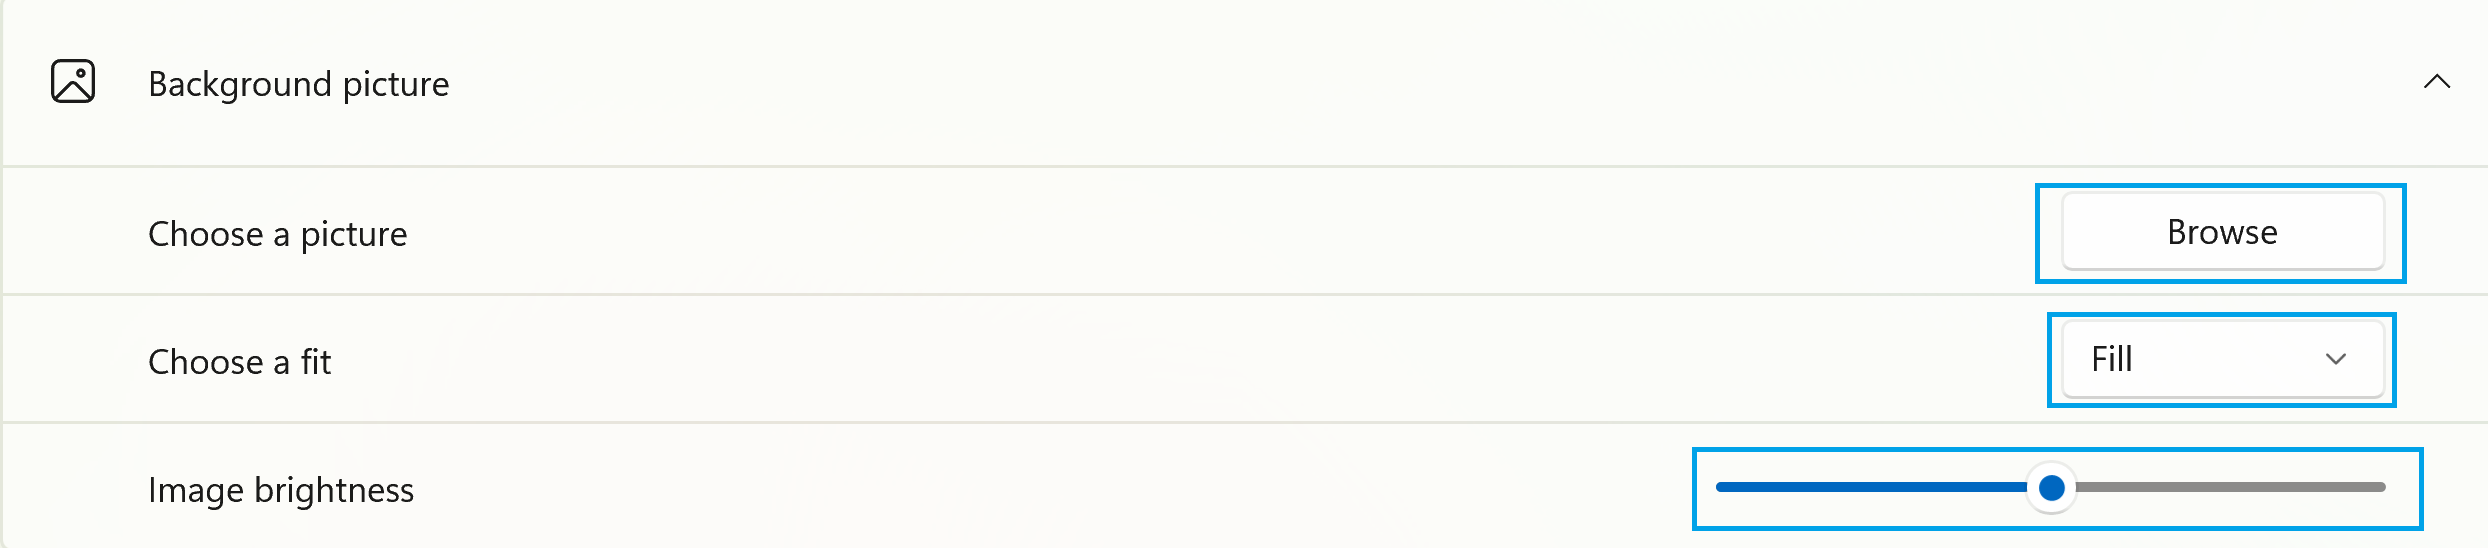
1.) On the right side of Choose a Picture, select Browse.

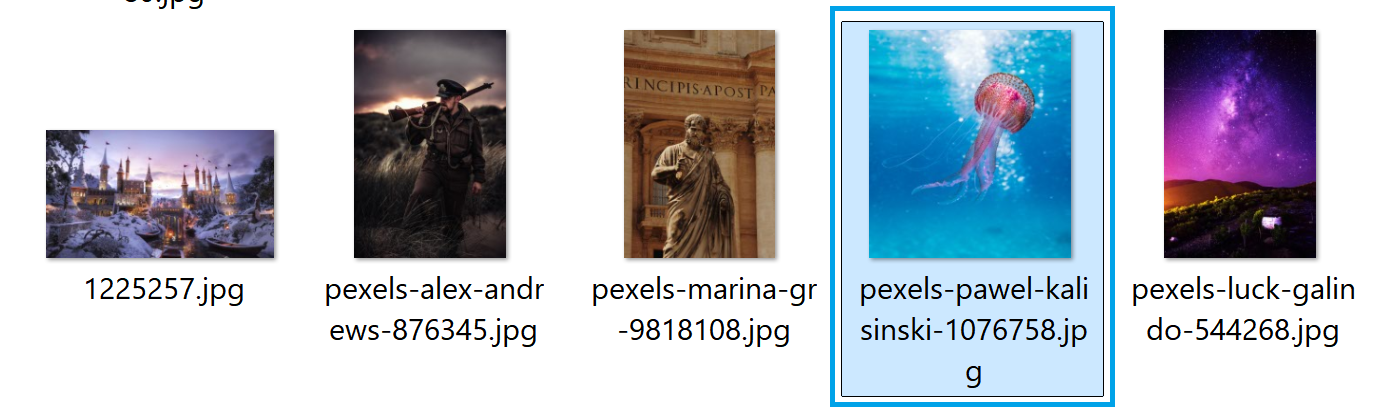
2.) Select a picture that you would like, I’ll be picking a blue jellyfish that I saved off of Pexels.
3.) As you now see in the preview, I have a jellyfish theme! The preview box should reflect the image that you have selected.
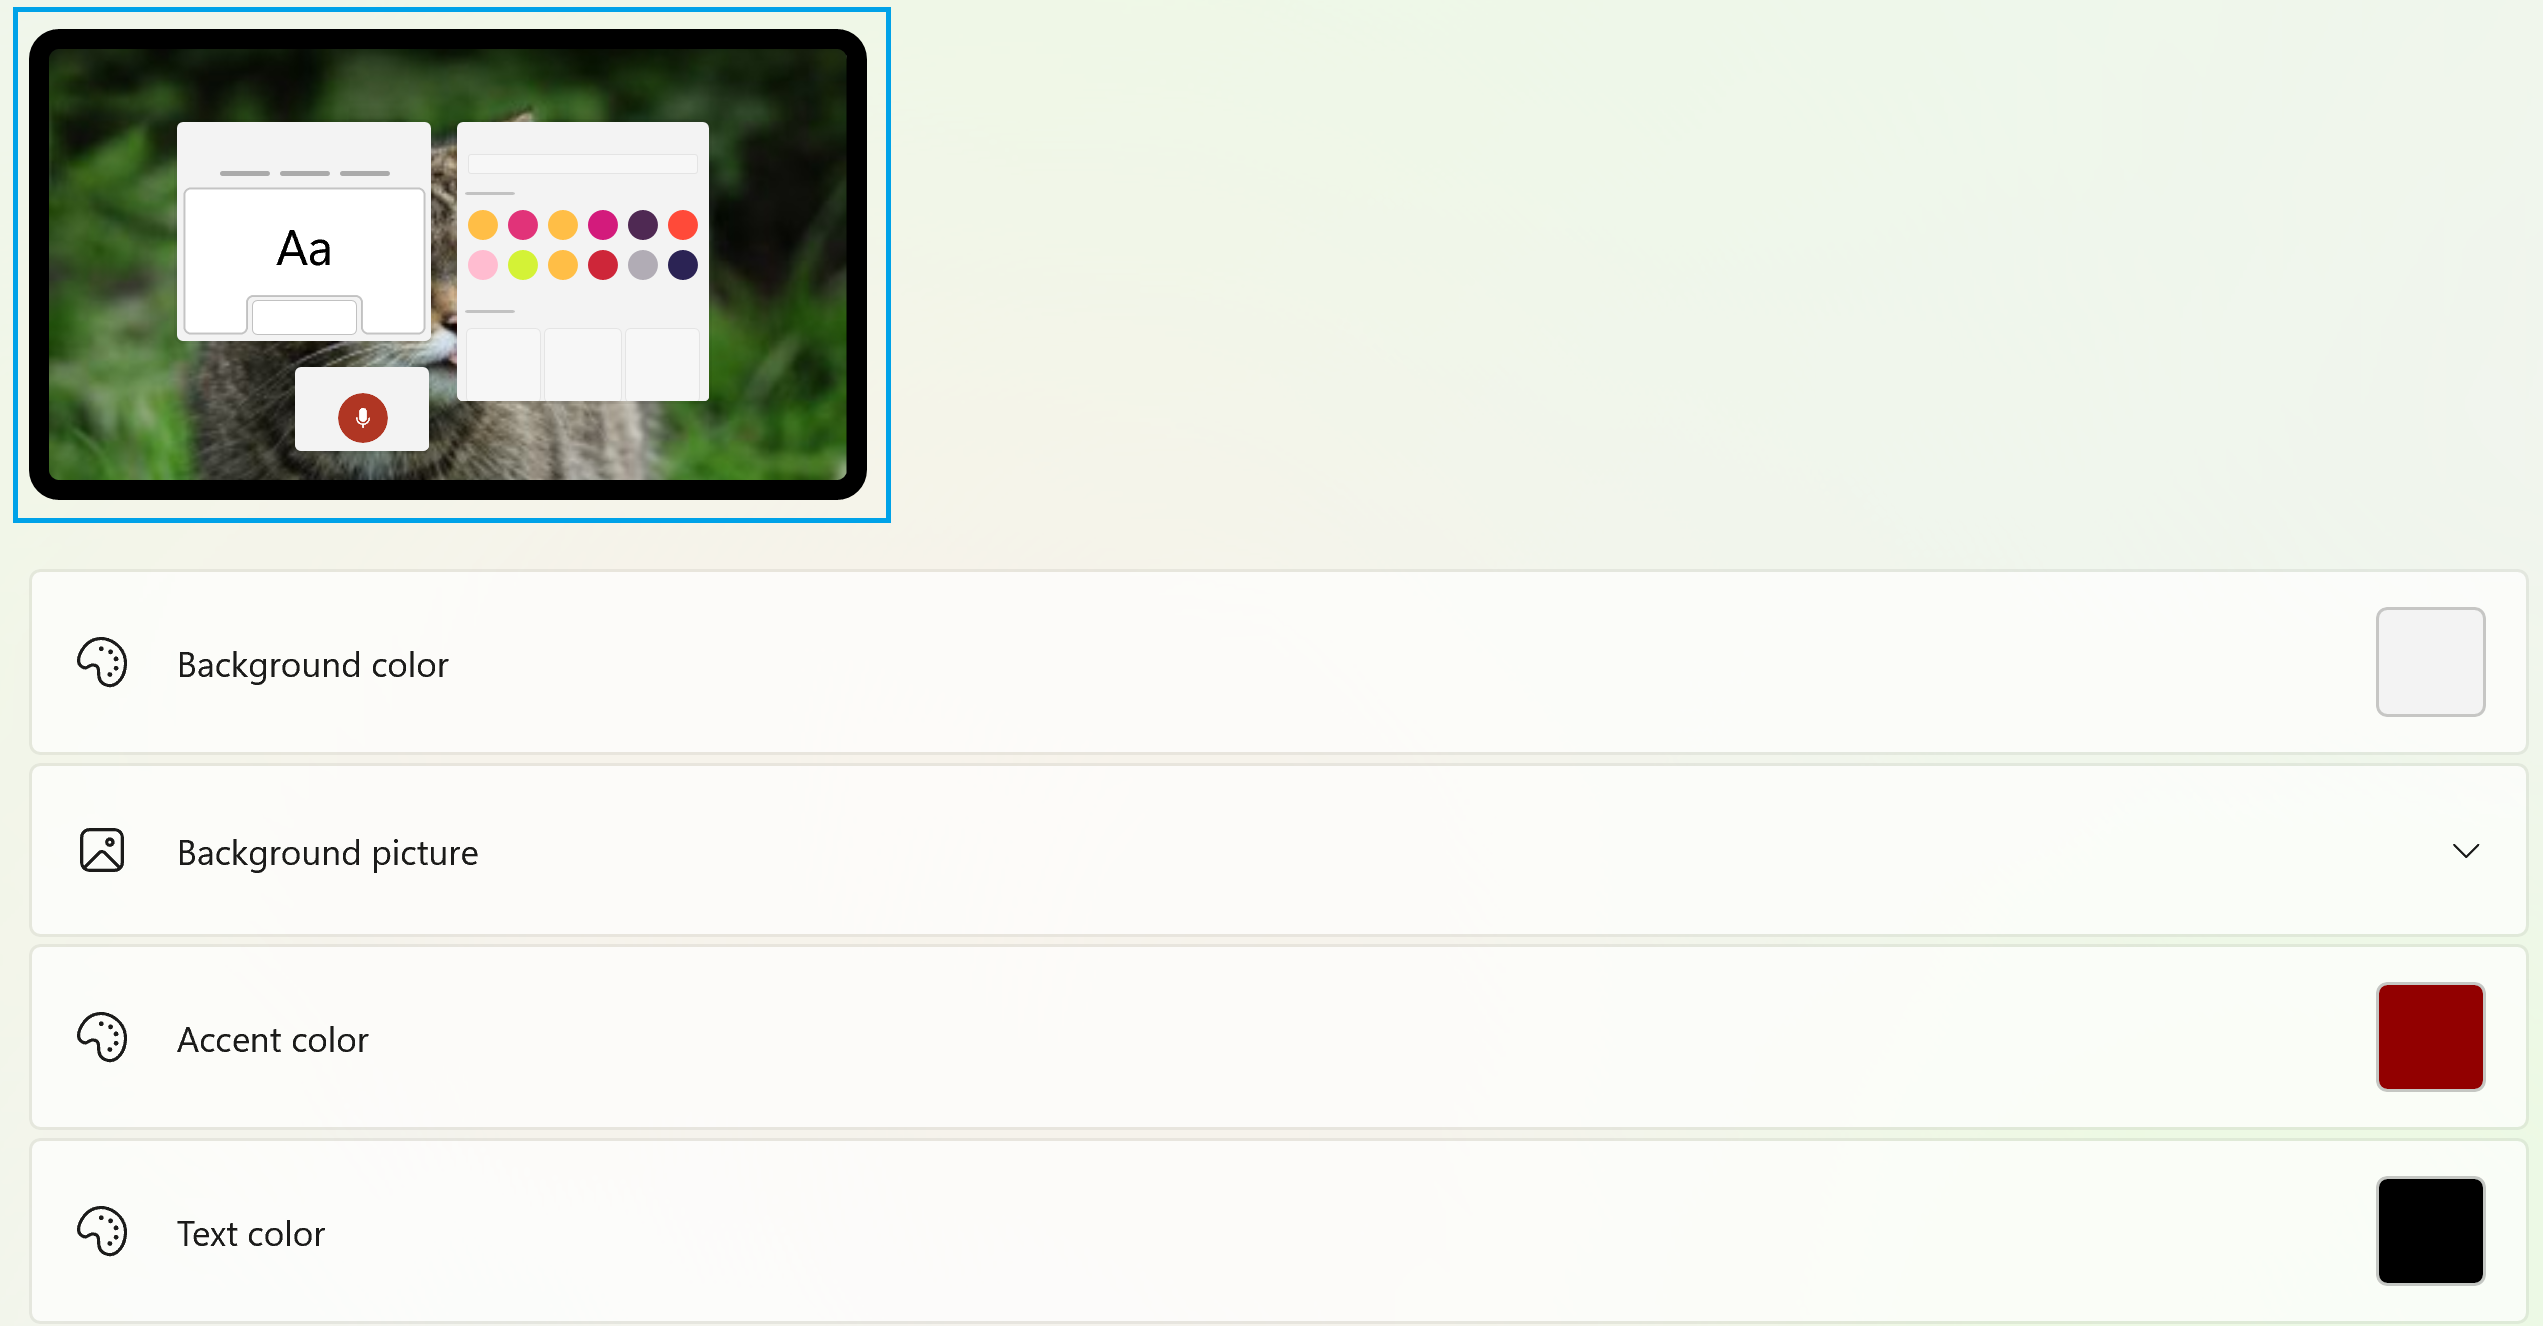
Accent Color
The accent color box allows you to pick a color via a color palette that will be the primary color for the accents in your UI.
1) Select the color box to the right of accent color. A color palette should appear. Select the color that you would like.

Text Color
The text color options modify the text color for the UI and allows you to use the color of your choosing.
1.) Select the color box to the right of text color. A color palette should appear and you can pick the one that you desire.

Output Settings
The settings have been modified and now in the preview box above you should see that the colors you chose are now being previewed! We’re almost done!
Keyboard Settings
In the keyboard settings, you’re able to modify your keyboard size, pick whether it’s transparent, adjust the key size, and then finally preview what your keyboard looks like. This gives you the option to pick how big or small it is. I know that as we get older, it’s harder to see things, so luckily this gives the option to view the keyboard at an EXTRA large size and that’s a huge blessing for me.
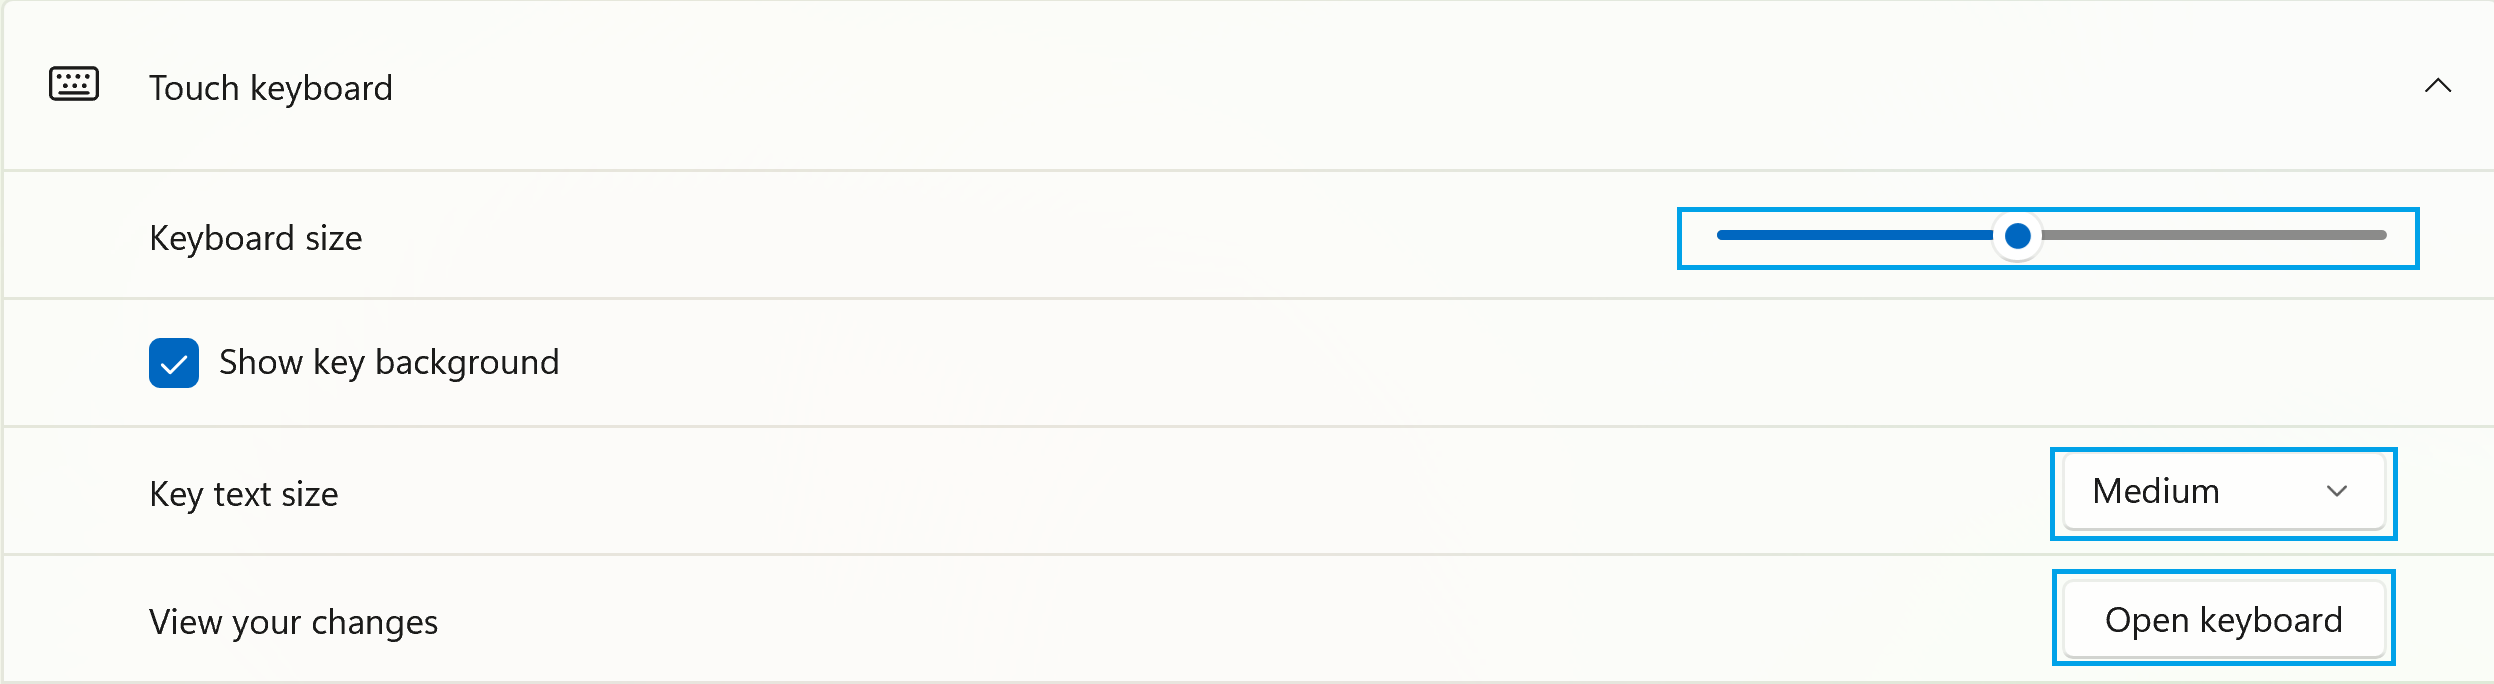
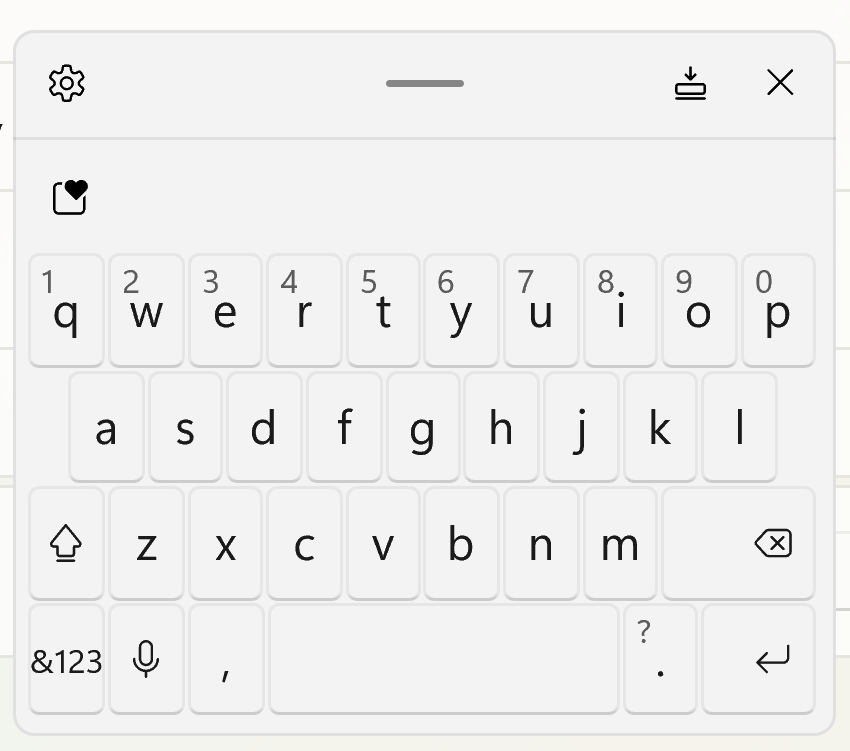
If you wish to preview your new keyboard, then under view your changes select open your keyboard. This should open your keyboard in the color schemes and modifications that you have chosen.

You should now see your virtual keyboard pop up on your screen!
Copilot
The last option we’ll look at today is the ability to modify what you see when you press the Copilot key. In this menu, you can modify it to search, copilot, or even something entirely of your choosing. Have fun with it!

Grand Finale
You did it! You have come this far, I congratulate you! You now know how to personalize your text settings and change them to the colors that you want. It was quite the journey and you’re on your step to becoming a true color master. Keep exploring different settings in Windows 11 and see what else you can find to make your Windows experience truly unique.