How Do I Set Up a Guest Network?
How you ever wondered how to set up a guest network? Do you want to keep others away from your trinkets? I’m going to be using Cisco Packet Tracer today to simulate how one would set up a guest network on their router.
It seems complicated but at the end of this tutorial you’ll have an idea of how it works and be able to make your own! Visitors to your home will be so excited to have wifi access! Woohoo! Let’s get started!

Let’s Get Started!
When you open up Cisco Packet Tracer for the first time you’ll be greeted by a blank canvas without any models on it. This is where we’ll be starting our project and making our guest network.
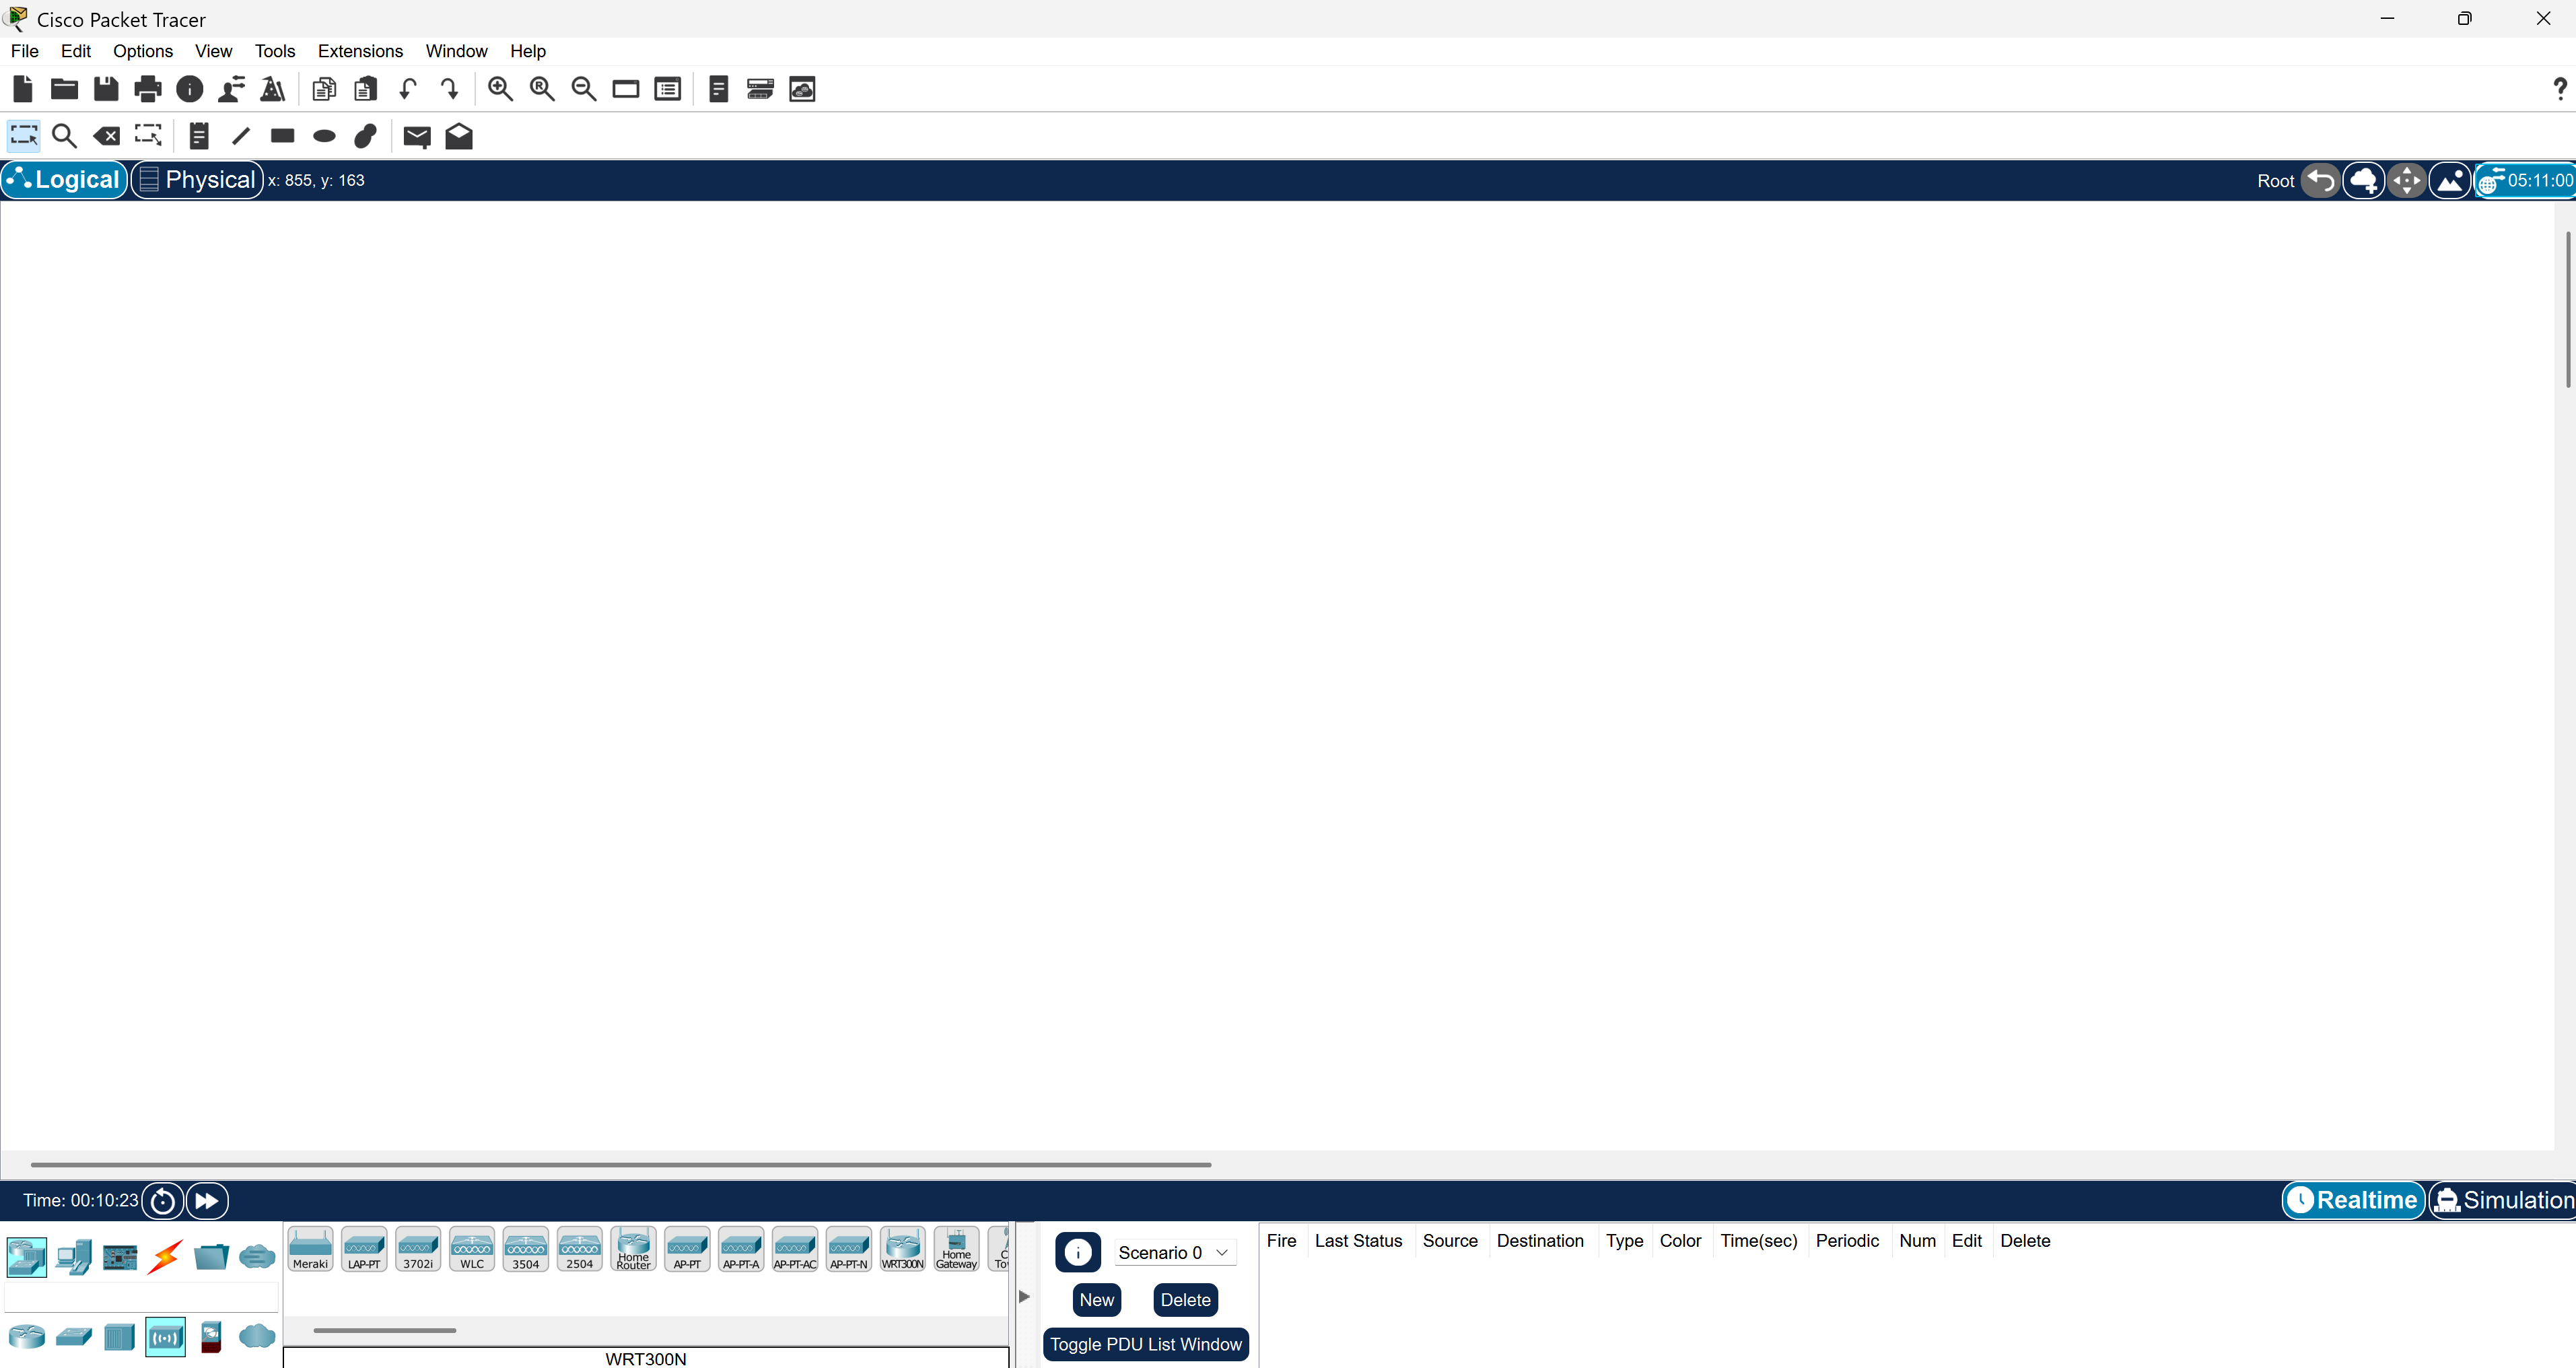
Select the Wireless Devices tab and a line of devices should pop up.

Find Home Router and drag and place it on your blank canvas and a router should appear!

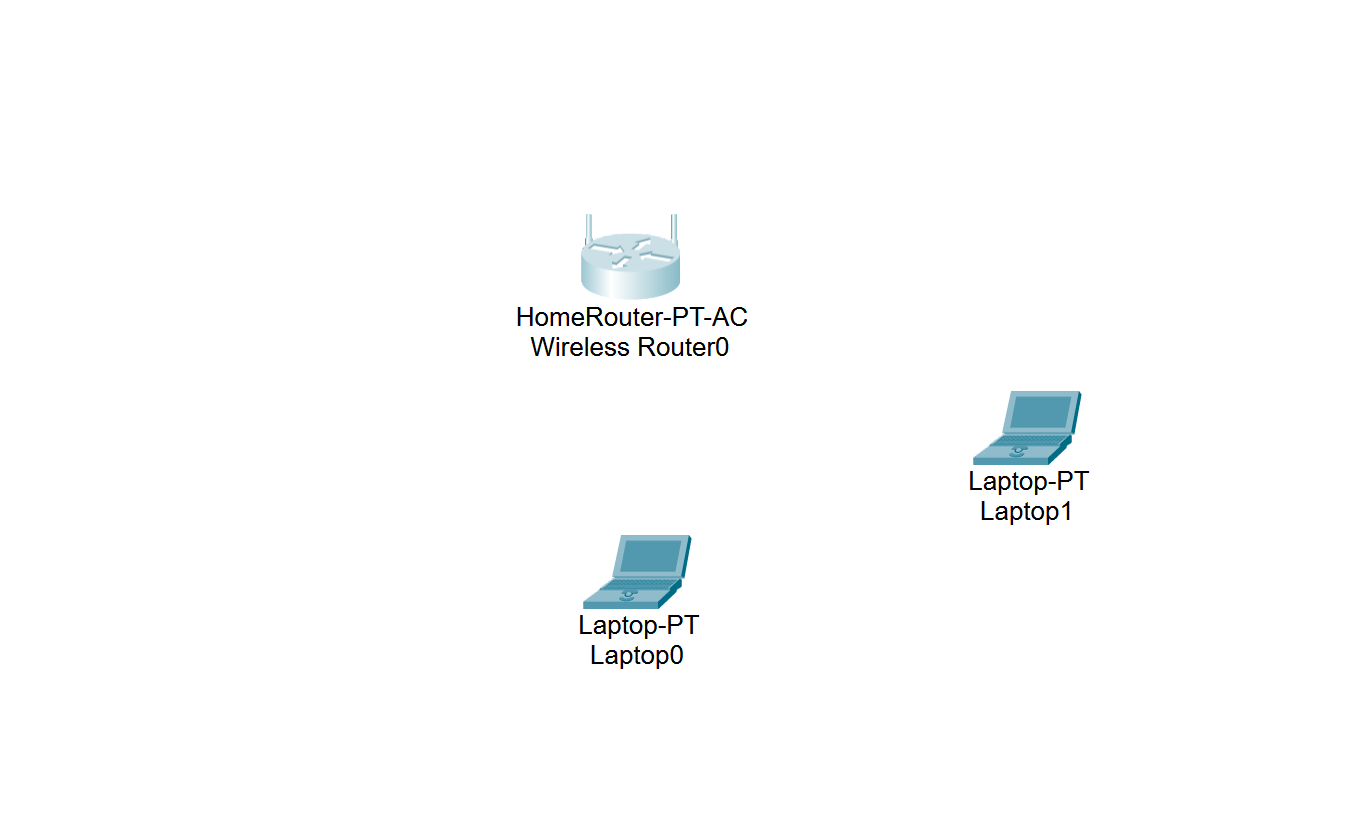
Next we’ll go to the End Devices tab and we’ll click on Laptop and place 2 of them on the canvas.

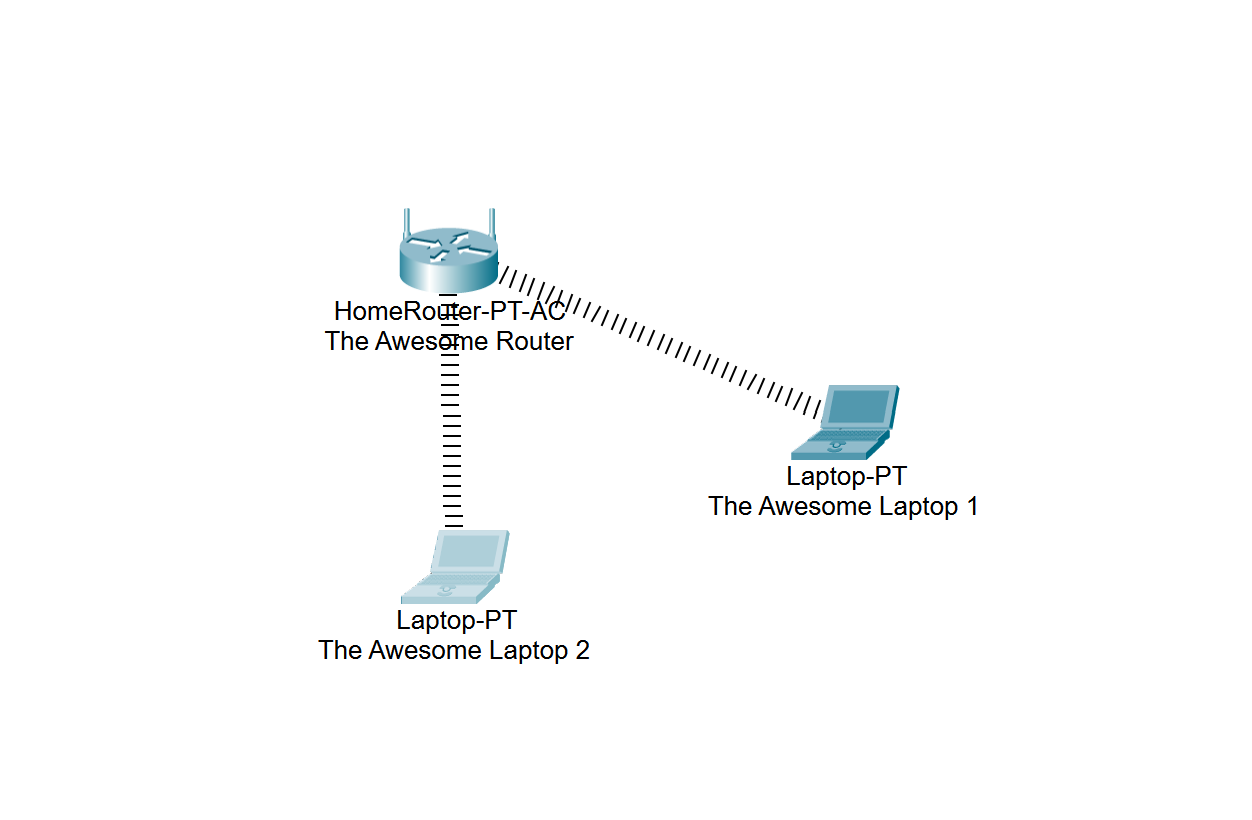
After you placed them on the canvas, you’ll see a router and two laptops on your screen.
The Awesome Router
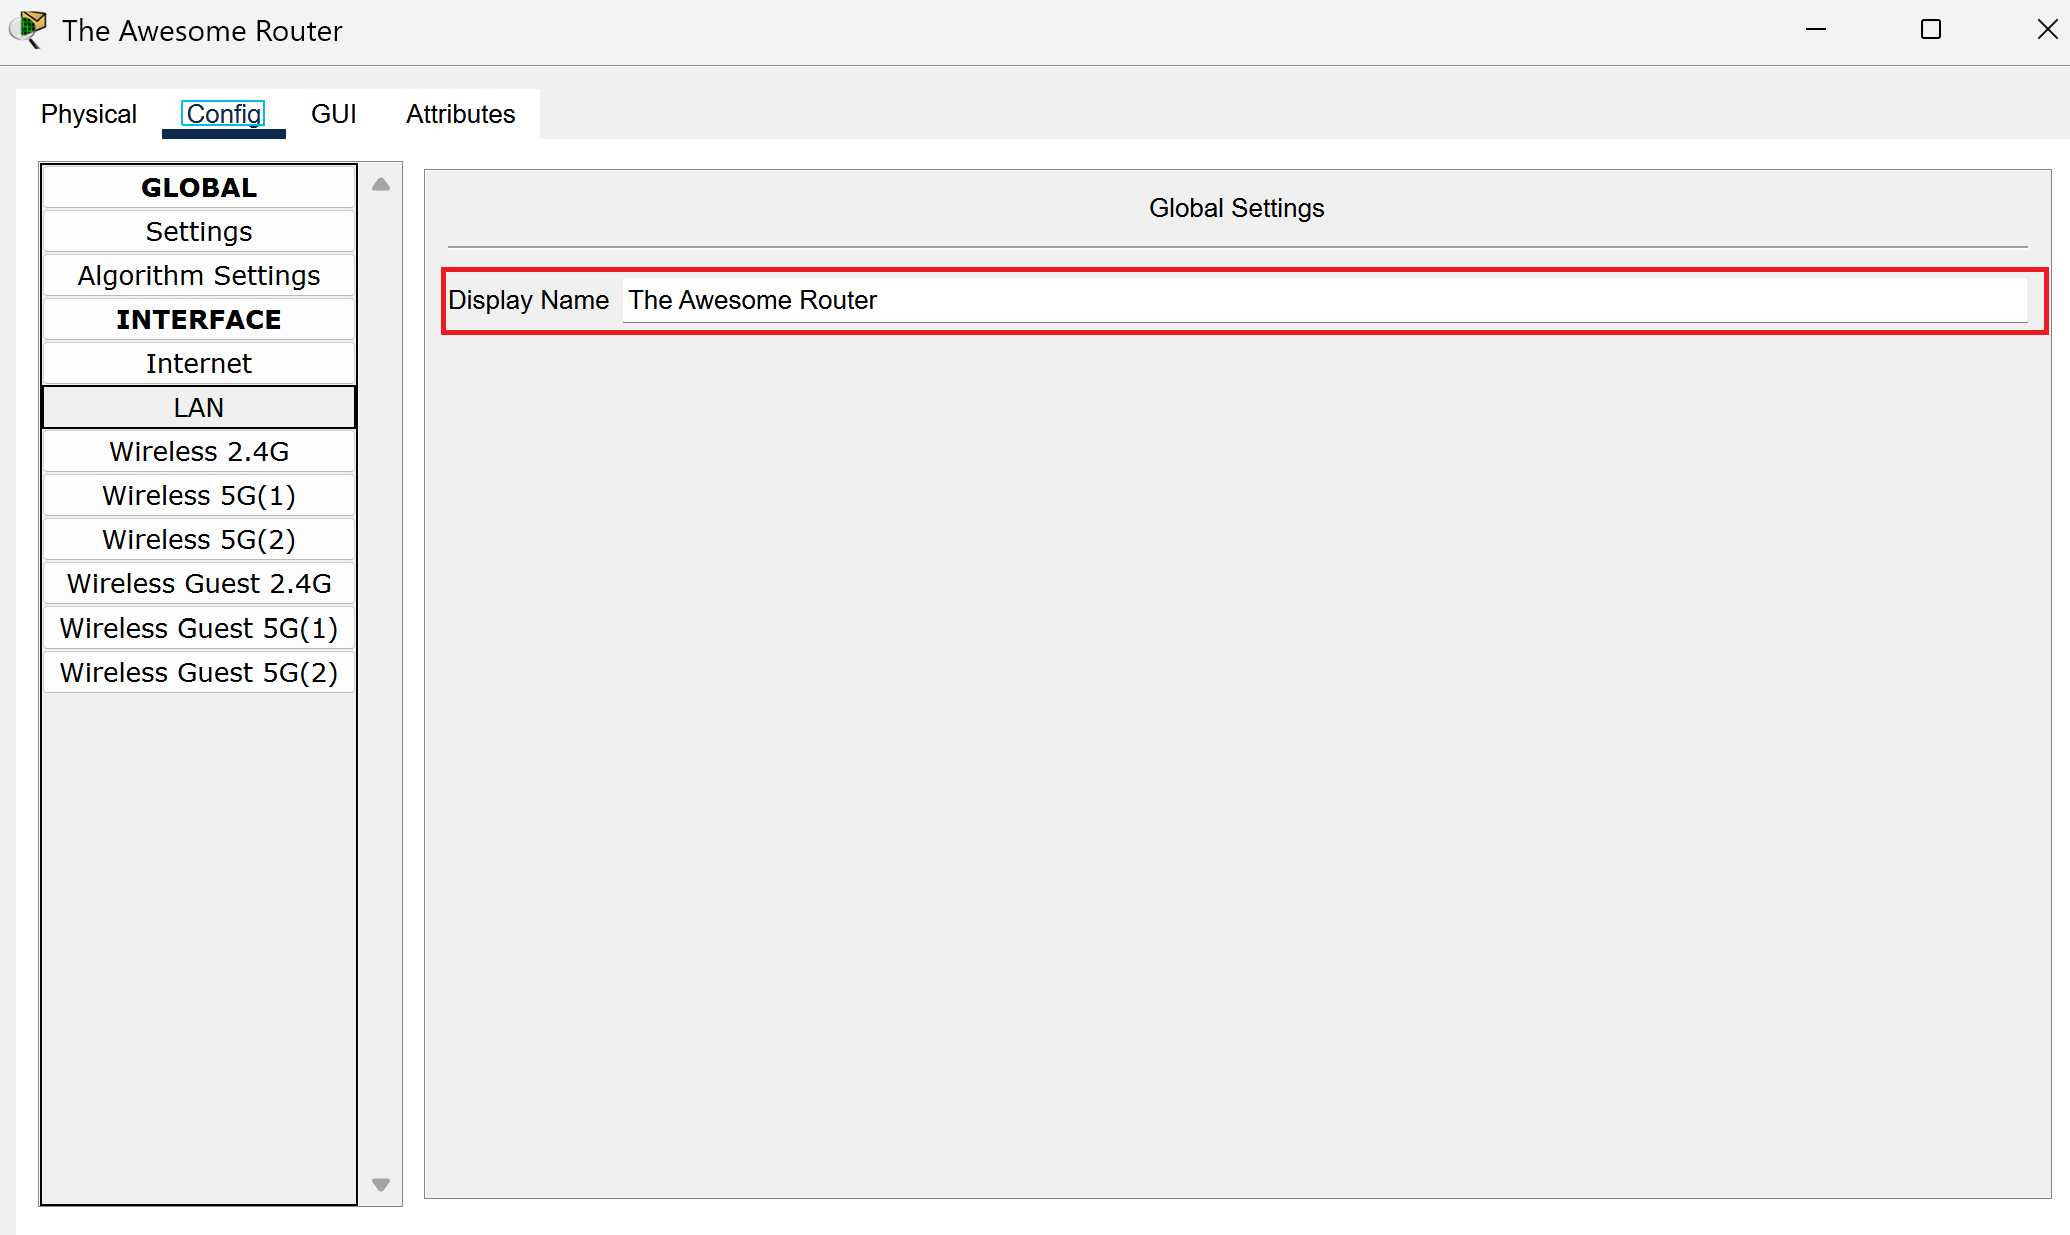
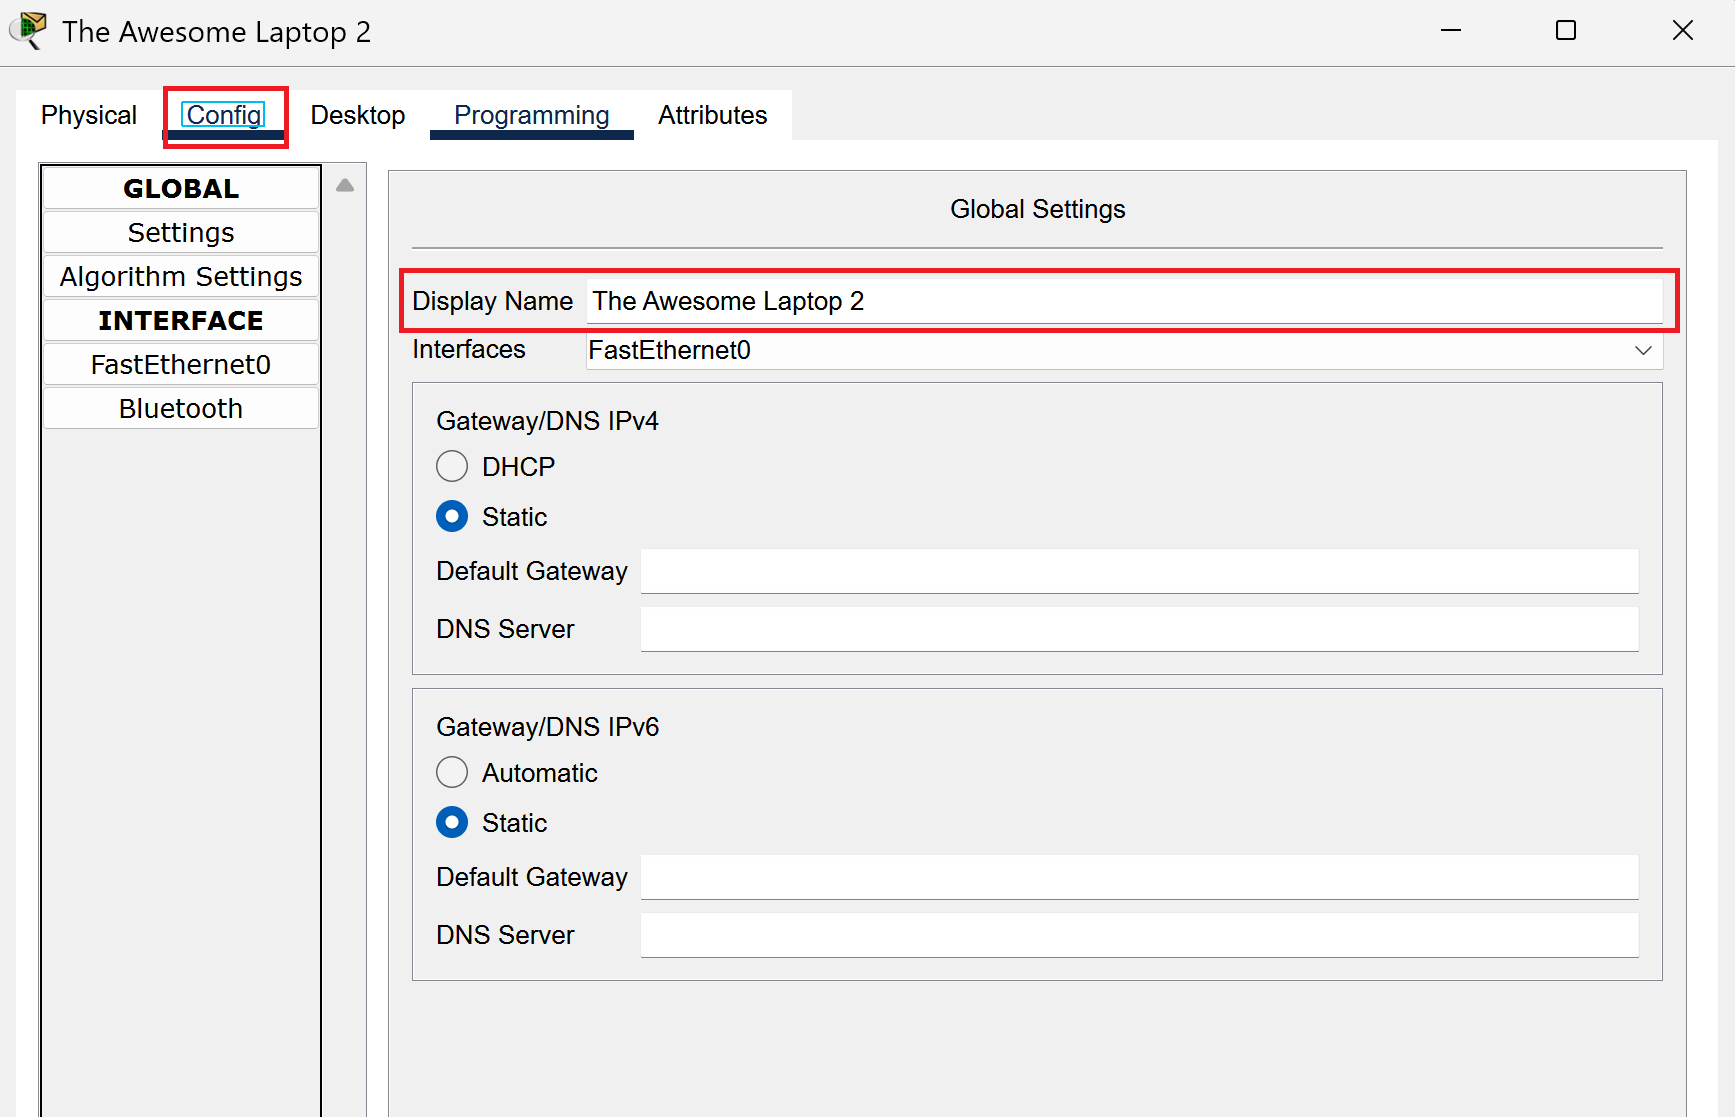
Double click your router on the canvas and you’ll see a menu pop up. Click config and you should see the global settings menu pop up with a menu stating Display Name. Overall, this helps with organization and is optional but in my case I decided to rename it as The Awesome Router.
Exit out and we’ll change the device names of both laptops to The Awesome Laptop 1 and The Awesome Laptop 2. Yes, it is very original, I know.
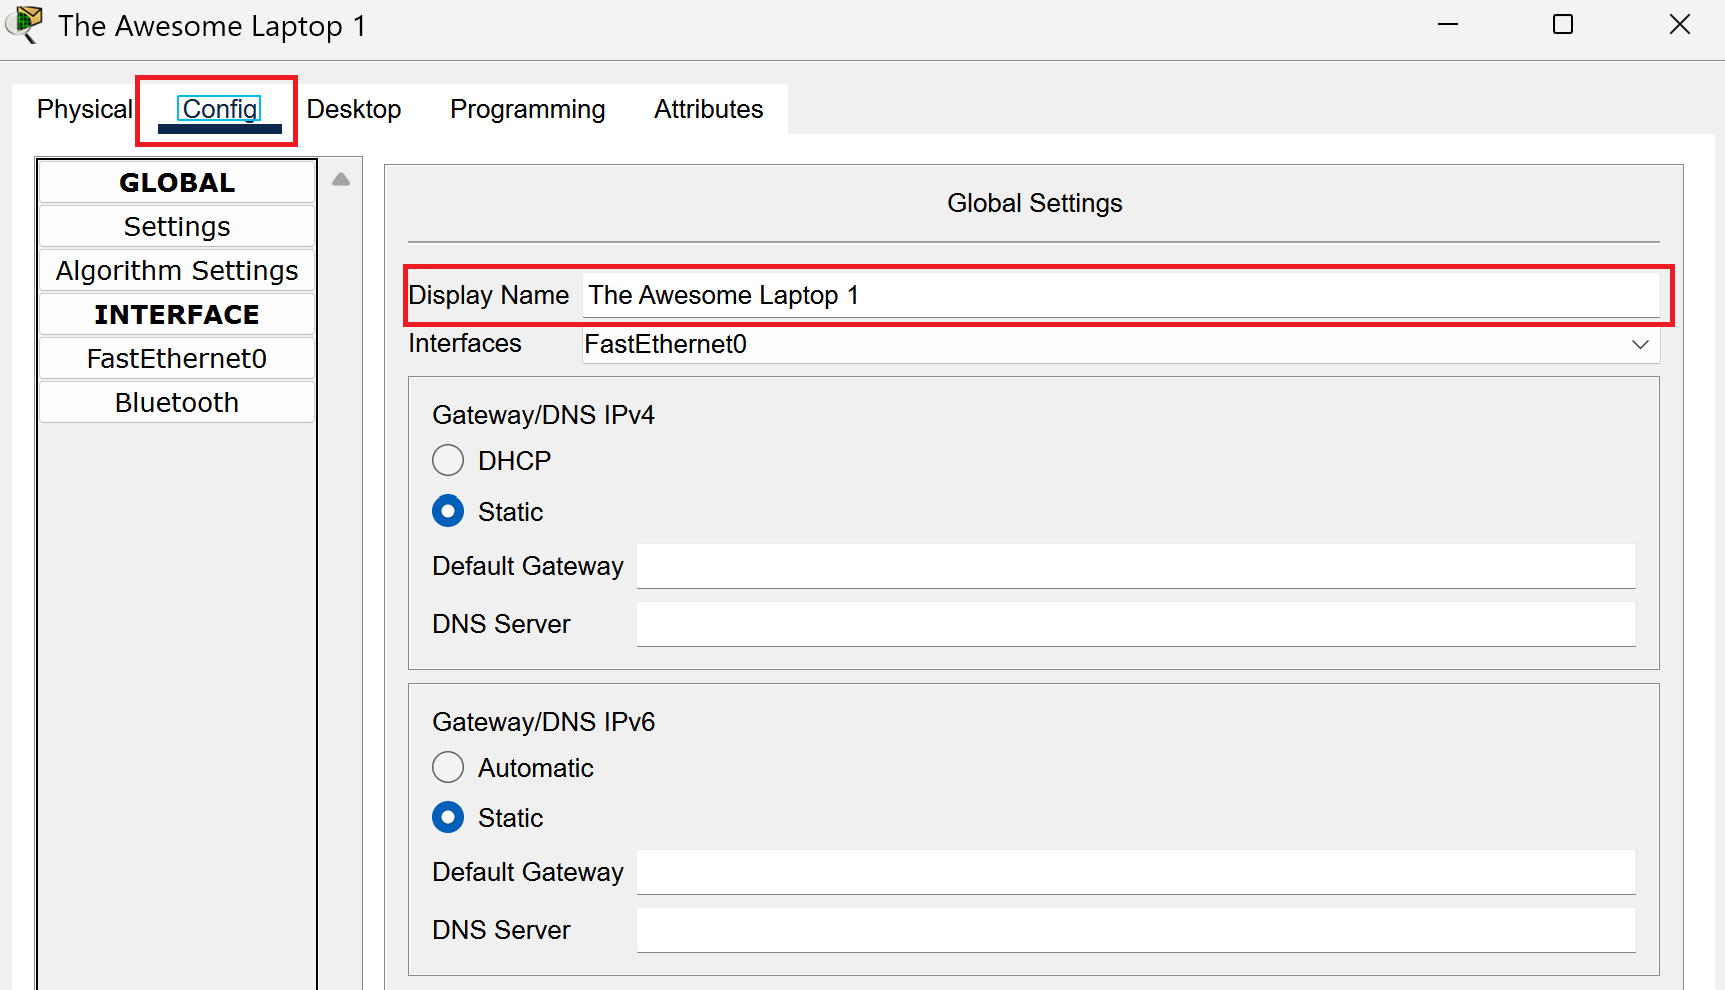
The same process will be done for the second laptop.
Name Day
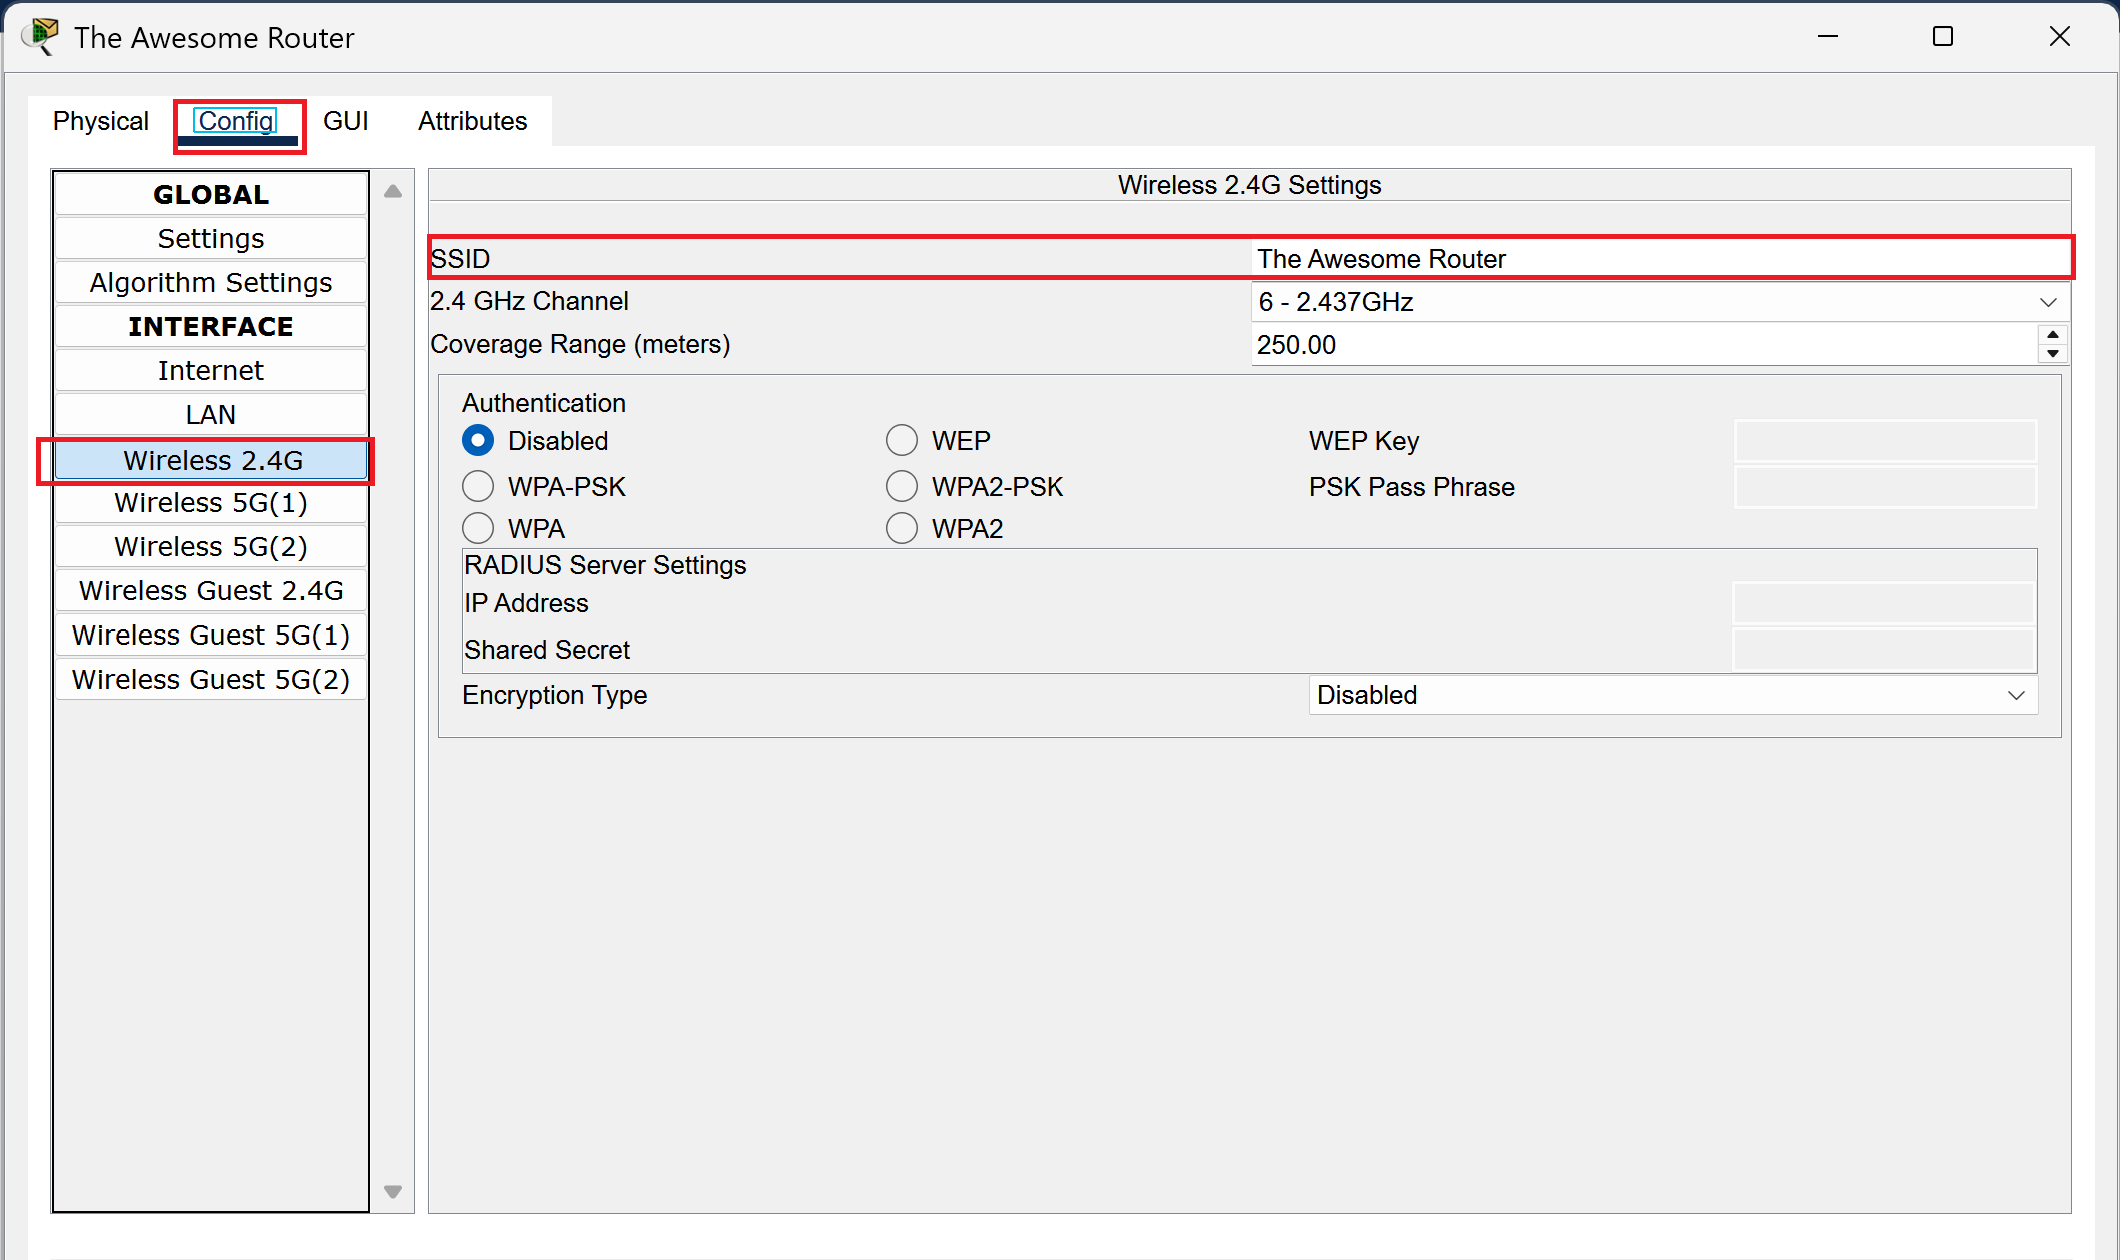
Today is the day that we’ll give our router a true name. A name it will never forget. Double click your router and head to the config tab. Go to the wireless 2.4ghz option and a menu should pop up on the right. You will see SSID this is the place where we shall give our router its true name which will be seen by all. I have decided to name our router The Awesome Router because it needs some recognition.
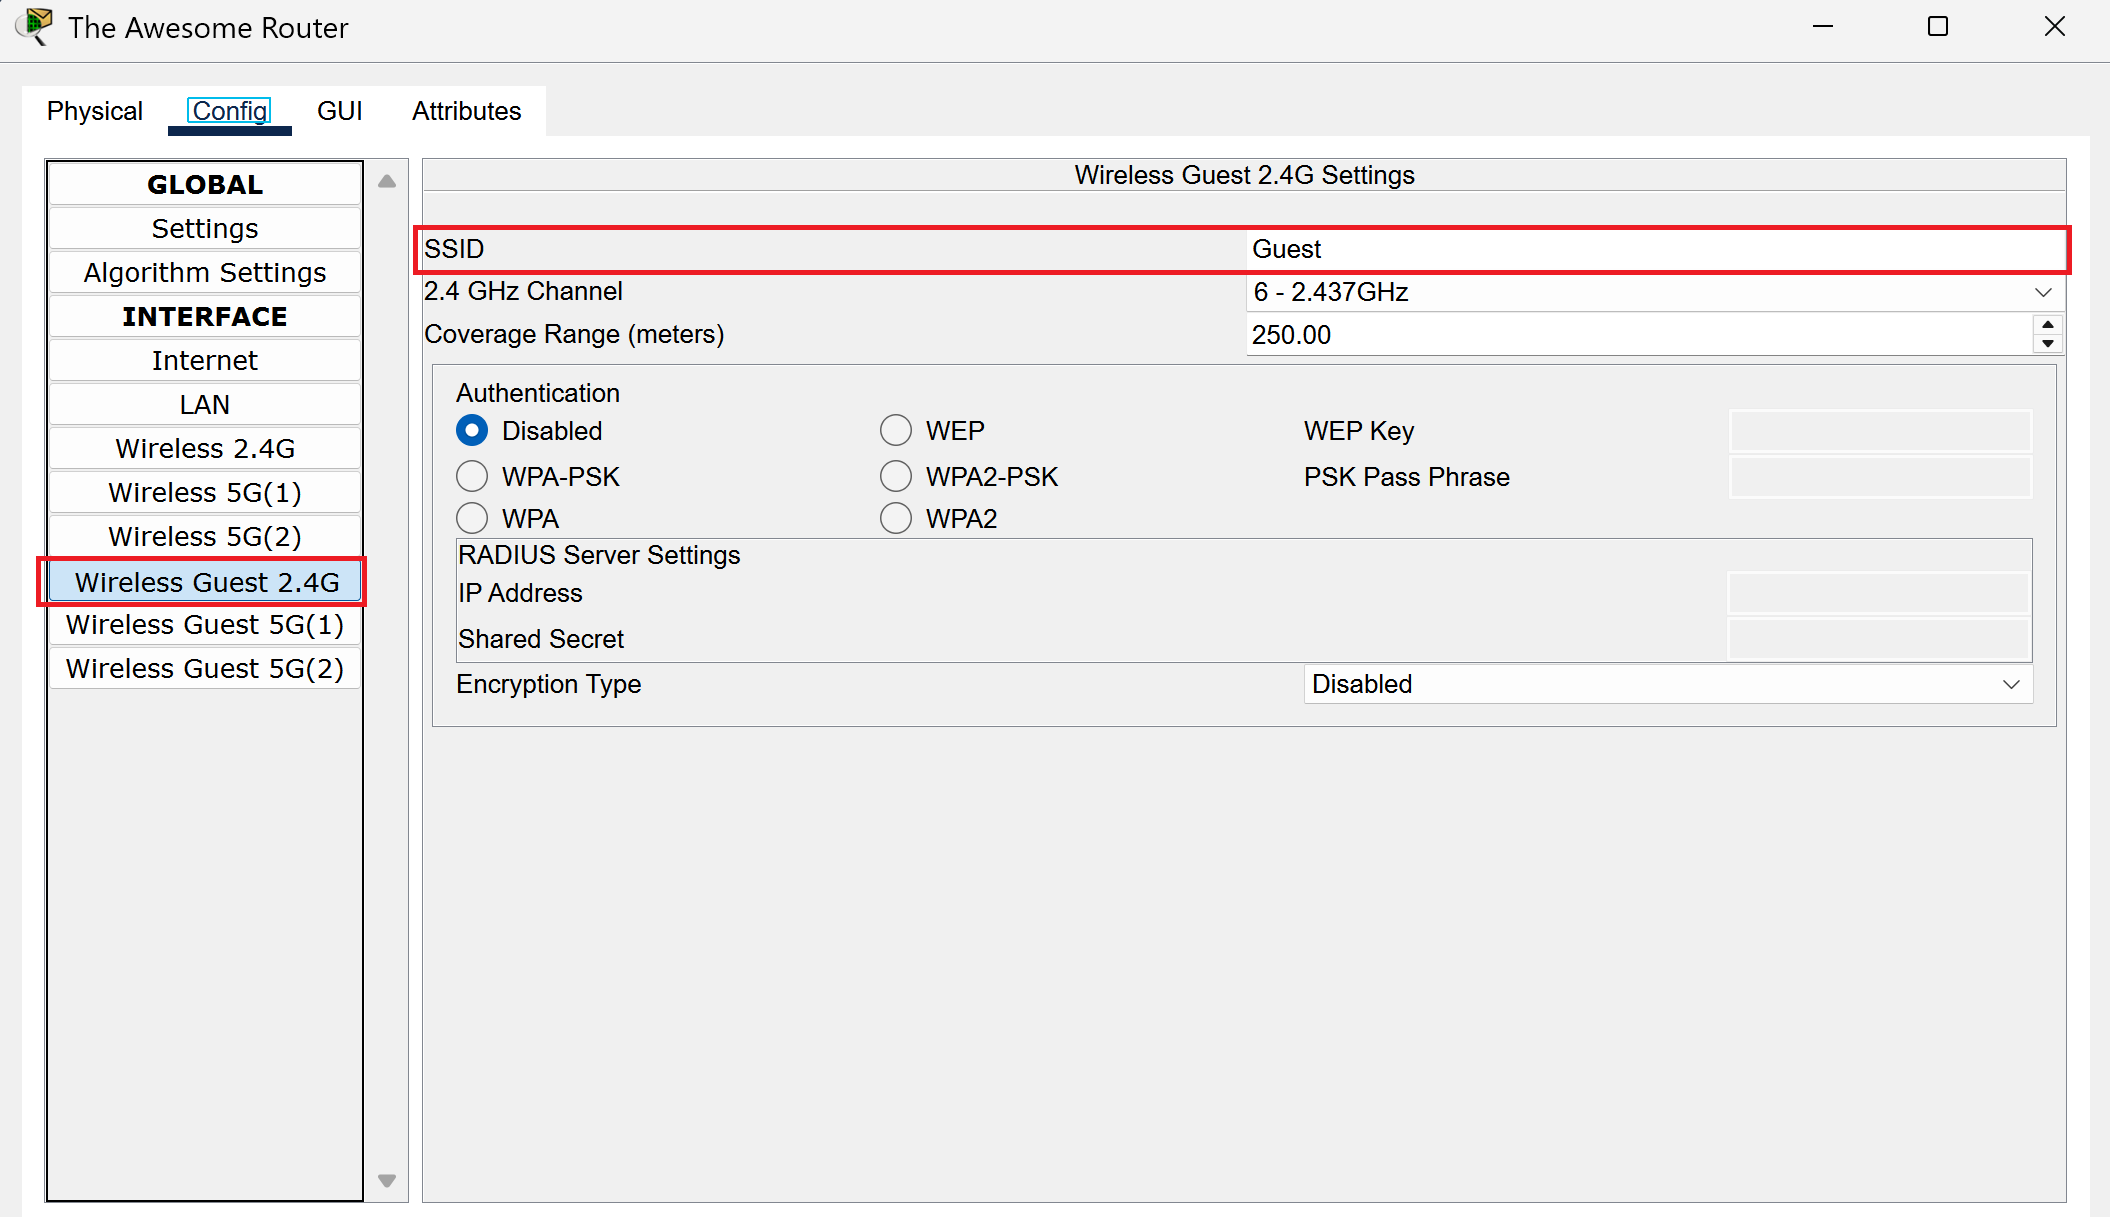
We shall repeat this process for our guest network. On the left side you’ll see a Wireless Guest 2.4ghz option. Select that and you’ll see the same SSID option to rename your guest network. In this case I decided to go with the most original and amazing name, Guest.
Ramp up the Security!
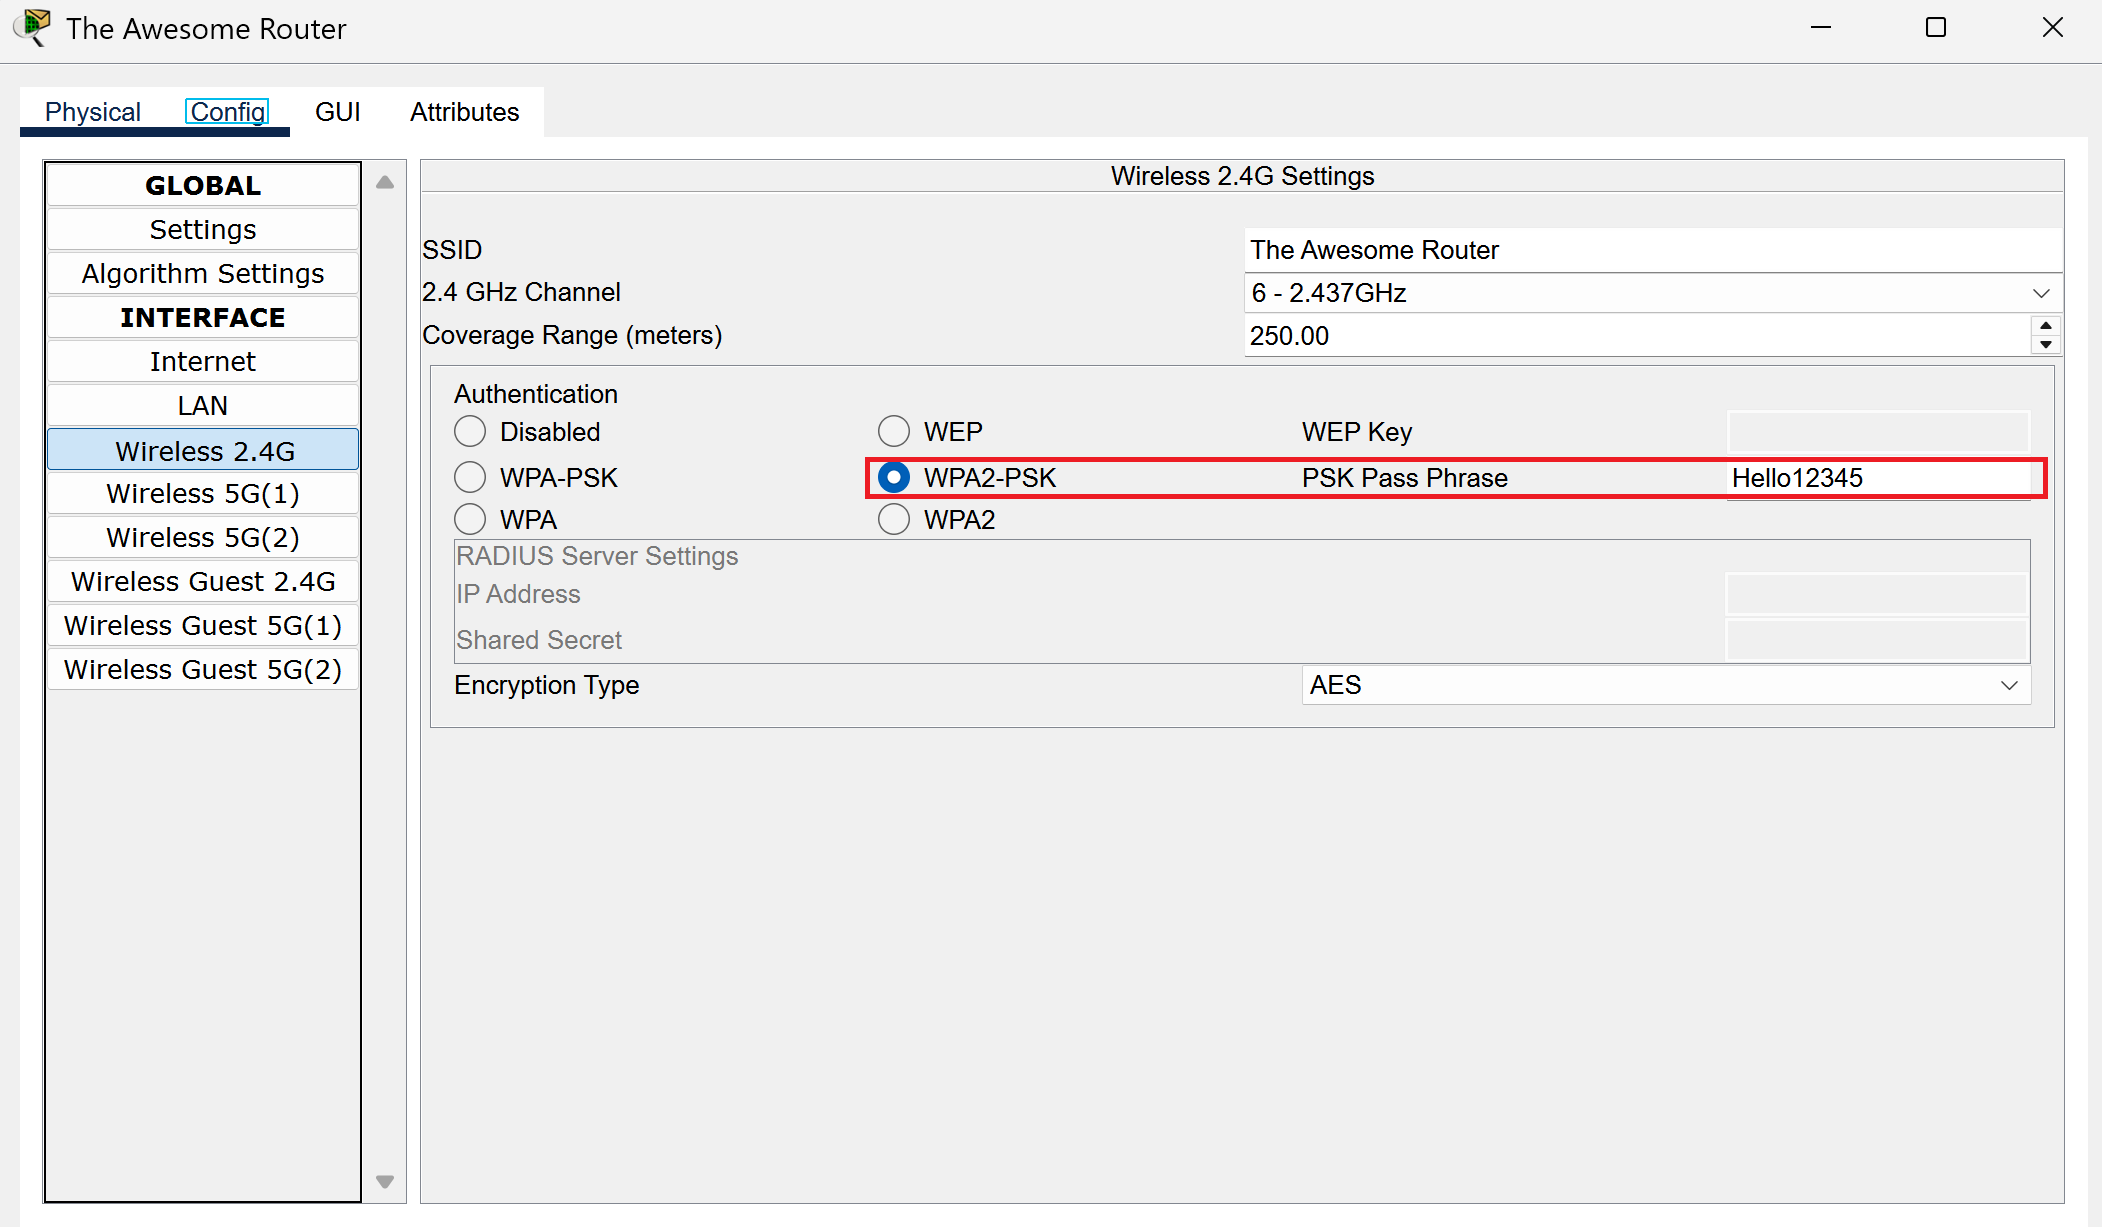
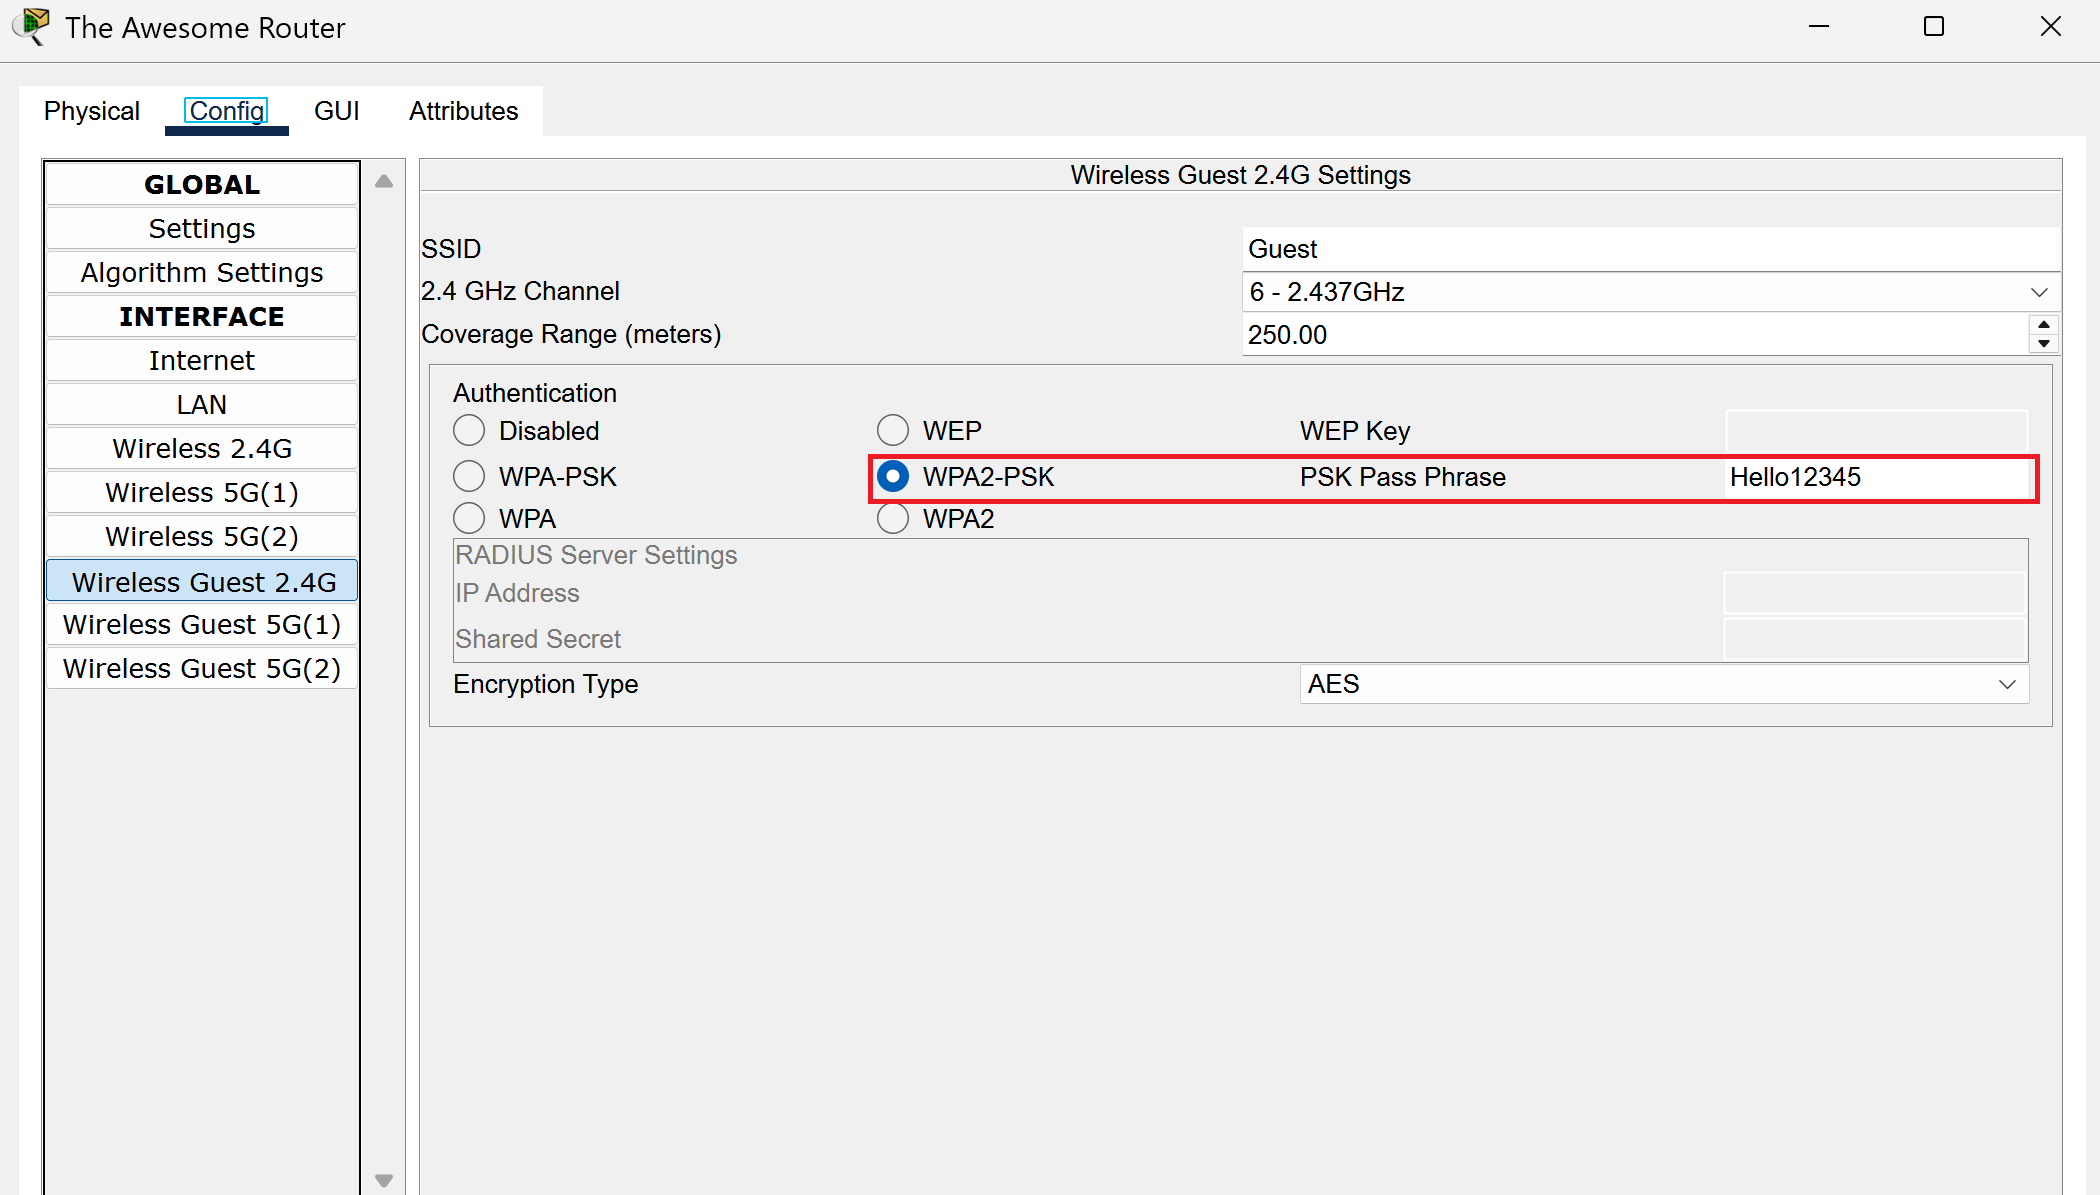
We’ll implement a password on the network now so that your trinkets will be safe. On the same window that’s open, select WPA2-PSK and you’ll see the option to select a passcode next to it. Type in a password that you desire and this will be what you’ll use to access your wifi network.
I used Hello12345 as my password for demonstrative purposes. However, for official use please use a password with capitals, numbers, and lowercase letters to make it as secure and complicated as possible. Password security is important and the last thing you want is an unauthorized user downloading 45,000 illegal movies on your network.
We’ll do the same thing for our guest network and we’ll head to wireless guest 2.4ghz. Head to WPA2-PSK and you’ll see the same passcode option next to it. Put in a password of your choosing, in my case I did Hello12345.
The GUI
Next we’ll head to the GUI tab of the router and this is where the fun begins! It’s GUI time!
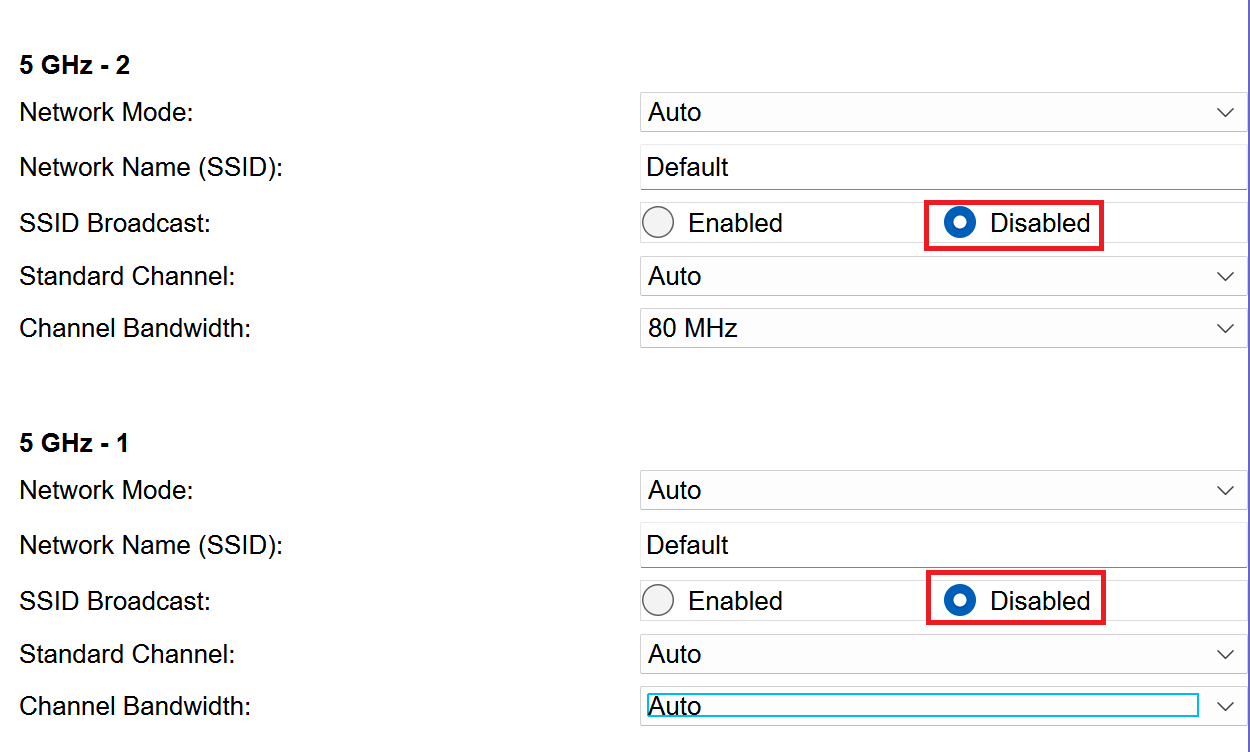
Head to the Wireless and then basic wireless settings tab underneath it. This will show all the channels that are currently being shown.

We want to reduce clutter and have only our main network and guest network enabled, so disable both 5 ghz 1 and 5 ghz 2. This will disable both channels so they won’t show up in active networks in the wifi list when we attempt to connect to them with our laptops.
Now, head to the guest network tab and select enable guest profile. This will activate the guest network and allow it to be shown on the active wifi list!
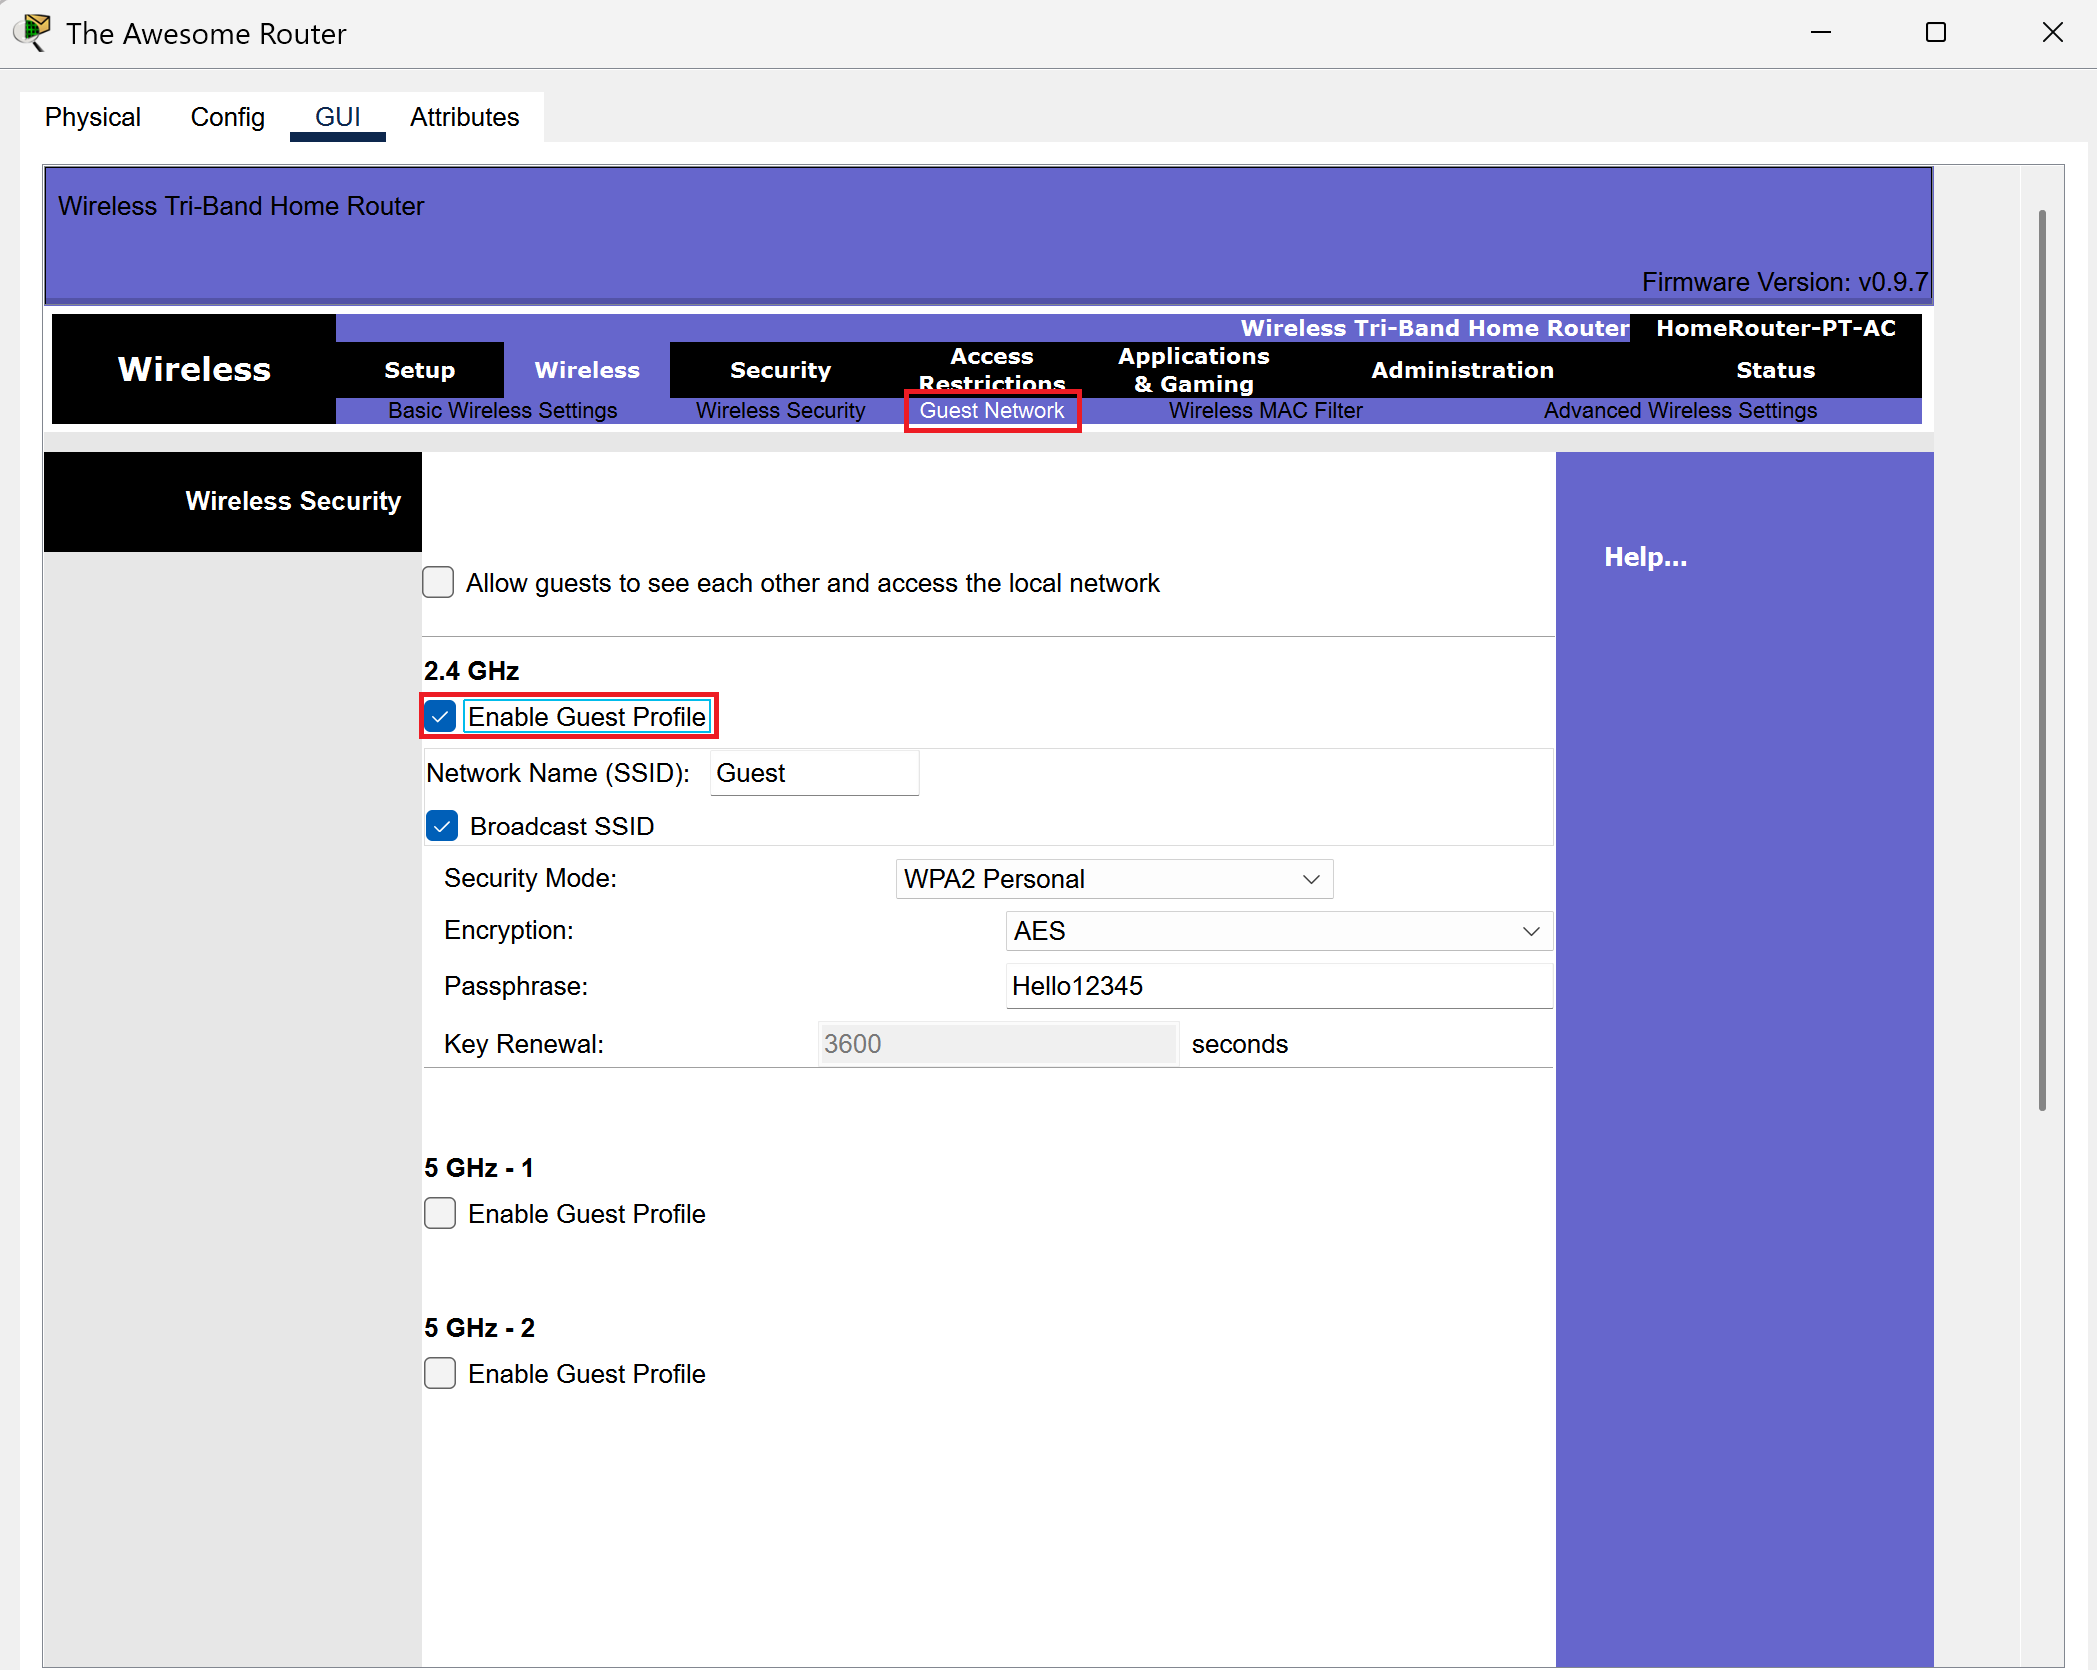
Now, after you’ve done all this, don’t forget the most important step! Scroll down and select save settings. Everything that you have just done will be reverted if you don’t save.

It’s Hardware Time
Now it’s time to mess with some hardware and make sure that our laptops can actually connect to our router.
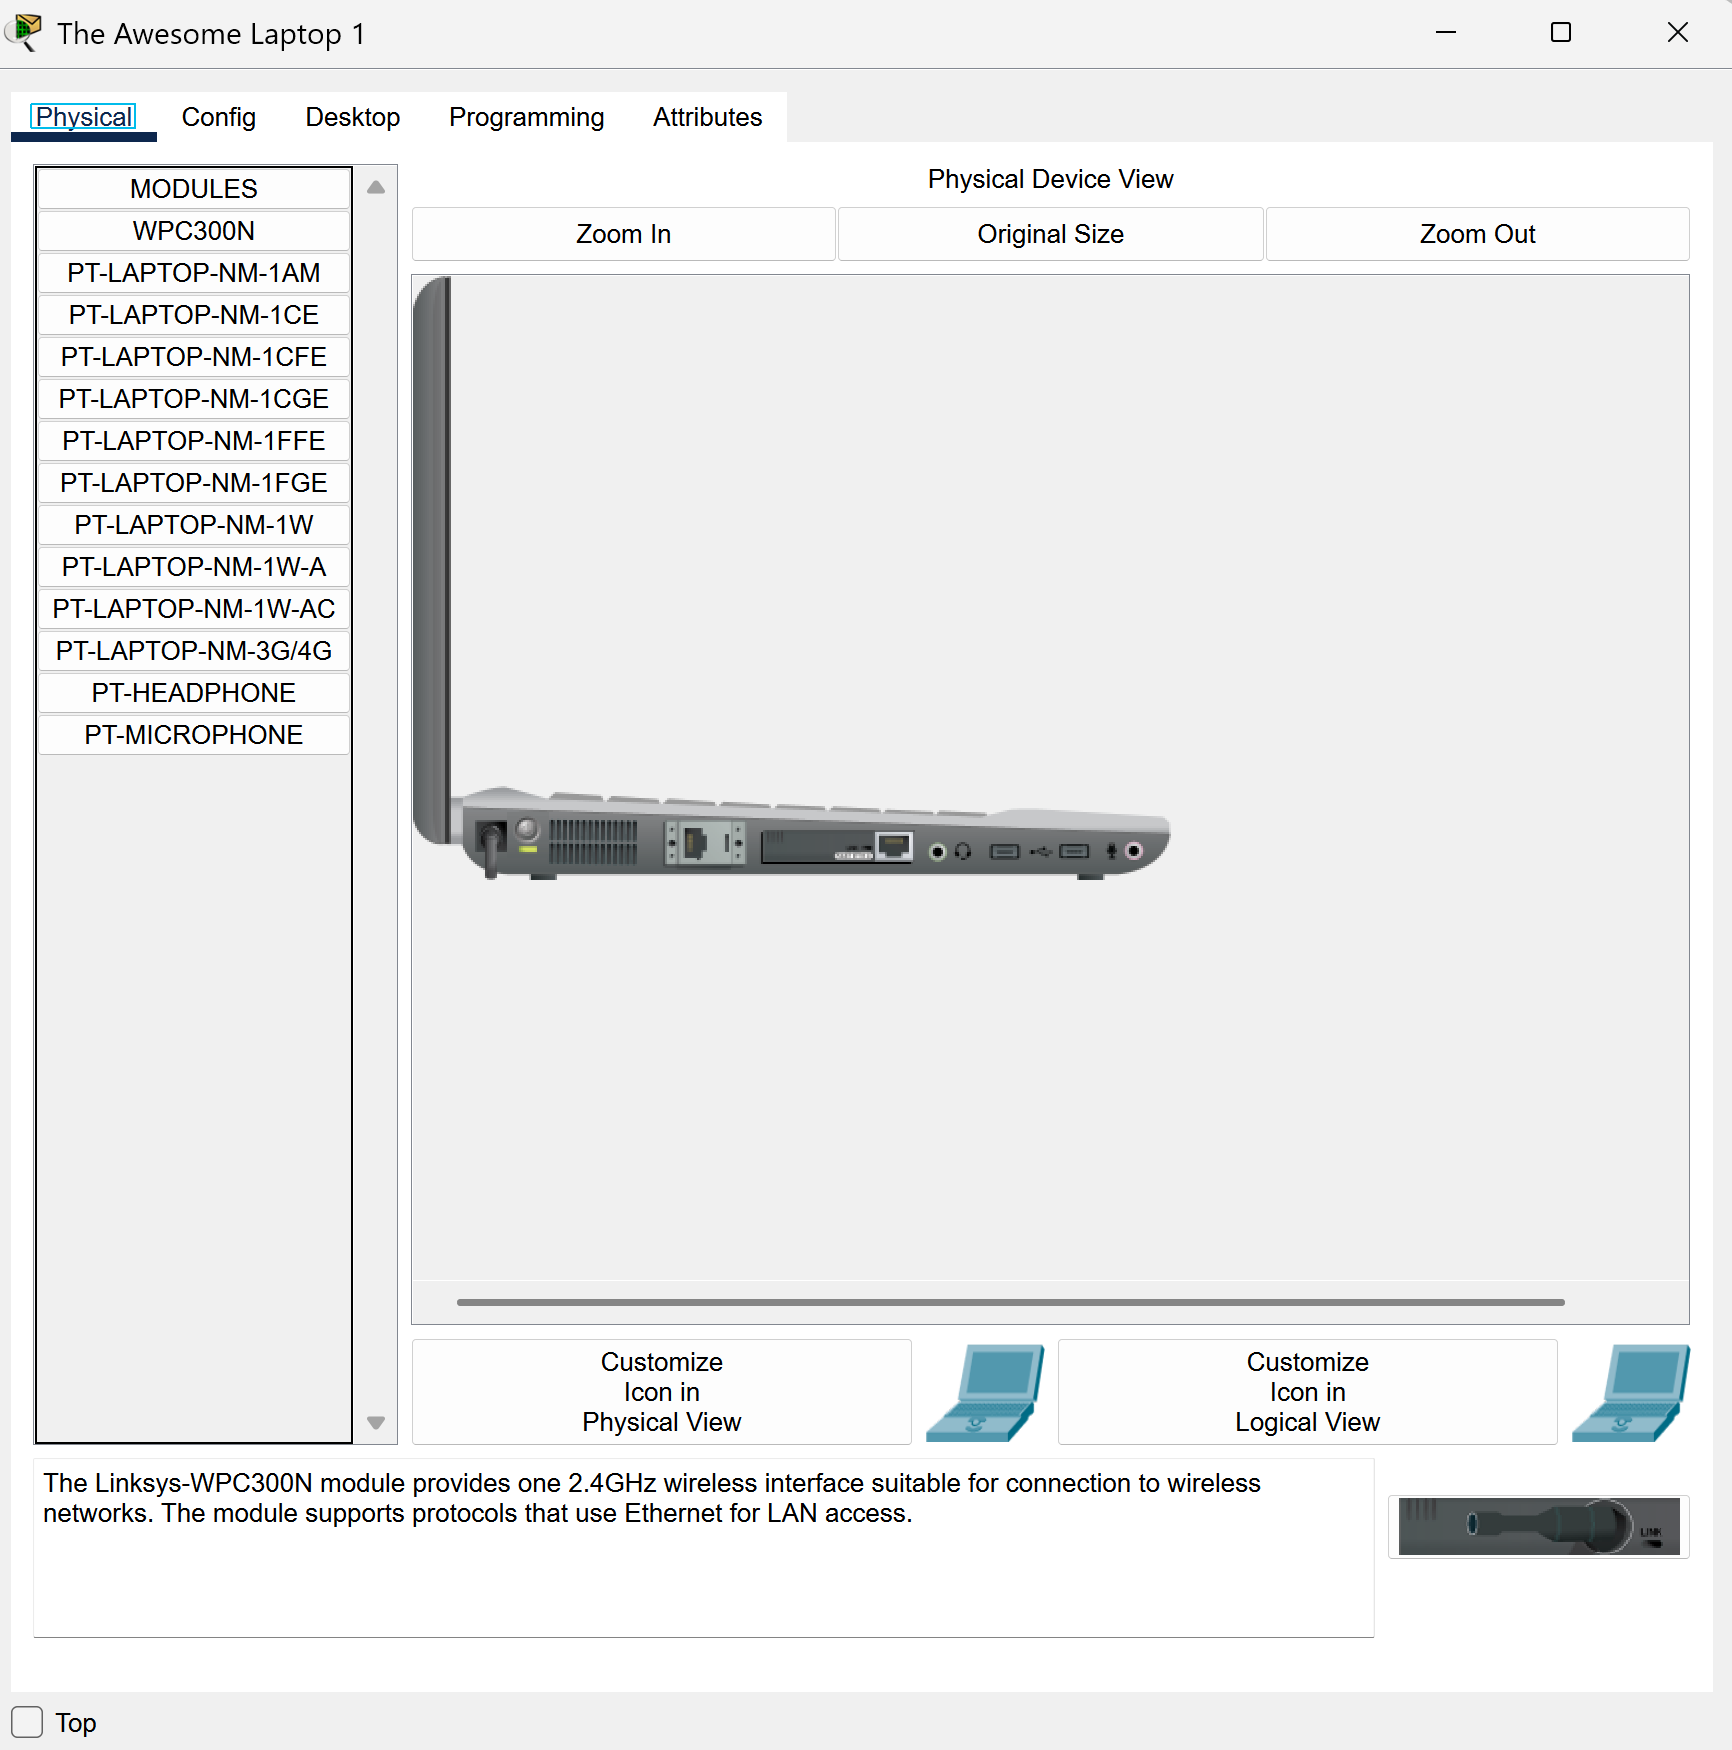
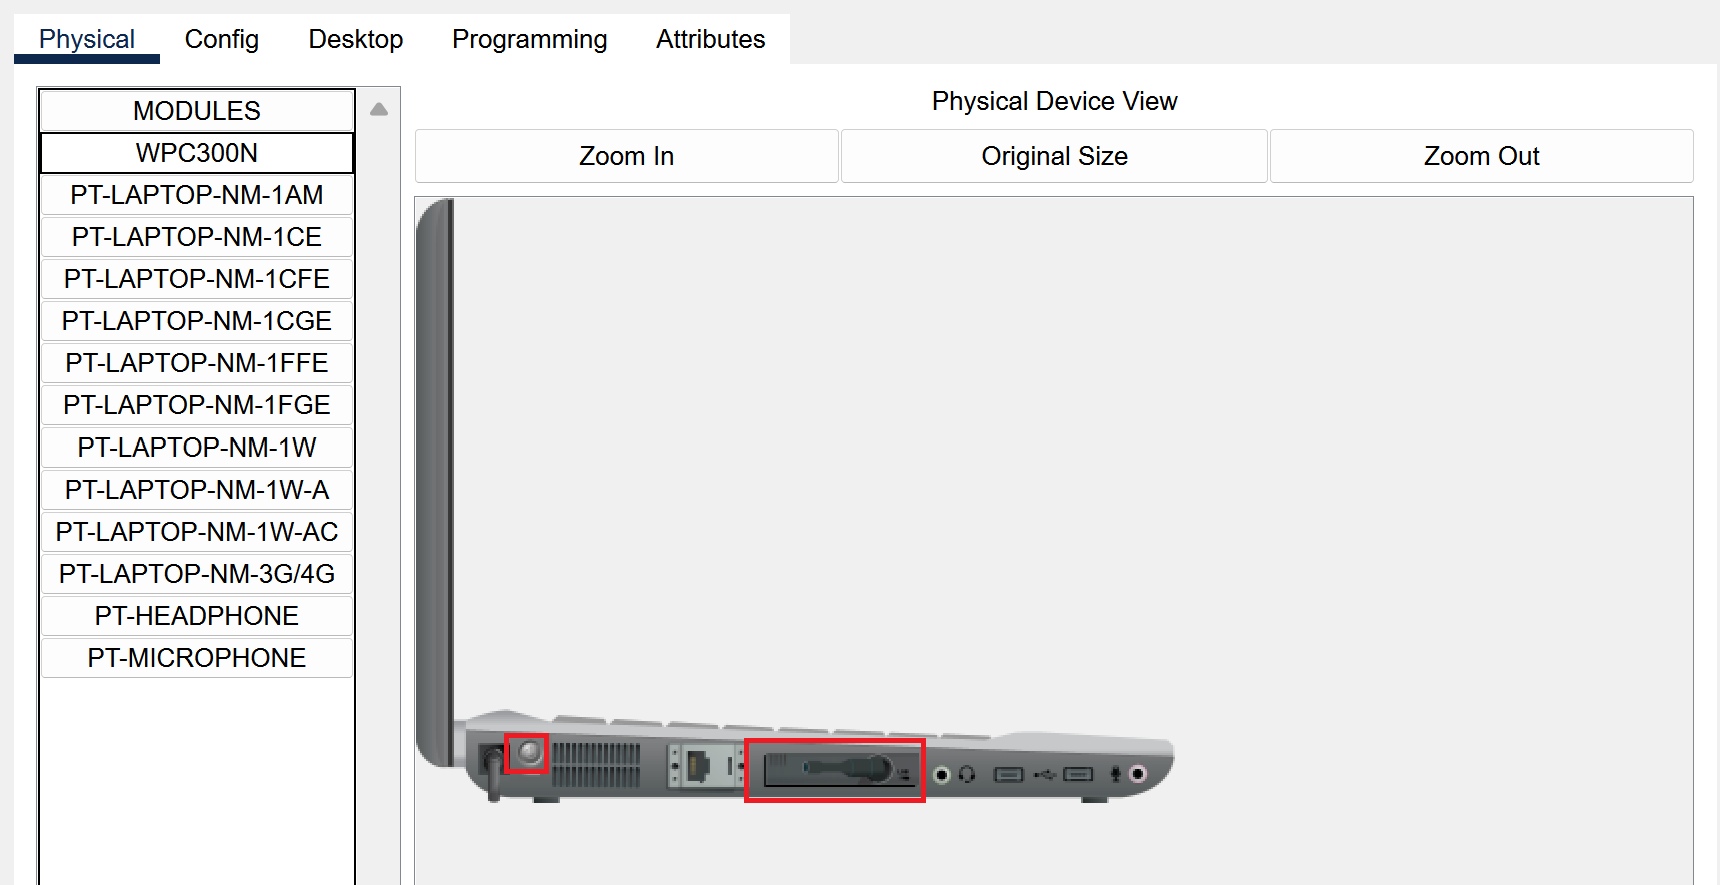
Double click on the first laptop and head to the physical tab to see a physical representation of your laptop and a long list of modules on the side.
Let’s get into the thick of it!
1.) Press the small circle power button to turn off your laptop.
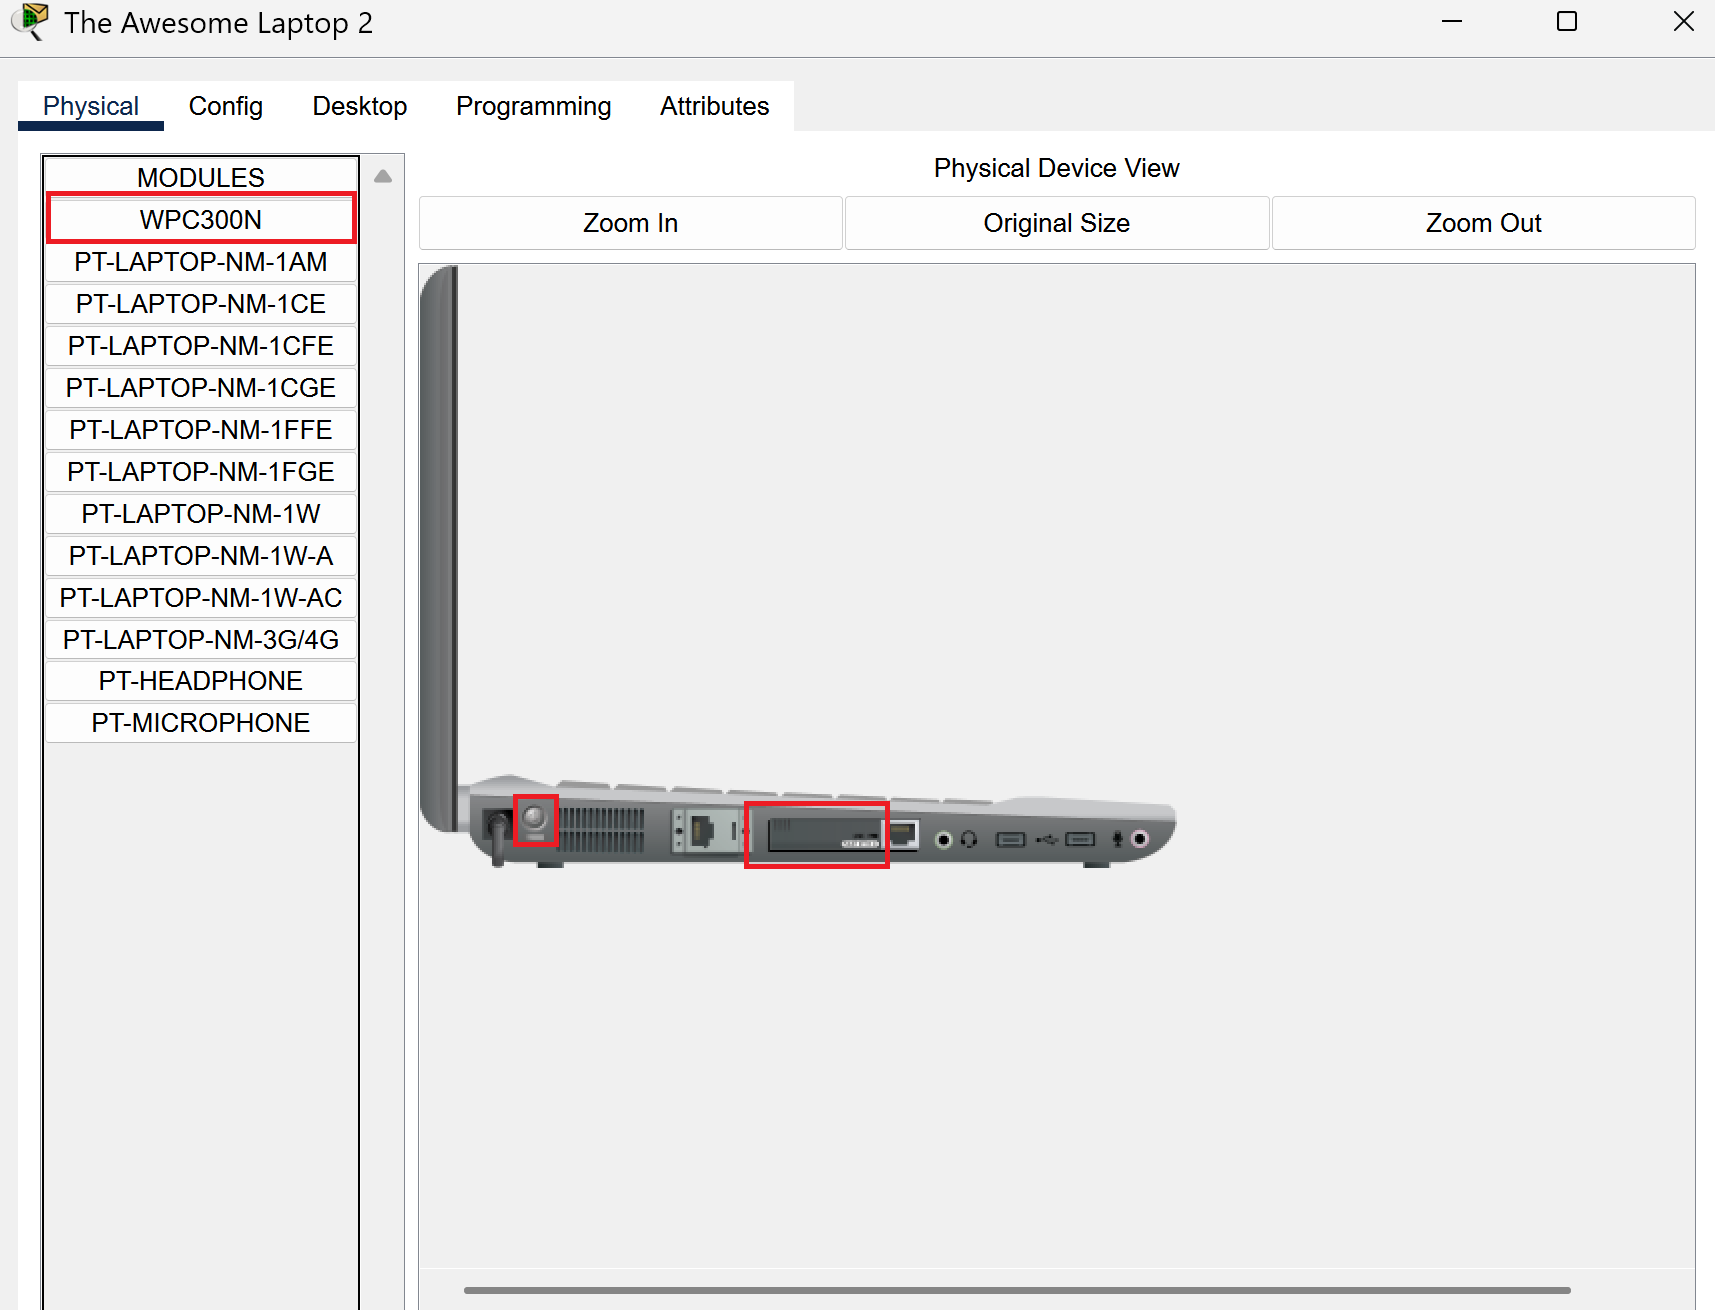
2.) Drag the module in your laptop into the module list on the left. This will leave a blank black space with no module inserted.
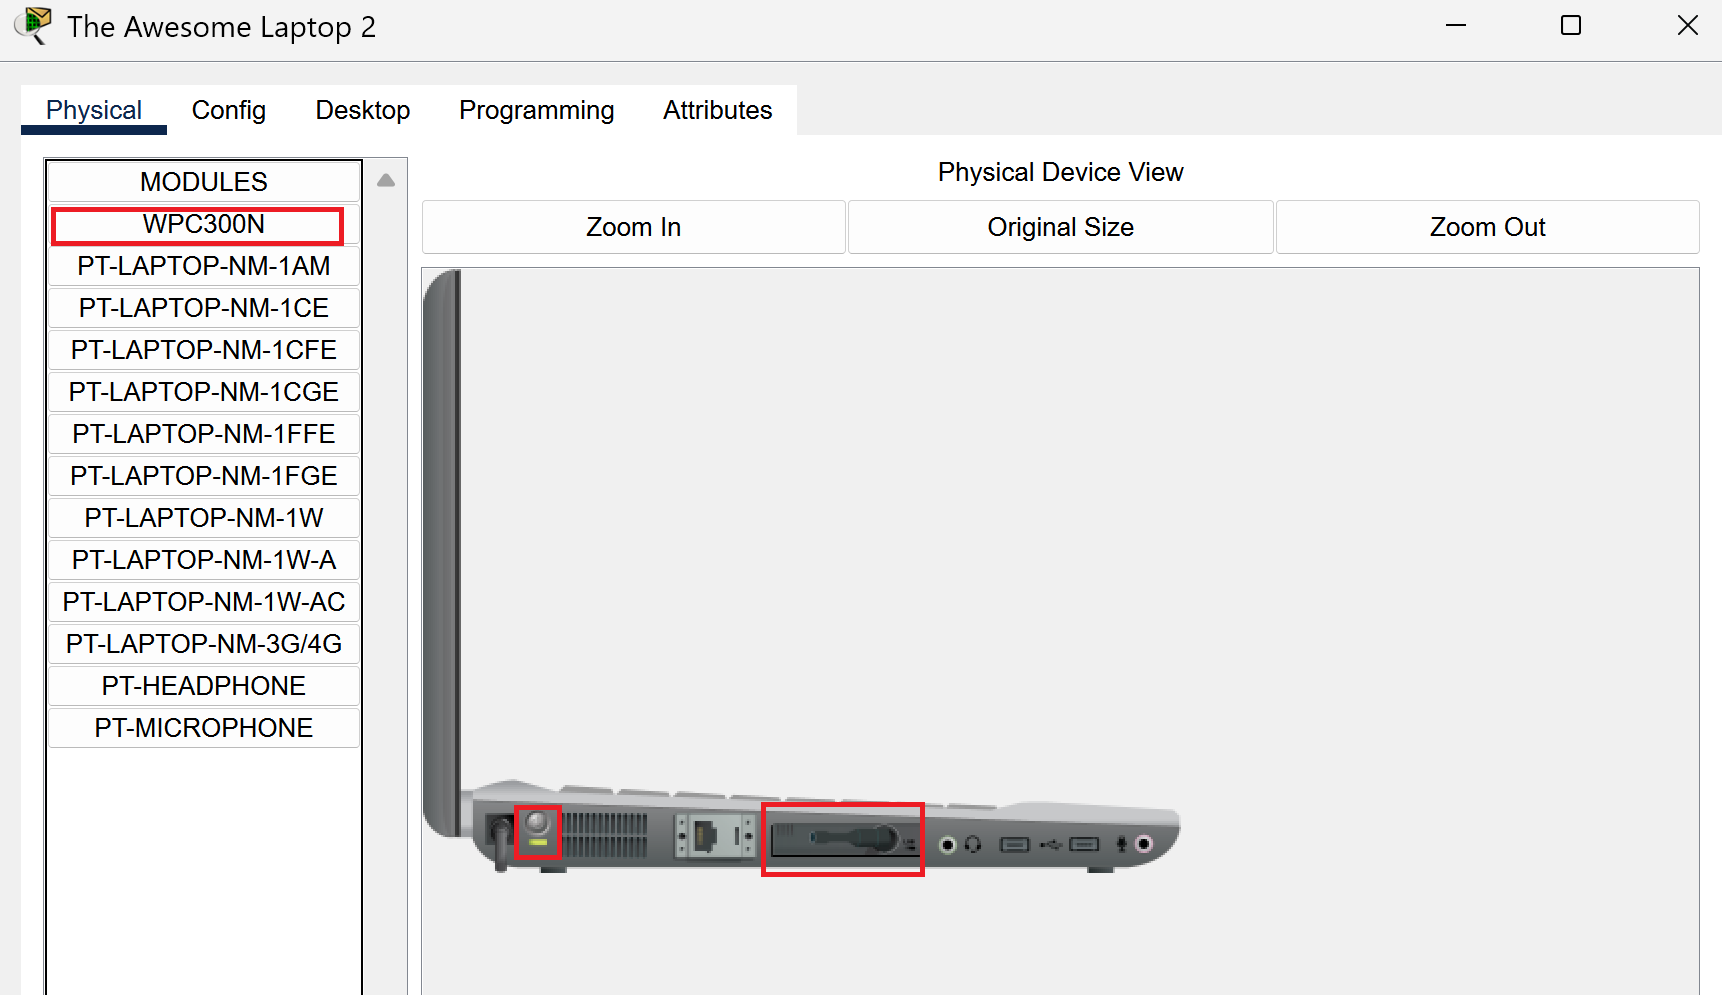
3.) Drag WPC300N from the module list into the empty slot on your laptop.

If you followed the steps above, you’ll have a new adapter in your laptop.
Now, turn the laptop back on by pressing the power button and we should be set for laptop 1.
We’ll head to laptop #2 and repeat the same process again.
1.) Press the small circle power button to turn off your laptop.
2.) Drag the module in your laptop into the module list on the left. This will leave a blank black space with no module inserted.
3.) Drag WPC300N from the module list into the empty slot on your laptop.
Now, turn the laptop back on by pressing the power button and we should be set for laptop 2.
It’s Time to Connect!
It’s time to connect and get to the main reason as to why we’re here!
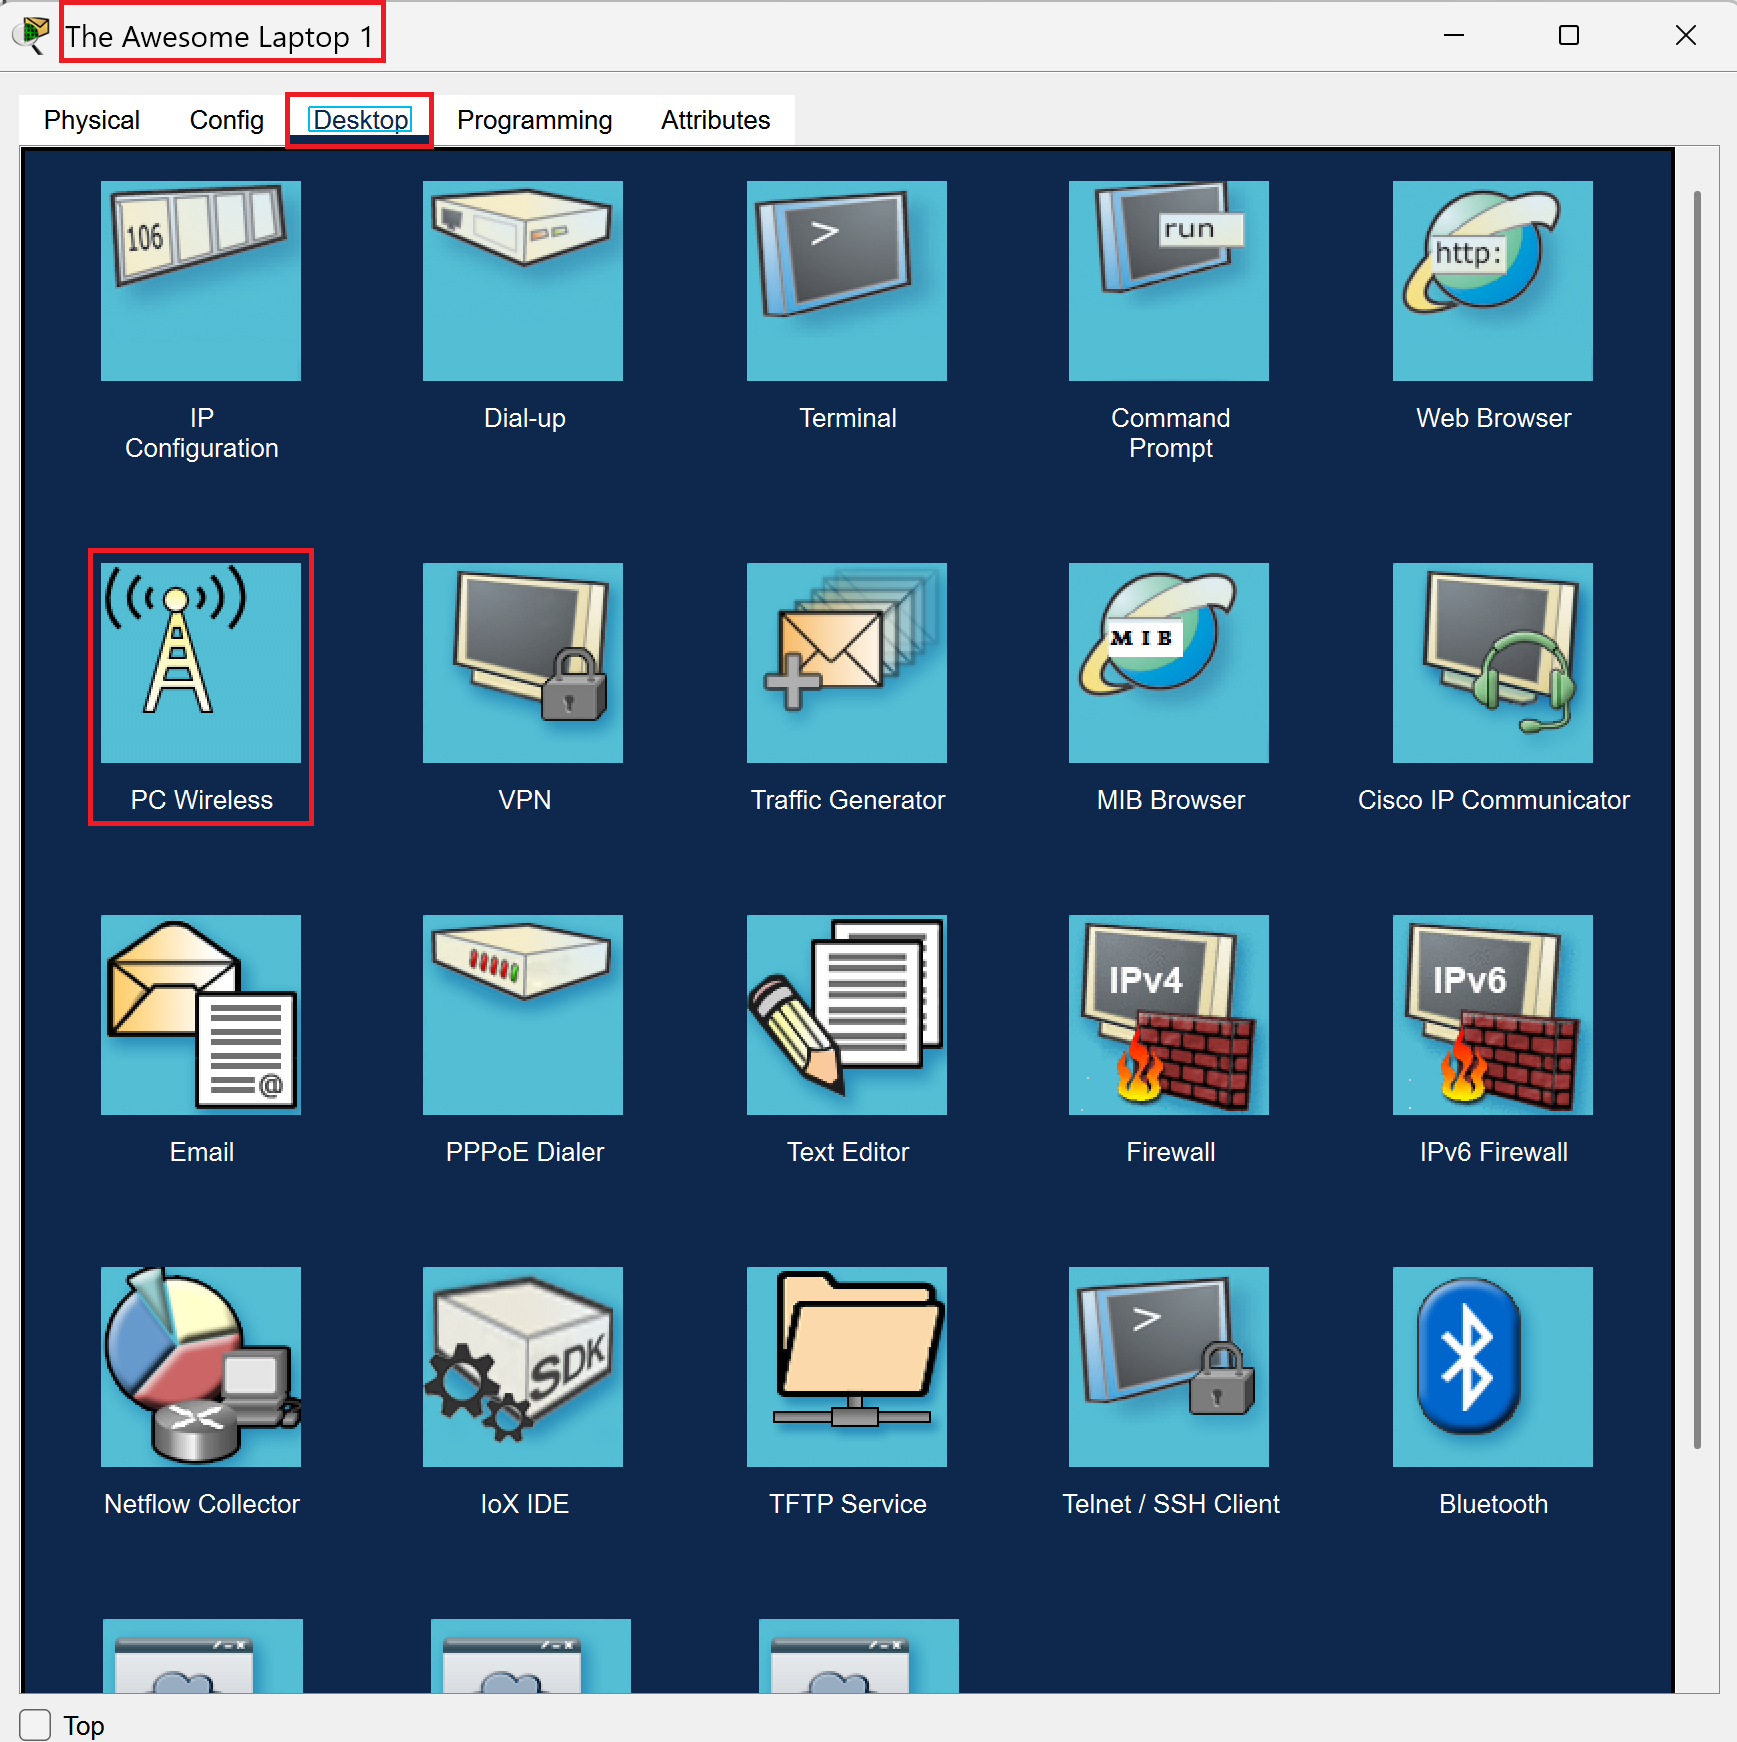
Head back to laptop #1 and go to the desktop setting. A lot of options will pop up, but what we’re looking for is to select PC Wireless.
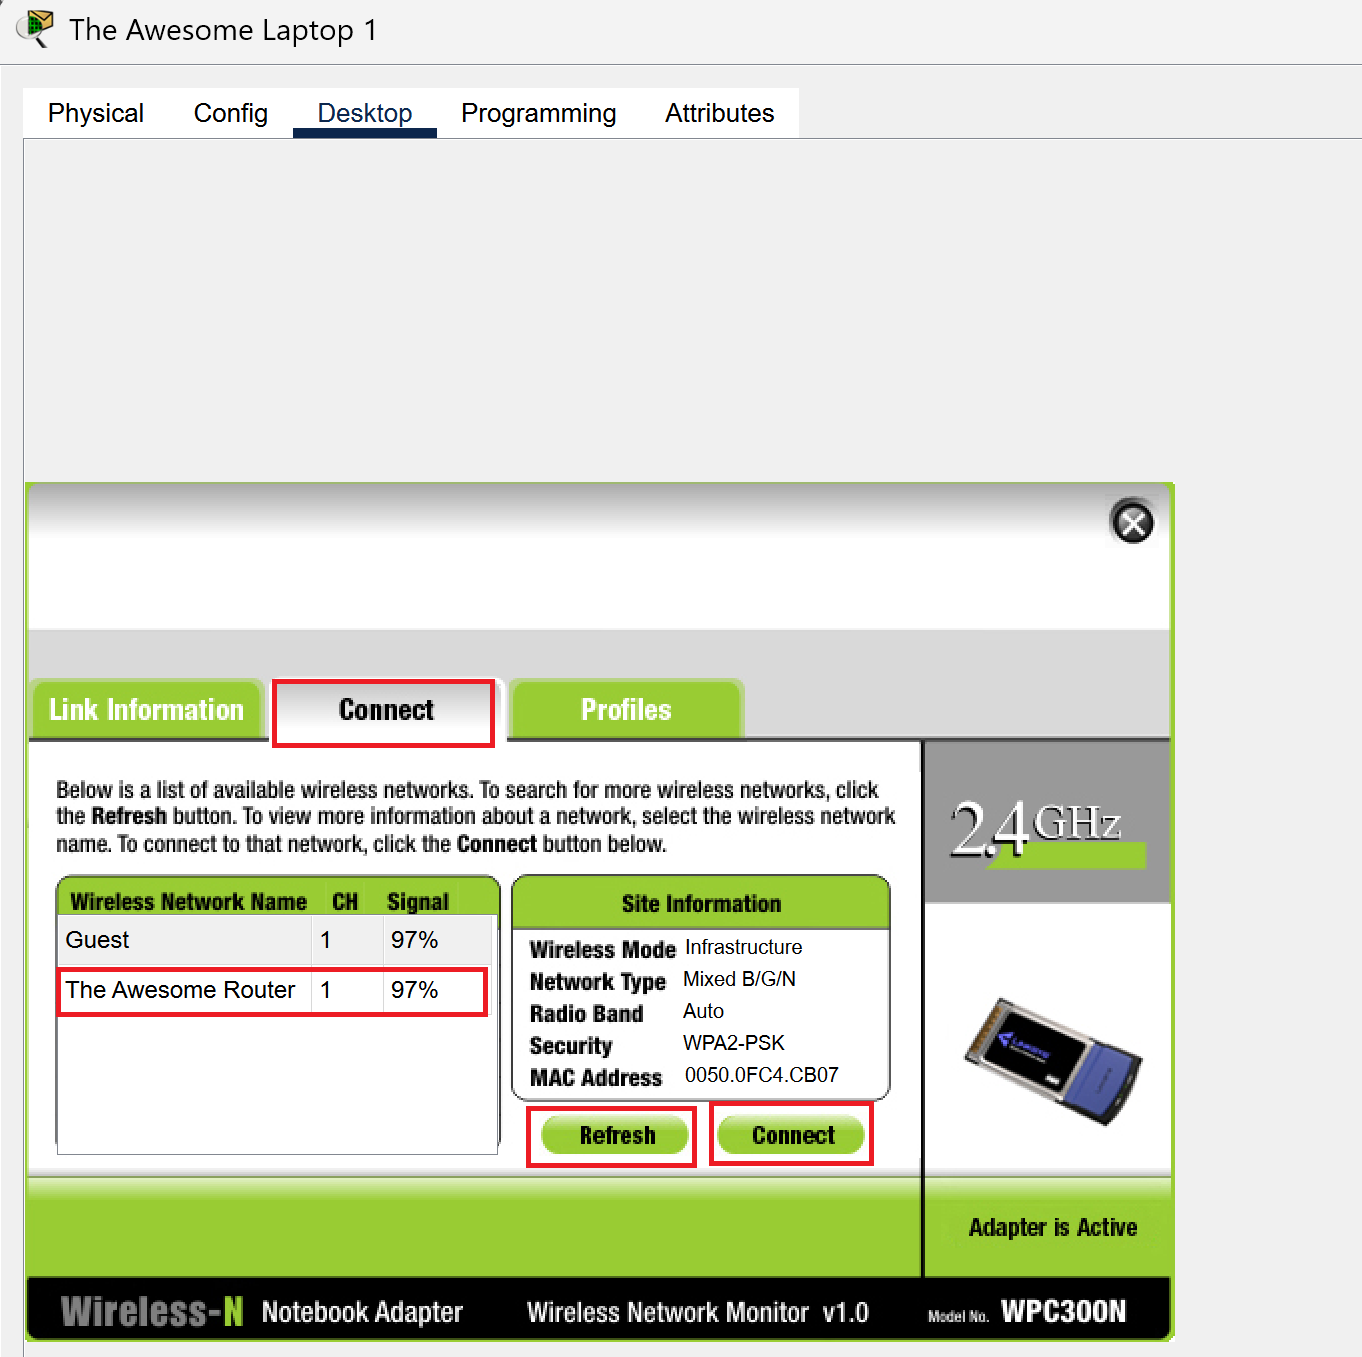
A new menu will pop up. Select the connect tab.
Hit refresh and the list should populate with networks.
Select the main network, in my case it’ll be The Awesome Router and after that hit connect.
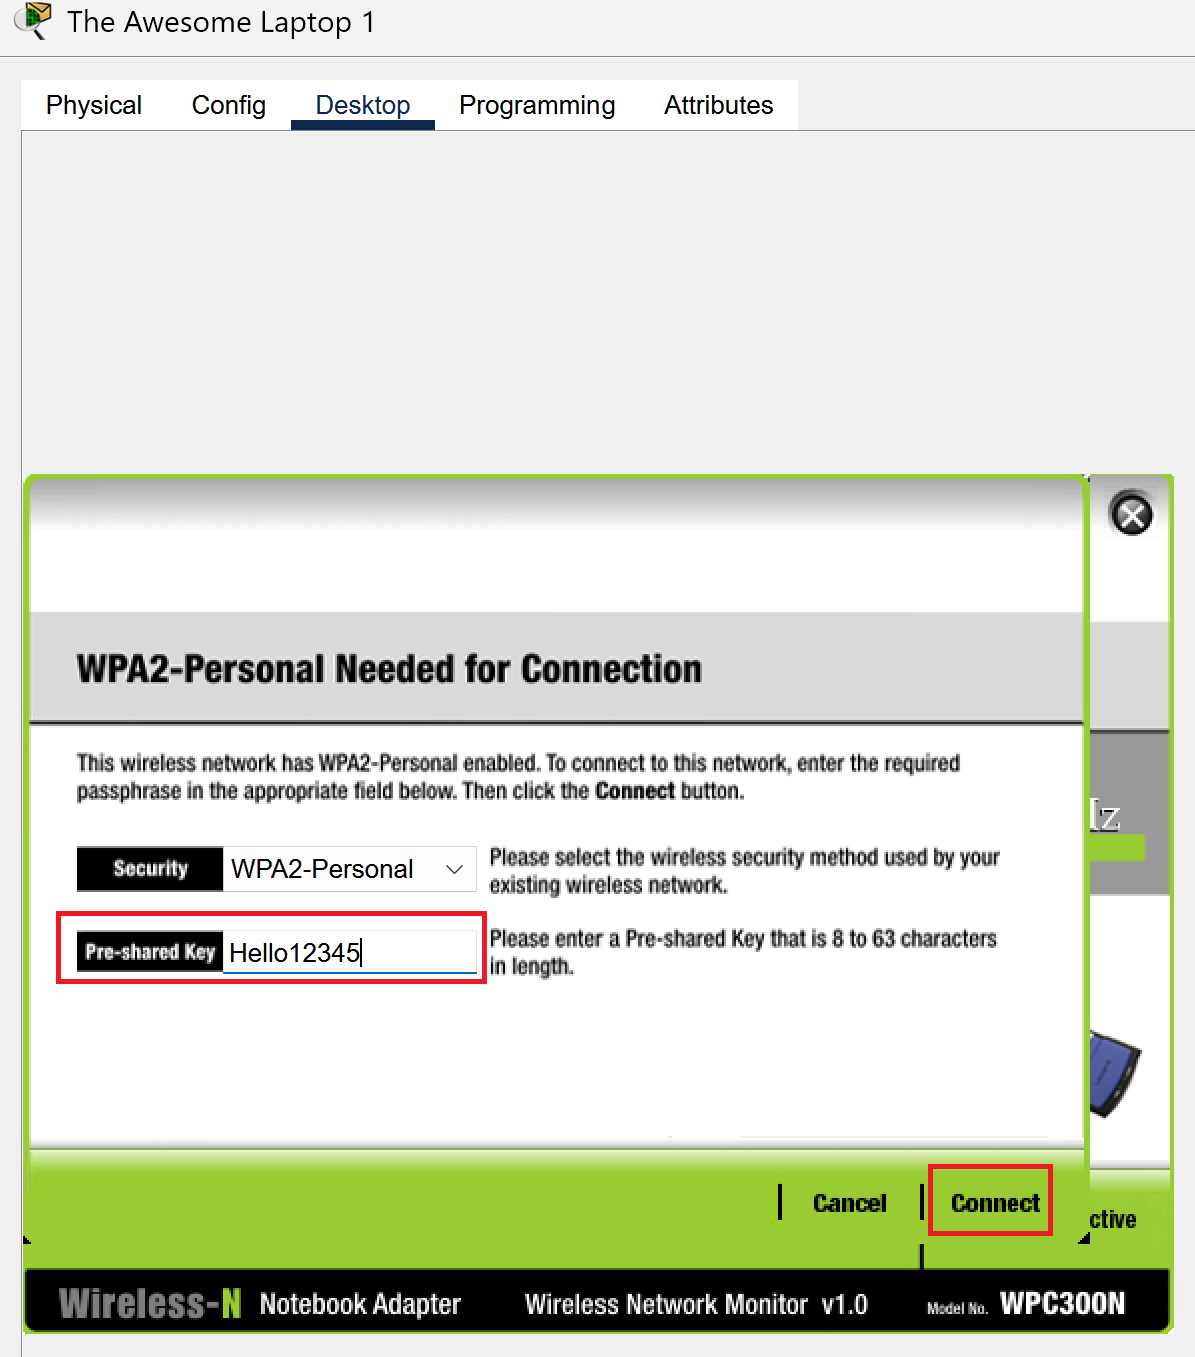
A new menu should pop up and this one is where the authentication happens.
Type your passkey into the box next to pre-shared key.
Once that’s done, hit connect and your laptop should now be connected to the main network! Woohoo!
We’re going to repeat this process but for laptop #2.
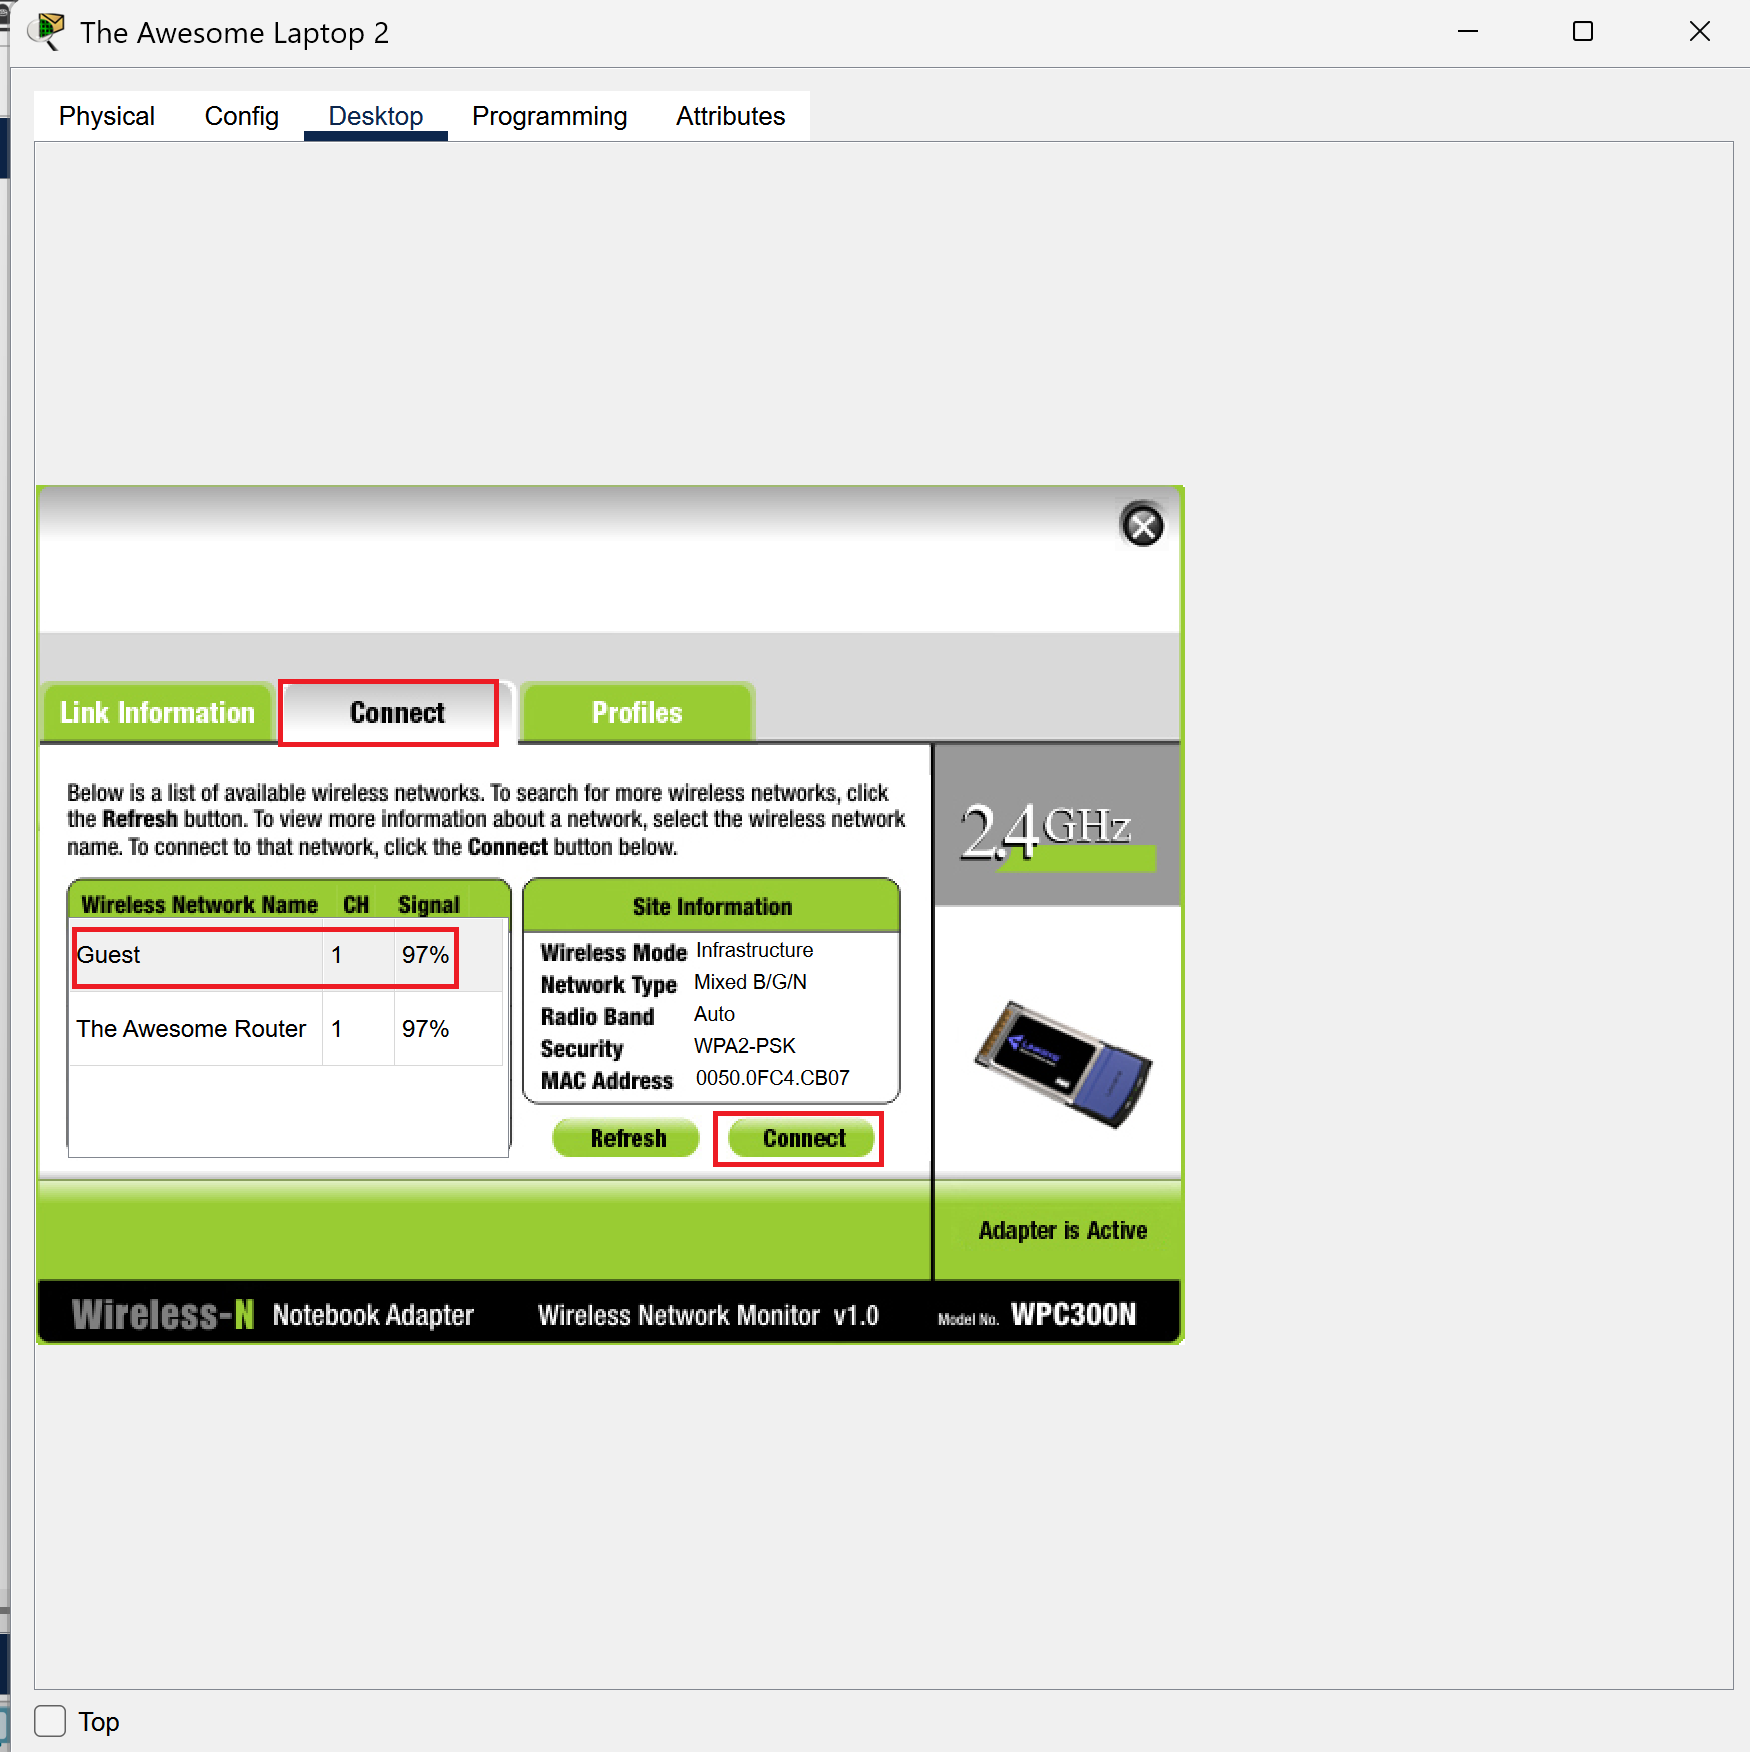
Head to laptop #2, select the desktop tab, and then PC Wireless.

Select the connect tab, hit refresh, select Guest, and then connect!
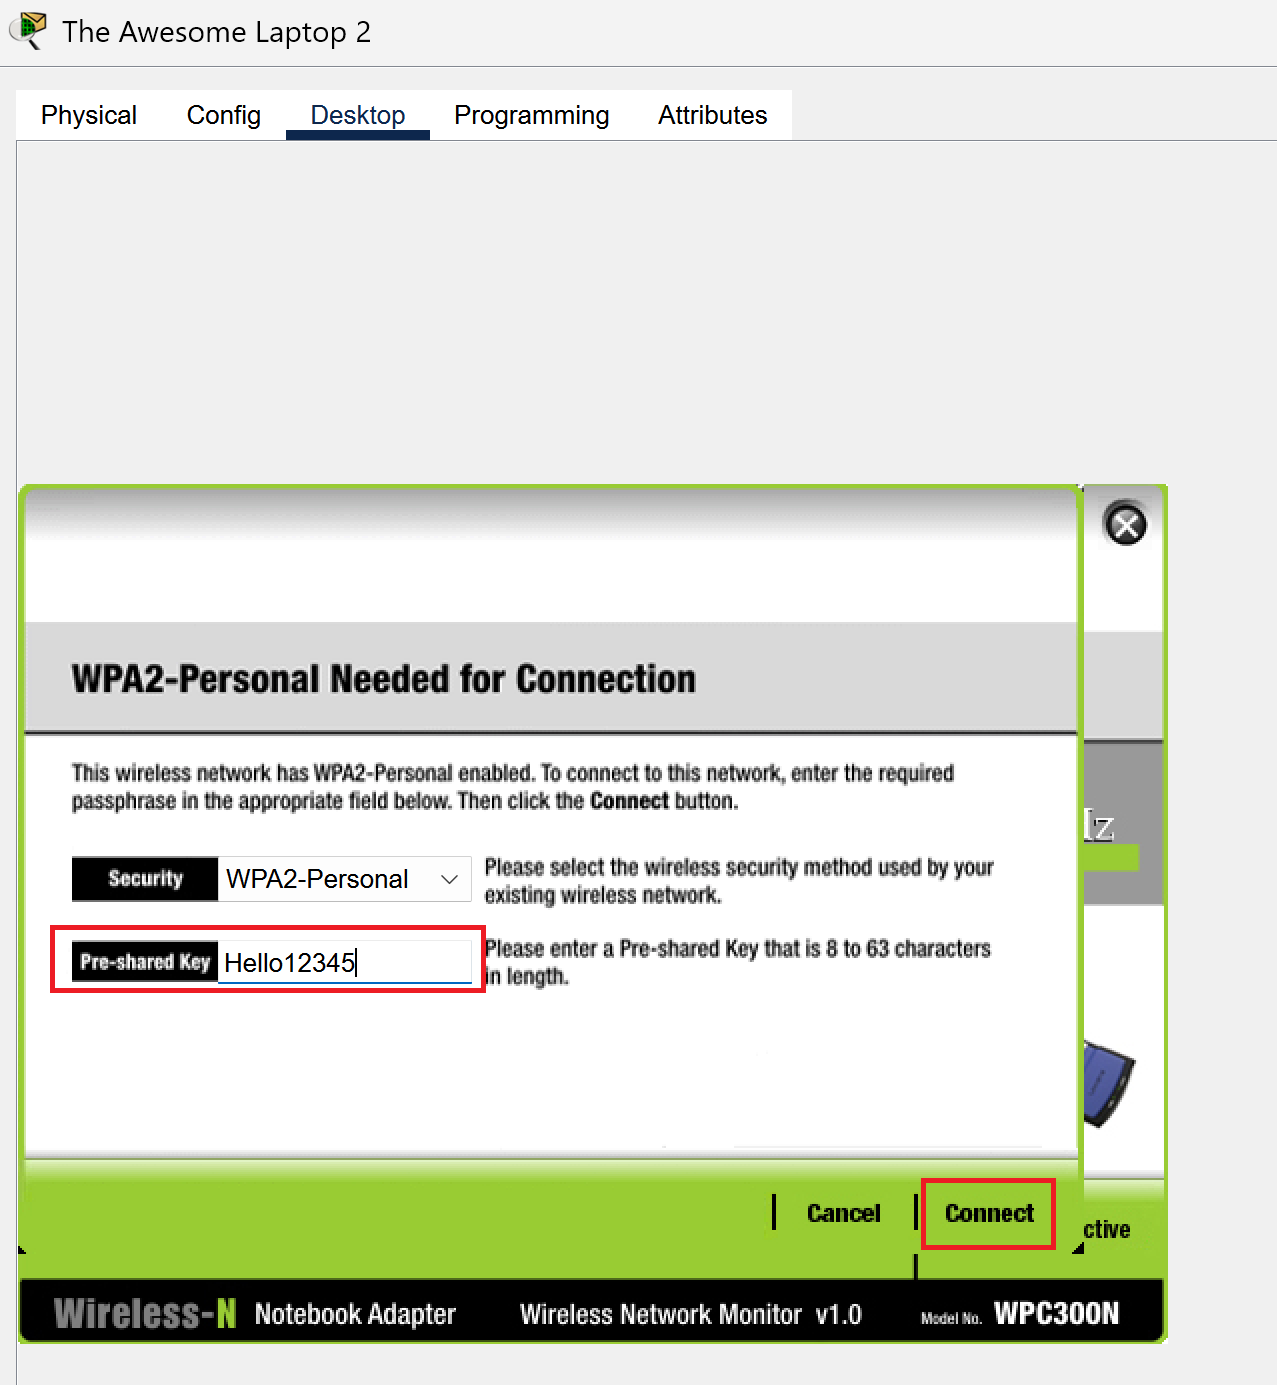
Type your passkey into the box next to pre-shared key.
Once that’s done, hit connect and your laptop should now be connected to the guest network! Woohoo!
Now both laptops are connected to the router! Your adapters are working! It’s a miracle! It’s the networking circle of life! Isn’t it beautiful?
It is Finished!
Congratulations! You’ve made it through the tutorial! If you followed along correctly, you’ll have managed to set up a main network, guest network, and connected two laptops to a router. Phew, it was quite a journey, but you did it!
P.S I used Cisco Packet Tracer to simulate how to set up a wireless network. This process may differ from your own router at home and it won’t be as simple if you’re trying to switch out physical parts on your laptop or desktops. However, the premise is similar and now you’re one step closer to being a networking wizard.
(Please do your research before attempting this process! Find out the model of what router you have and if any problems arise look at your device manual!)