What is DHCP?
There are many acronyms in the tech world and today’s acronym will be DHCP or Dynamic Host Configuration Protocol. This is a protocol that eliminates the need for manual assignment of IP addresses to devices and allows for automatic IP assigning to devices. It makes life a lot easier and reduces congestion in networks. Who doesn’t love automation?
How to Set Up DHCP
Today we’re going to be using Cisco Packet Tracer to set up and configure DHCP in a router which will be the focal point for communication between switches and devices. This will be a digital representation which will mimick a real life scenario with actual hardware. Ready? Let’s go!

The Show Begins
We’ll start off with opening Cisco Packet Tracer. On start up you’ll have a blank canvas with nothing on it.
In the bottom left corner select Network Devices, after that select router and then the 2911 router. Drag this router onto your canvas in any spot that you desire!

Next, select Network Devices and then go to the switch tab. You will select the 2960 device and drag two of them onto your canvas.

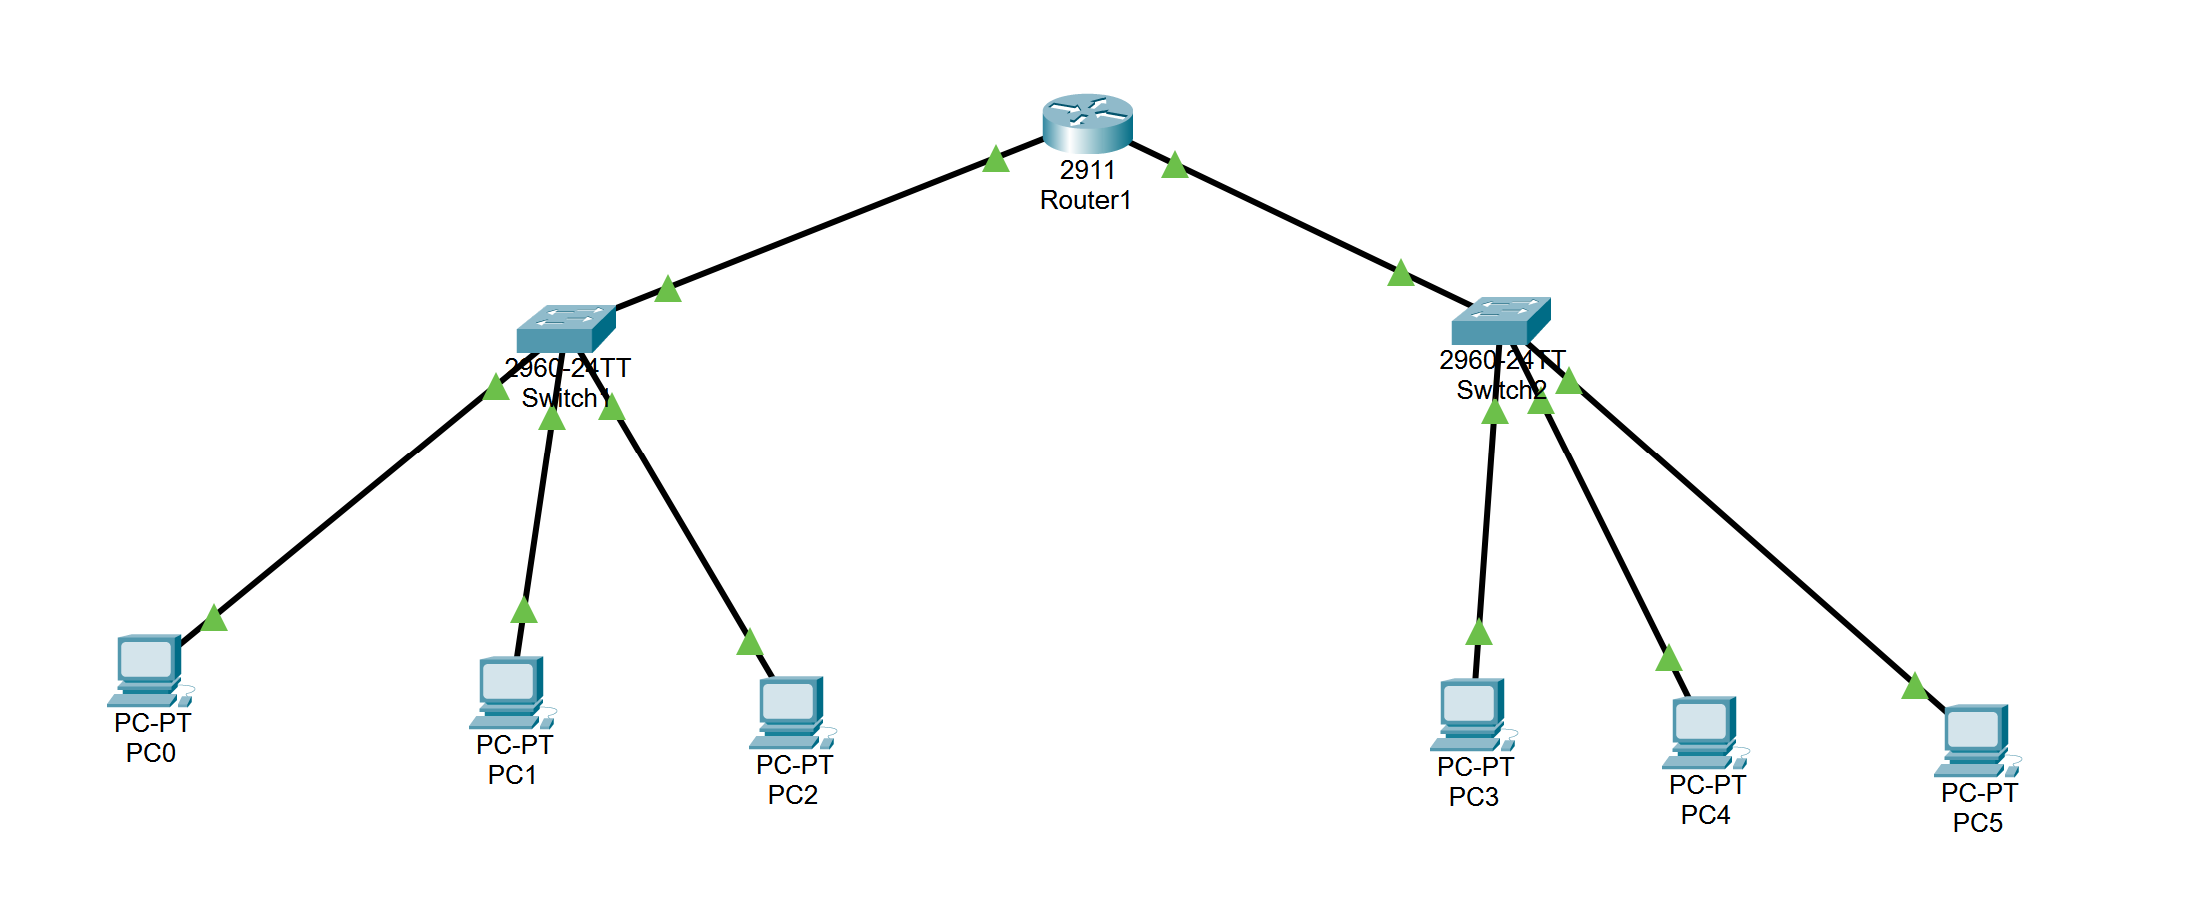
You’ll now have two switches and a router on your canvas! Isn’t it beautiful?
Next, select the end devices tab and select the PC. We’re going to place 6 of these PC’s onto our canvas.

It’s Time to Connect
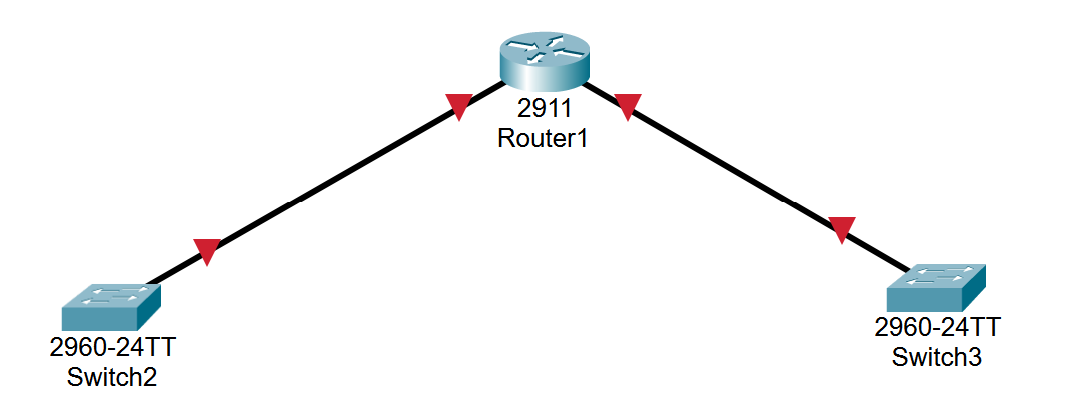
Now, we’re going to connect our router to our switches.
Head to the connections tab and select copper straight-through.

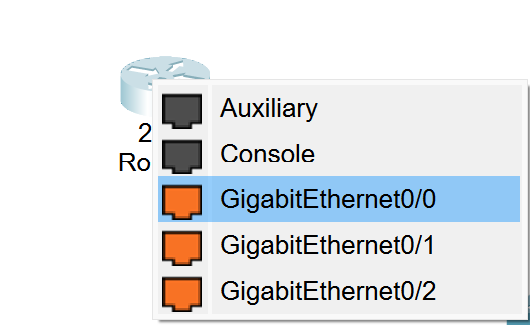
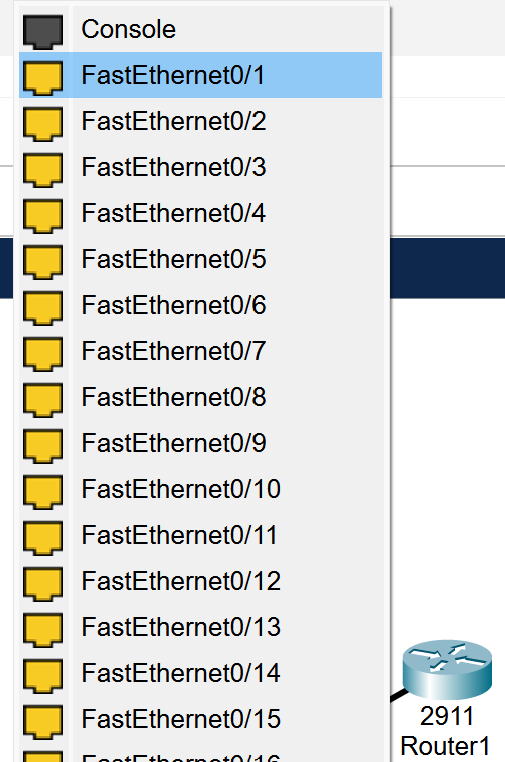
Select your router and select the gigabit ethernet 0/0 connection.
Now, go to your 1st switch and select Fast Ethernet 0/1.
Repeat these steps for the 2nd switch.
Now you should have both switches connected to the router by cable.
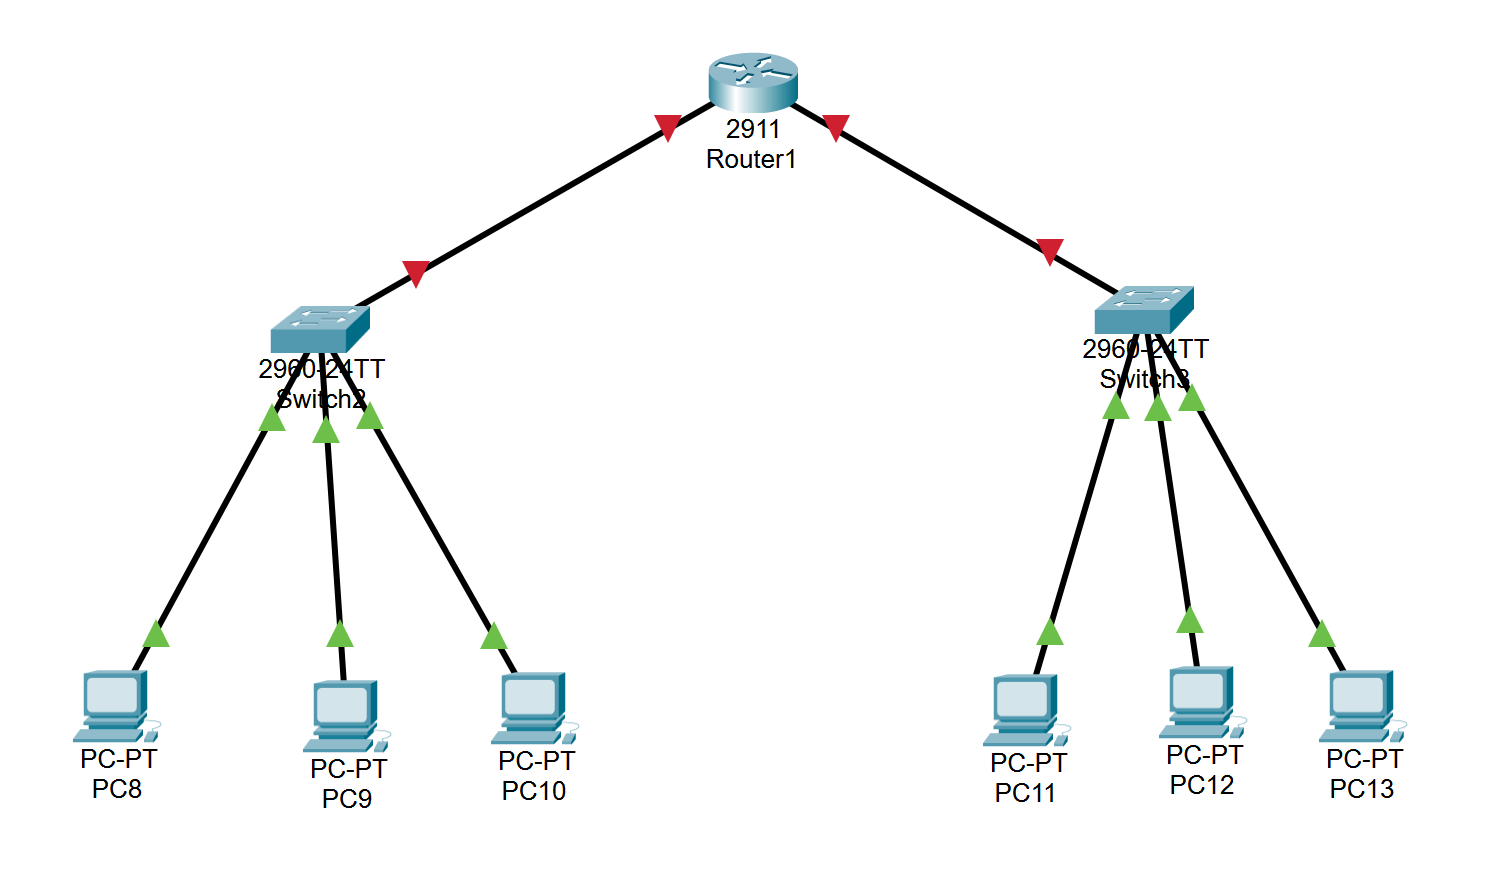
Now, go to the connections tab in bottom left corner and select automatically choose connection. This will automatically pick the cable needed. Now, connect your switches to your PC devices!
If we want to do it manually, we’ll use copper straight-through for this process but Cisco Packet Tracer automates a few things to make the process less tedious.

Now we have our network with a router, two switches, and 6 PC’s! Isn’t it just a beautiful sight?
The Fun Begins
Things may get a little complicated here so pay attention!
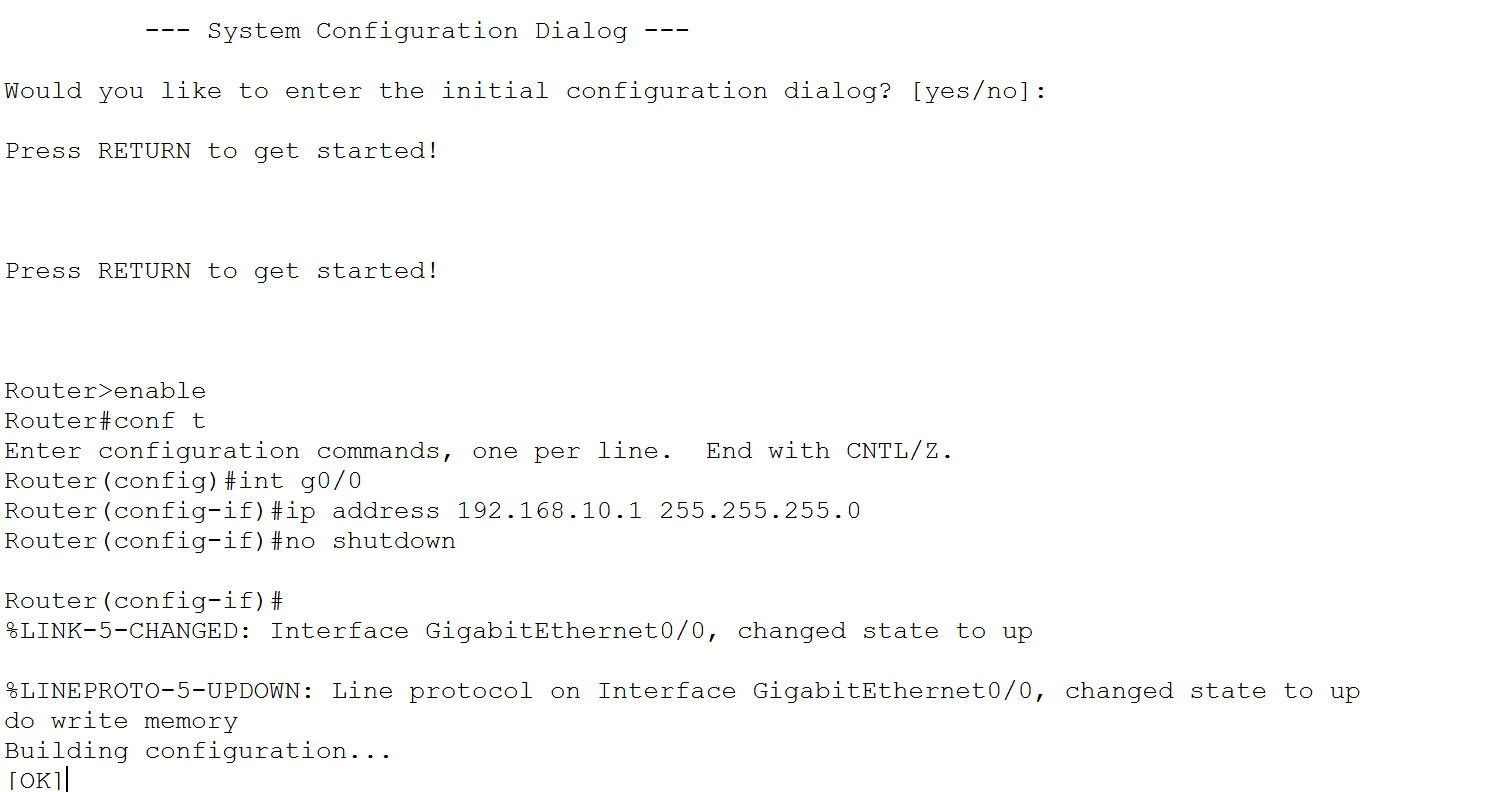
Head to the CLI tab in your router.
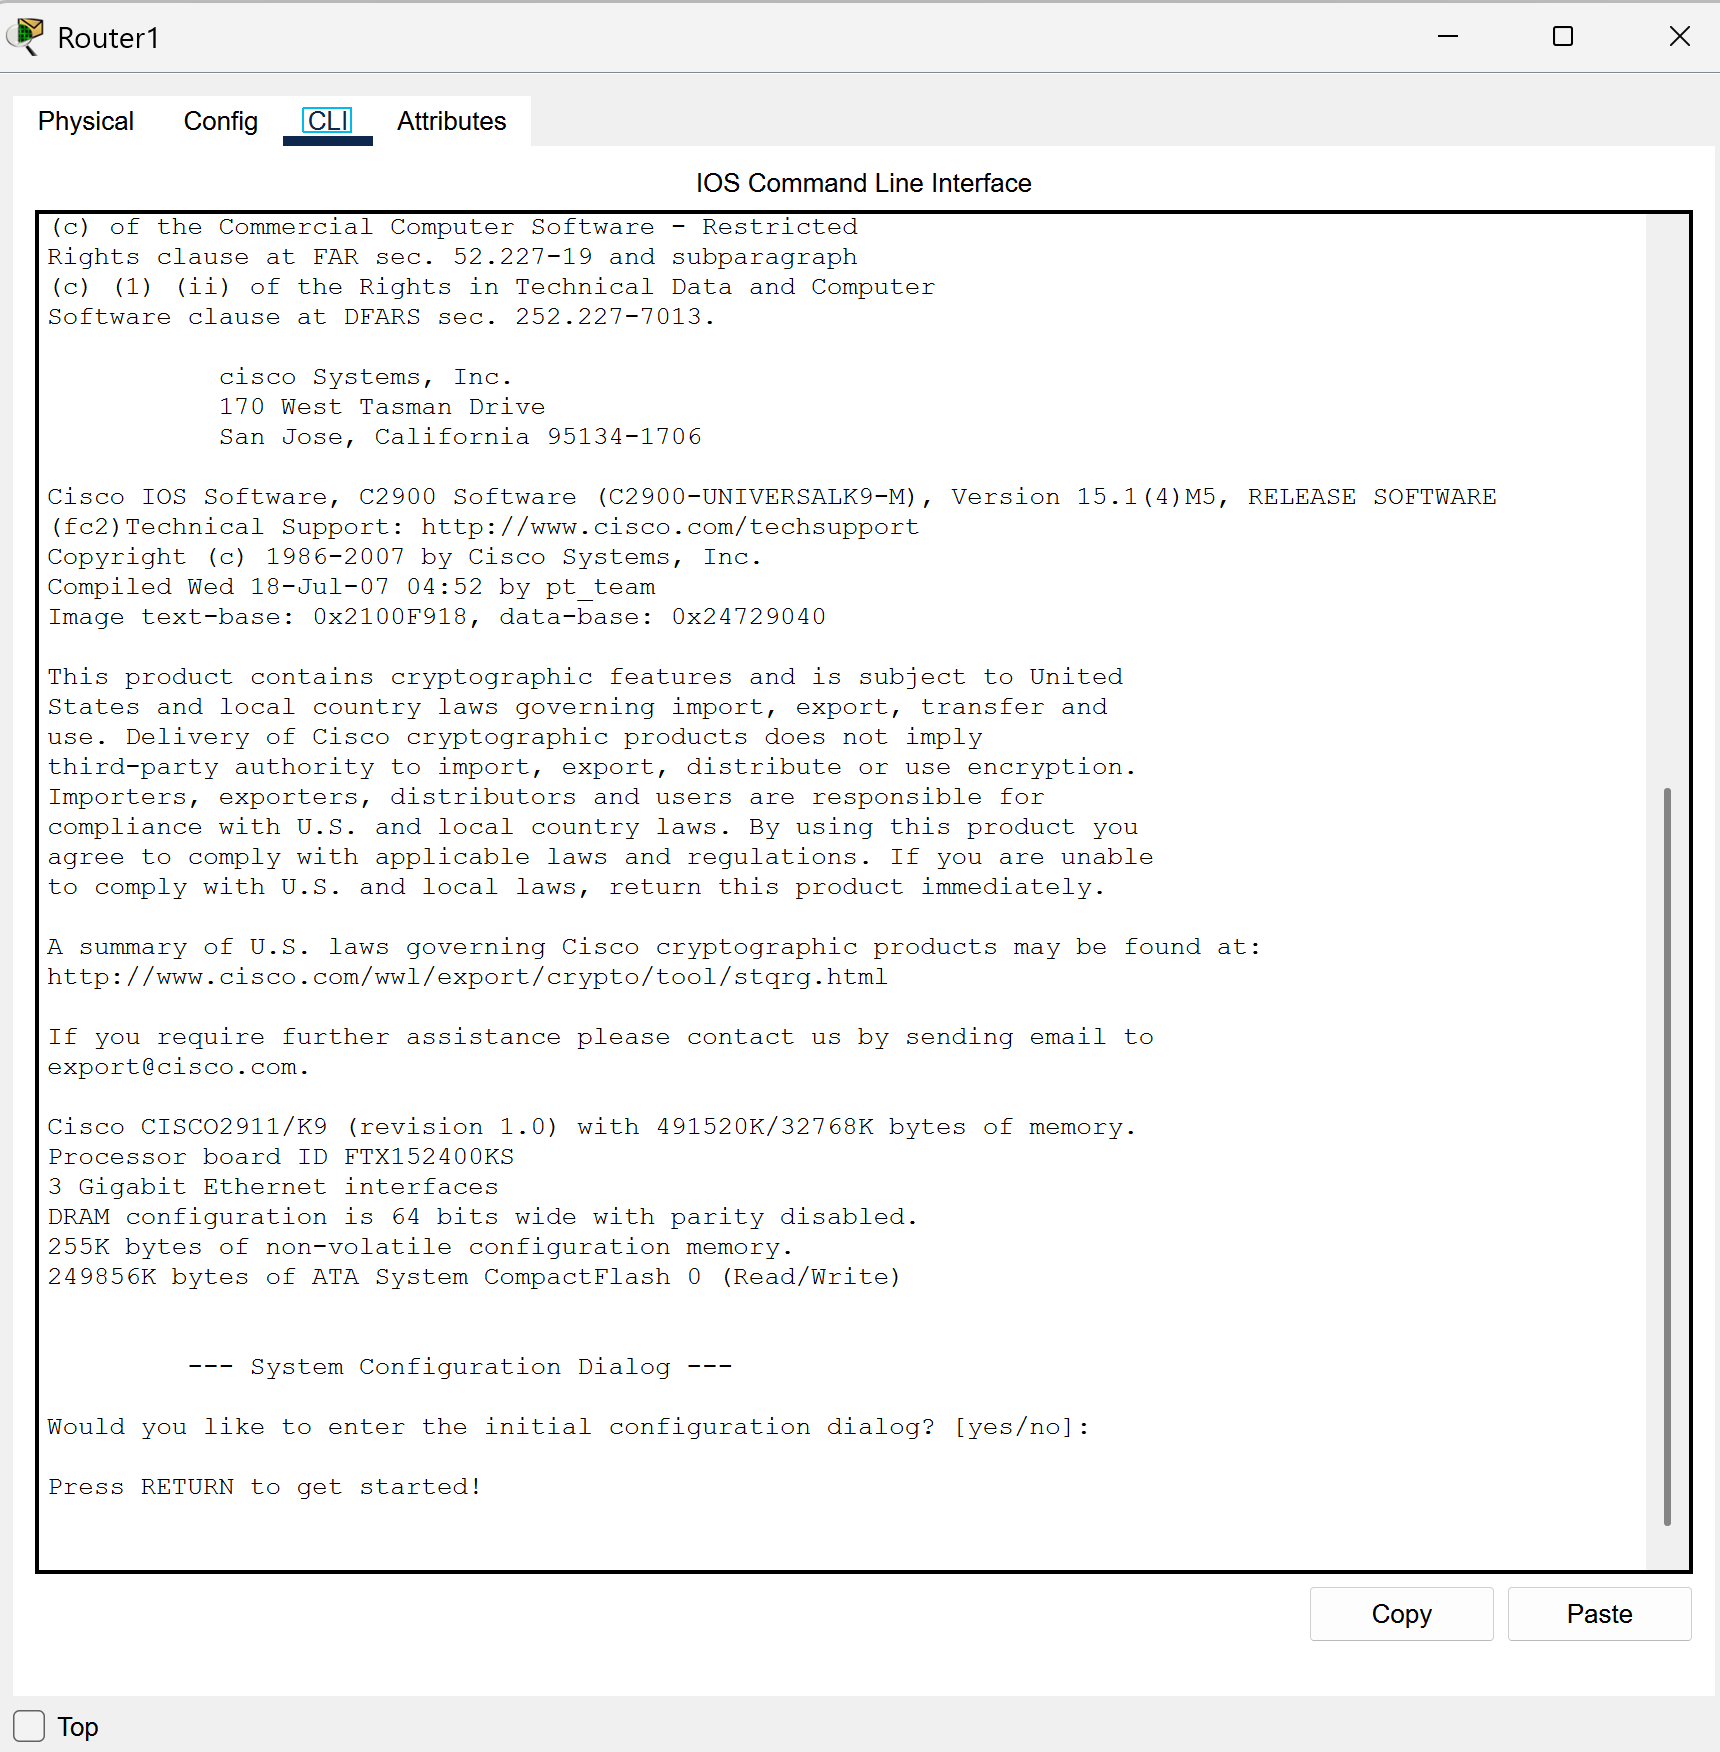
Copy down the information from the screenshot into your terminal. It may or may not vary based on the router that you chose. This will configure your router and start the process for setting up DHCP.
The First Switch
Now we’ll configure the first switch and enable DHCP. Copy the information from the screenshot into your own terminal.

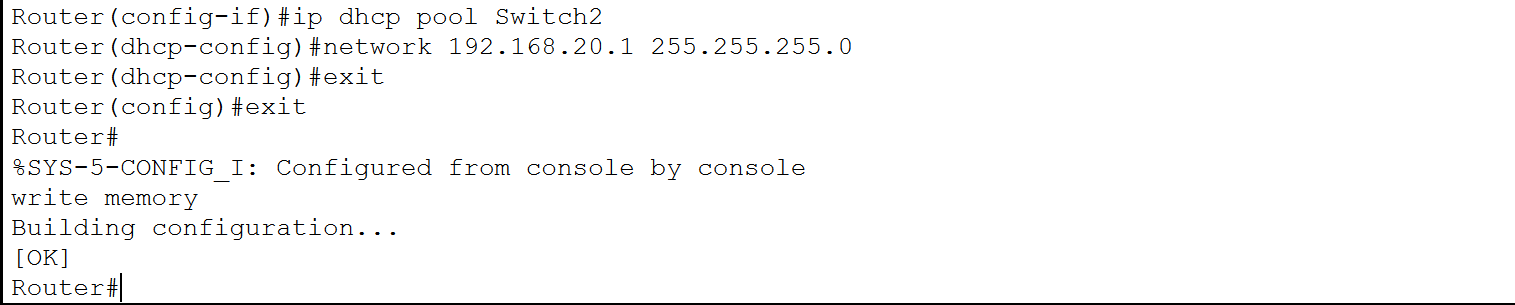
The Second Switch
Next, we’ll follow the same process but do it for the second switch. Copy the information from the screenshot and input it into your terminal.
The DNS Conundrum
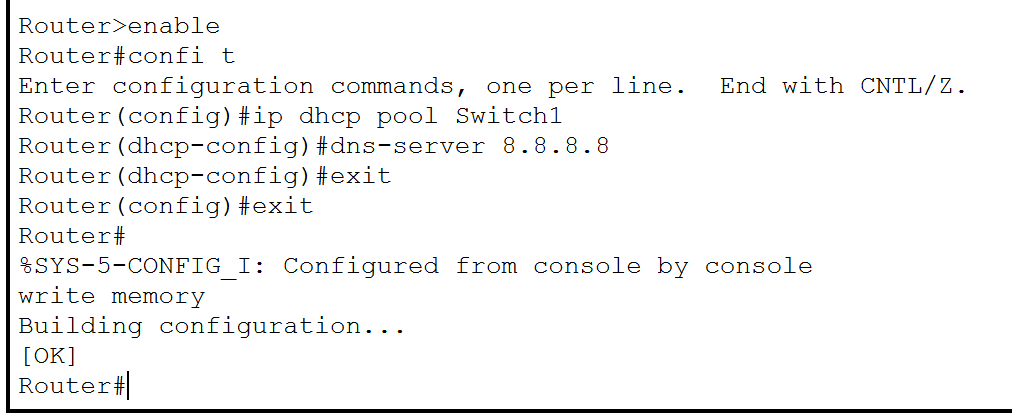
If you desire to change your DNS for your gateway on our switches, follow the next steps. I’m switching mine to 8.8.8.8 and it’ll show when we change our devices to DHCP.
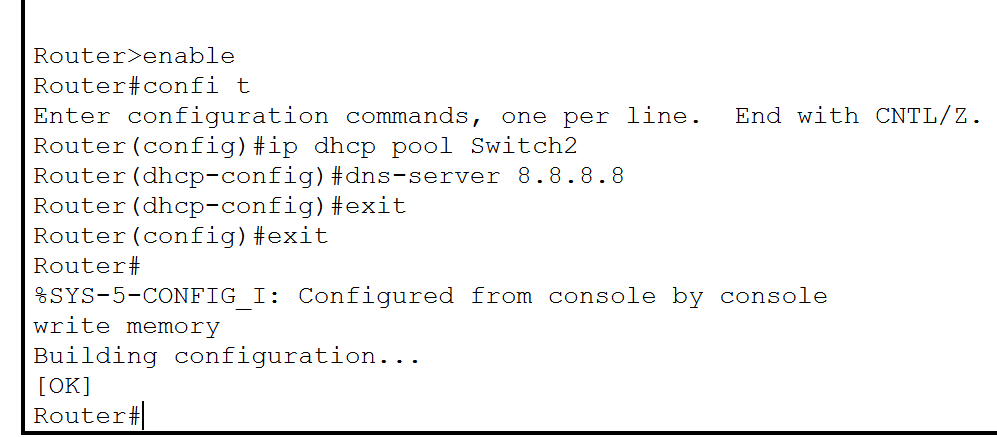
We’ll do it to the second switch as well.
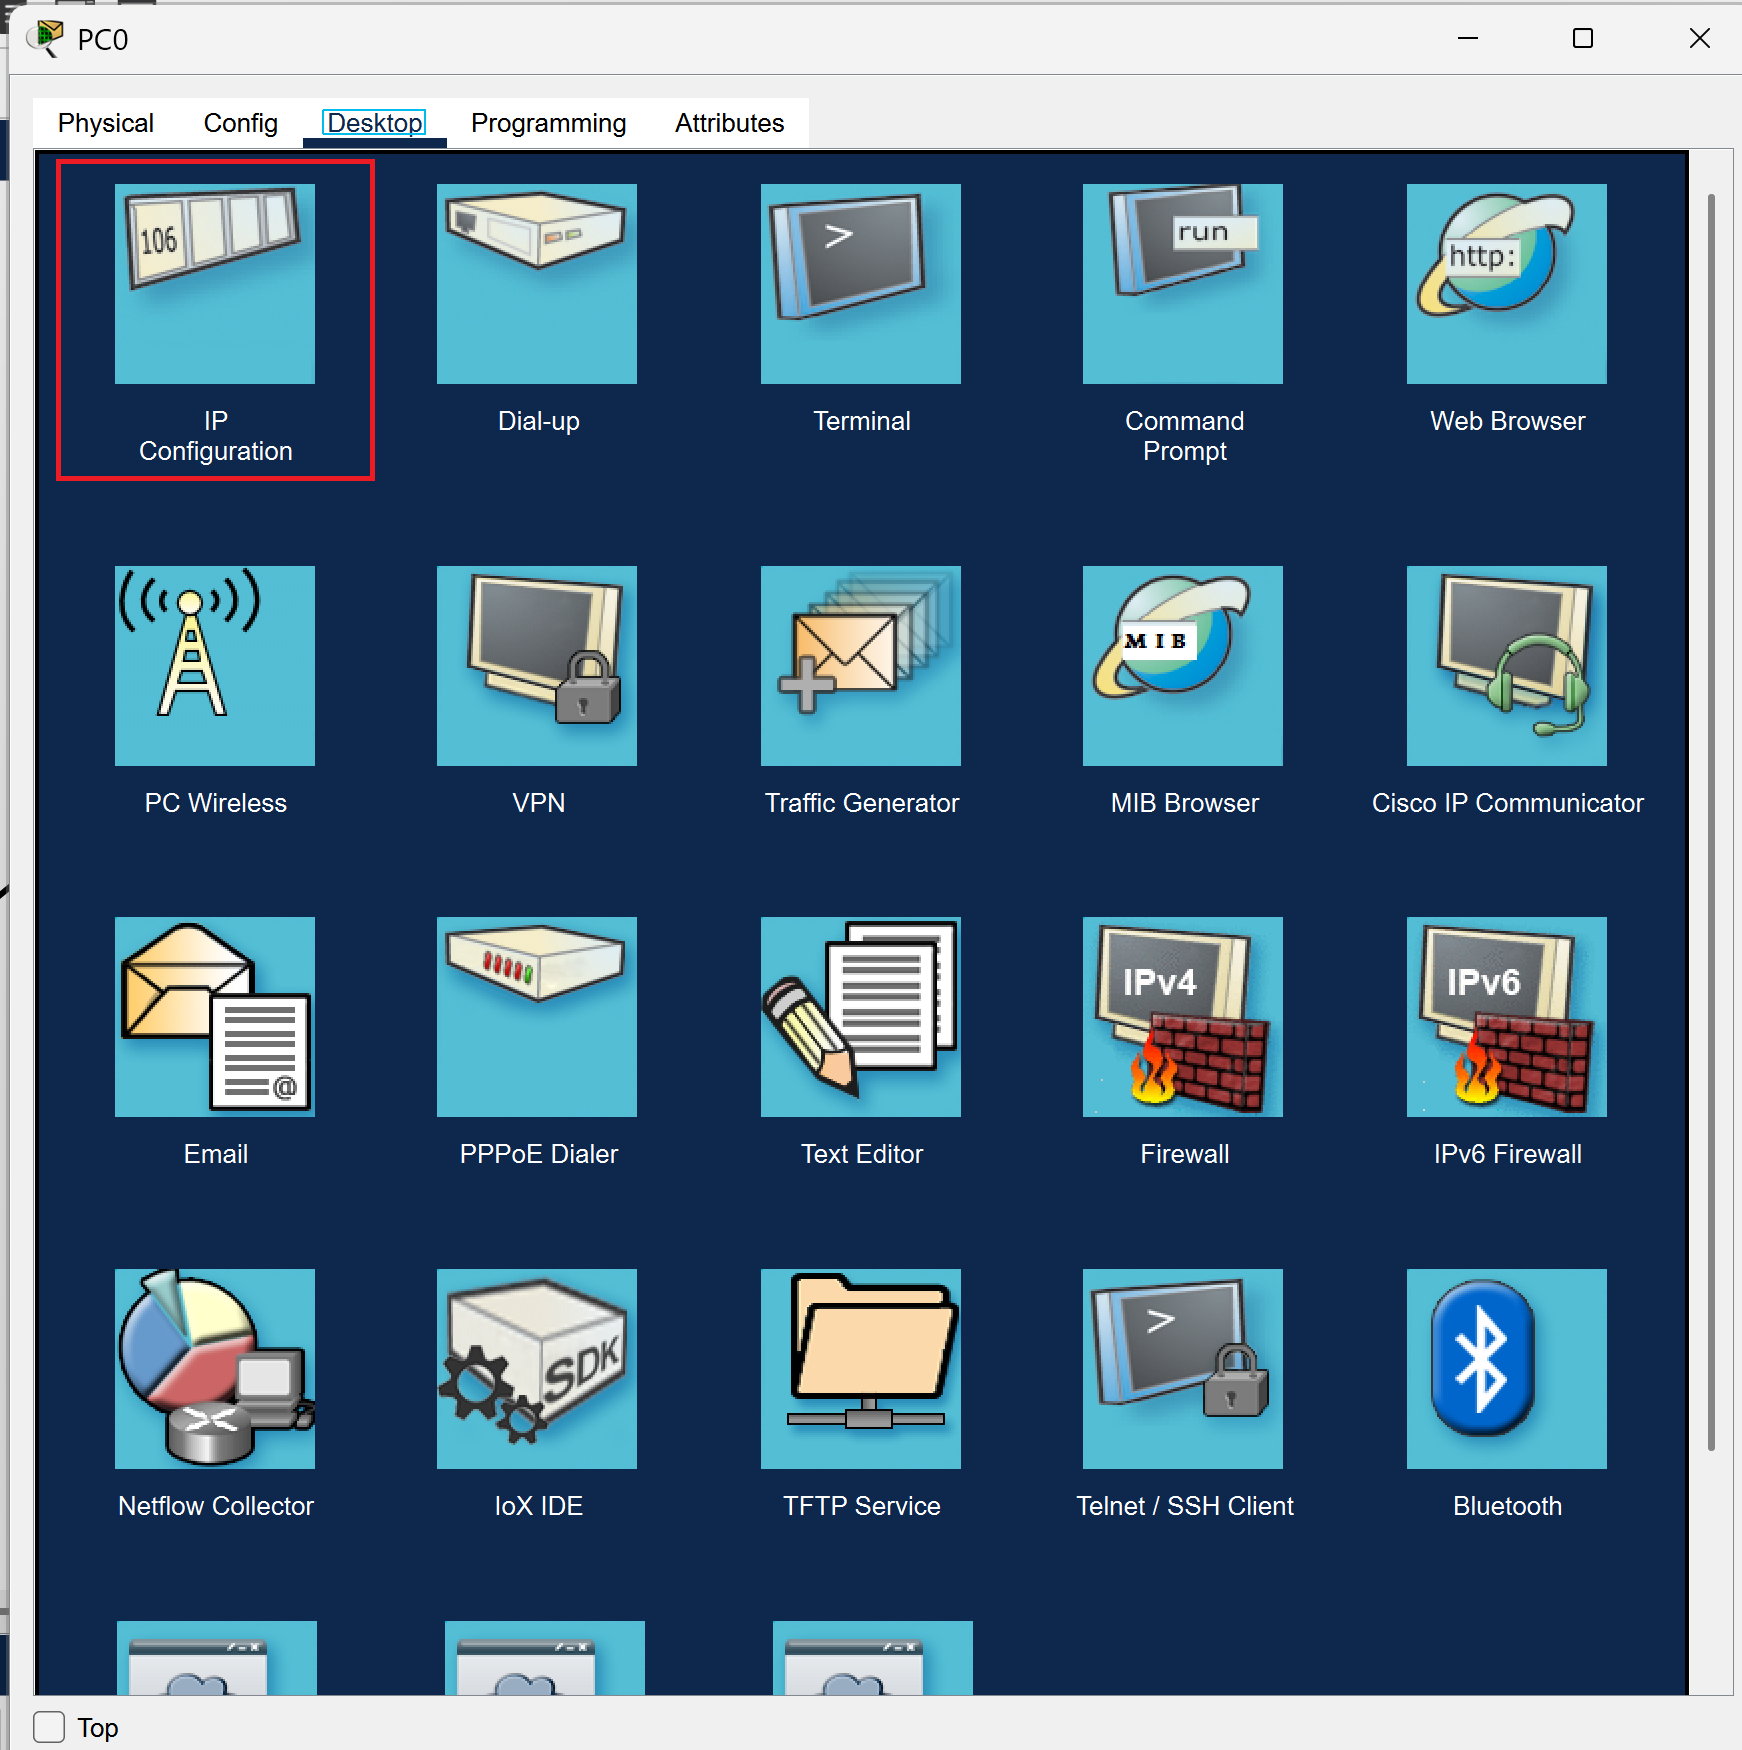
The Desktop
Now we’ll head to your first PC and head to the desktop tab. You’ll then select IP Configuration tab.
Select the DCHP tab and the information there should refresh after a few seconds.
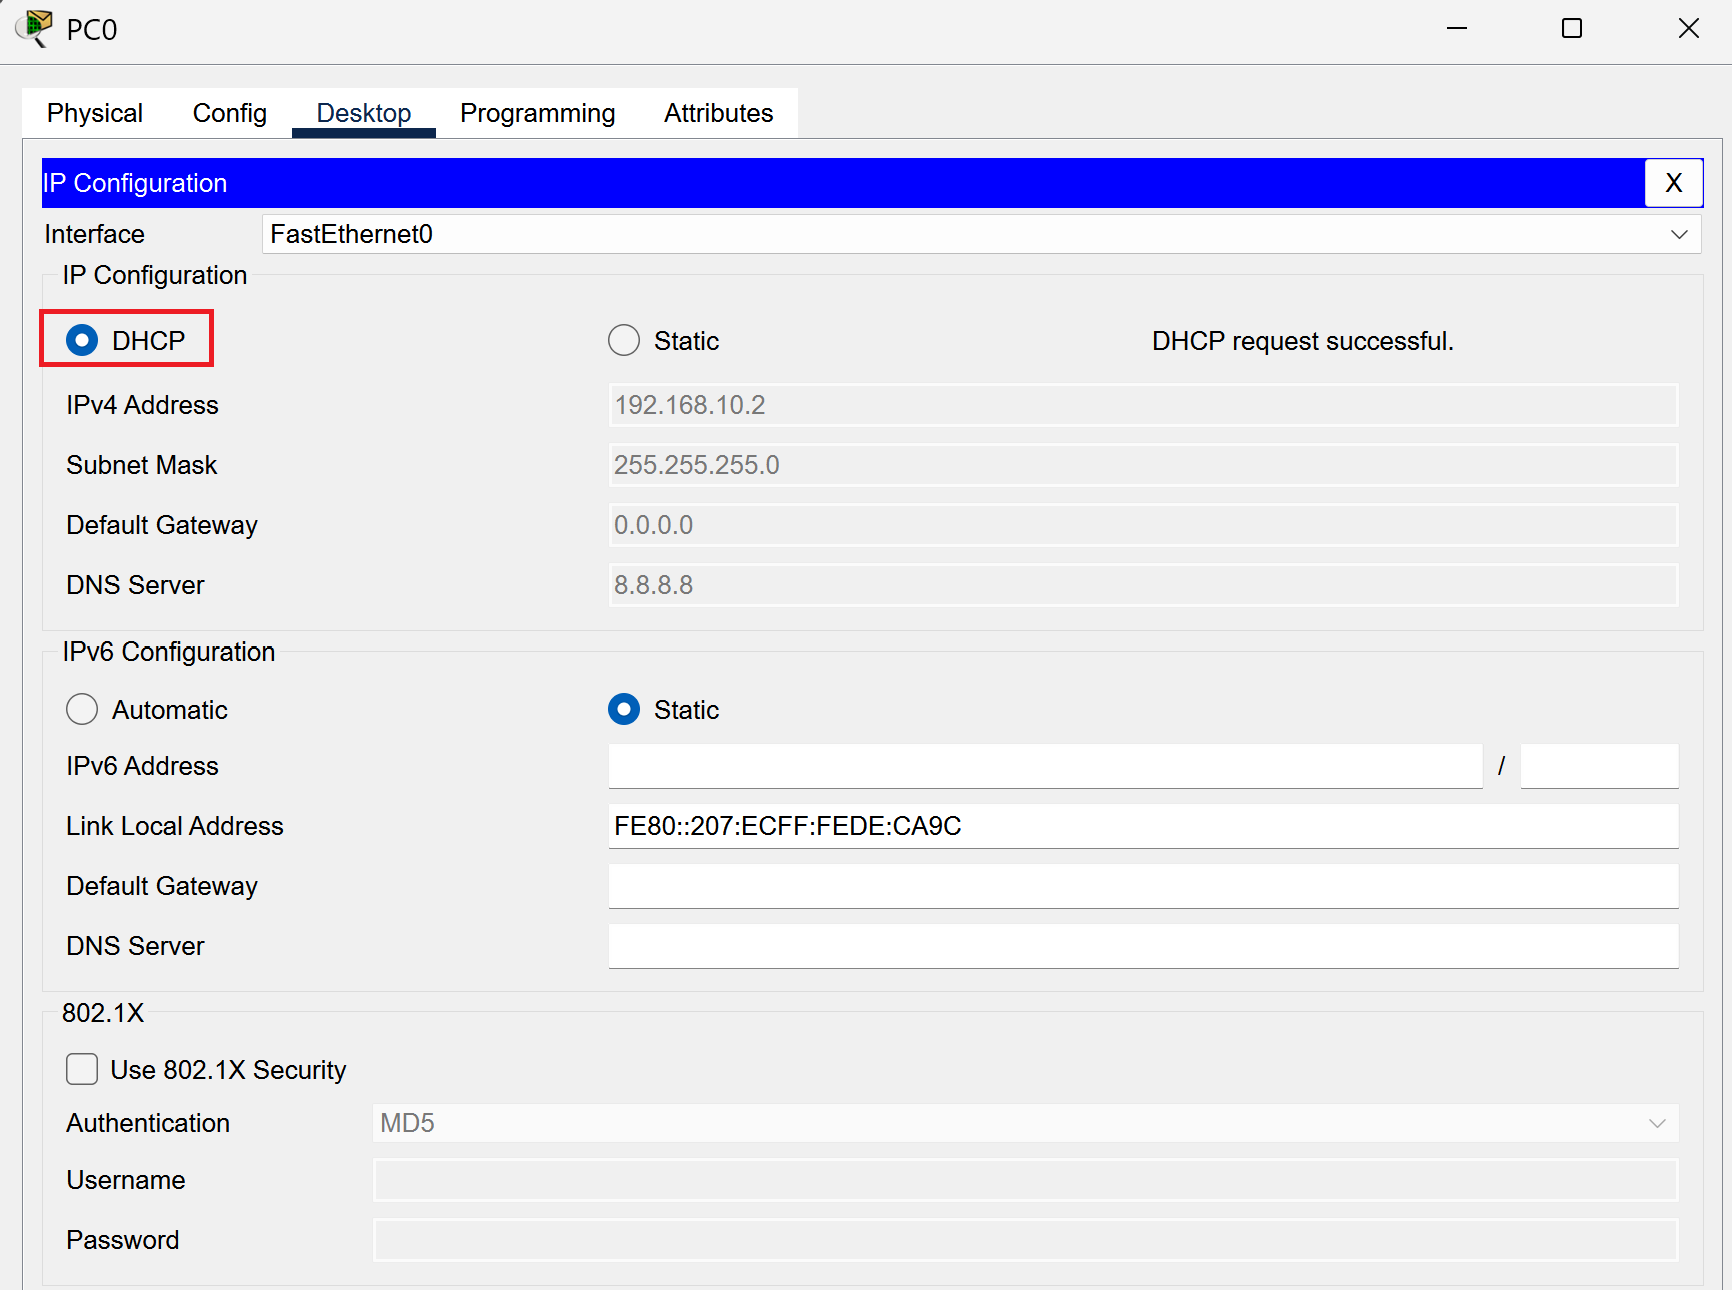
Repeat this process for the rest of your PC’s and you should she DHCP enabled on all of them!
It is Finished!
Congratulations! You have now set up and configured DHCP for your network! Devices that connect to your network will now have their IP automatically assigned! This process may vary if you have different hardware at home but the concept remains the same. Great job and thanks for sticking with me!