How to Set Up a Firewall
Ever wondered how to set up a firewall? Well, I’m going to show you today using Cisco Packet Tracer! What’s a firewall you say? No, a firewall isn’t a giant wall made out of fire but a security measure in a network that acts as a barrier. It monitors inbound and outbound traffic based on what rules are in place.
Why’s it needed? Well, think of your front door being unlocked and anyone can get in. A firewall is the equivalent of a lock and a security guard making sure that only those who are allowed are able to get in.
Anywho, let’s get started and get this basic firewall up and running!

The Basic Layout
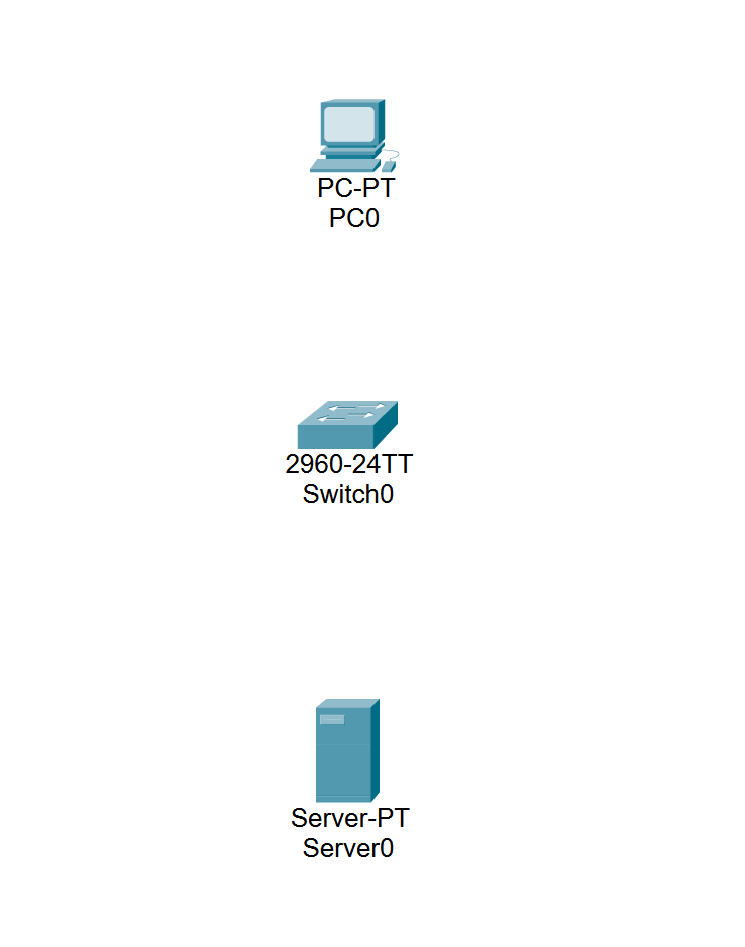
We’re going to get started in Cisco Packet Tracer and we’re going to place 1 PC, 1 server, and 1 switch.
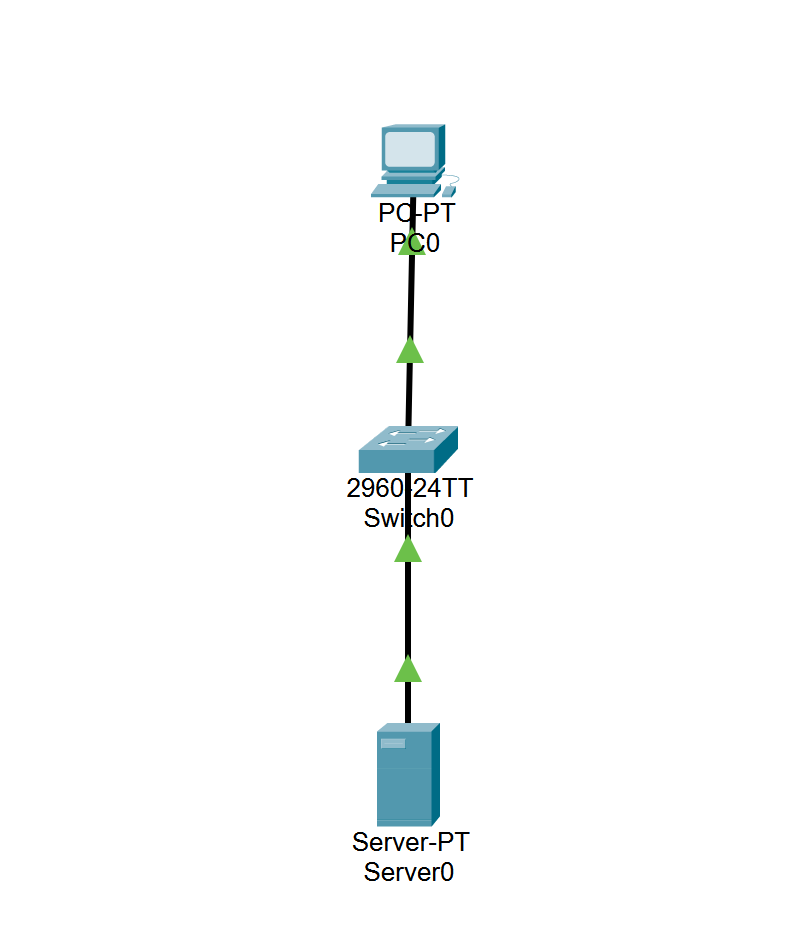
Next, we’re going to connect our devices together. Head to the connections tab and select automatically choose connection type.
![Screenshot 2]/(assets/img/Screenshot 2 - Configure a Firewall.png)
We’re then going to connect the server to the switch, and the switch to the PC.
Time to Configure
We’re then going to input IP addresses into our devices so they can communicate with one another.
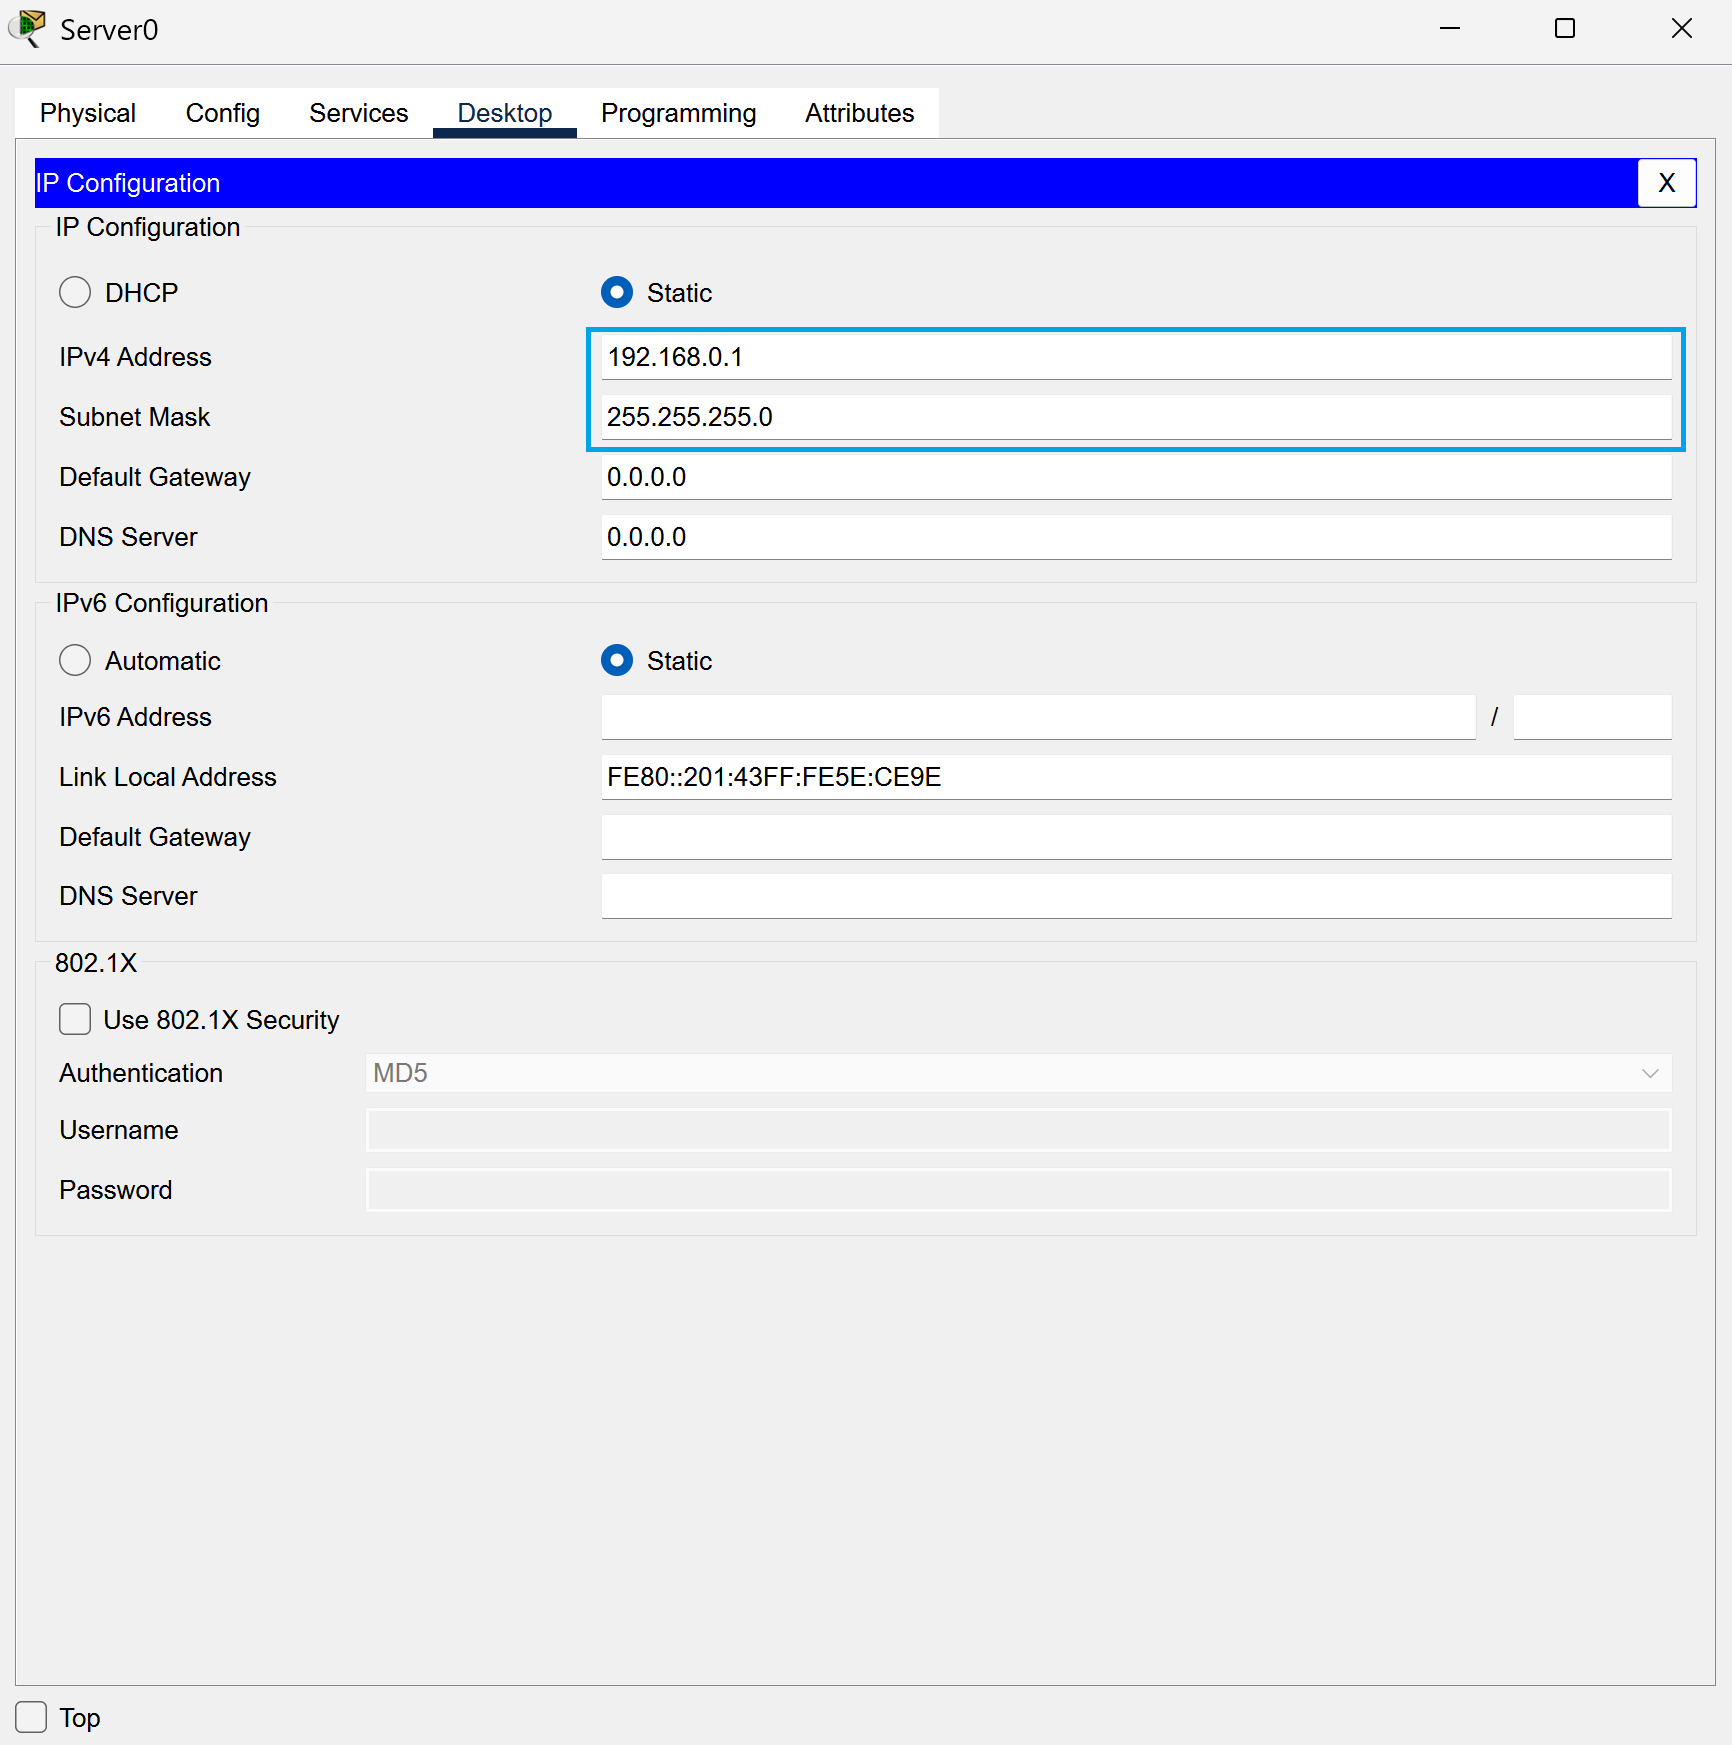
First, head into your server and then go to desktop, and then IP configuration.
Input 192.168.0.1 into the Ipv4 tab and 255.255.255.0 into the subnet mask tab.
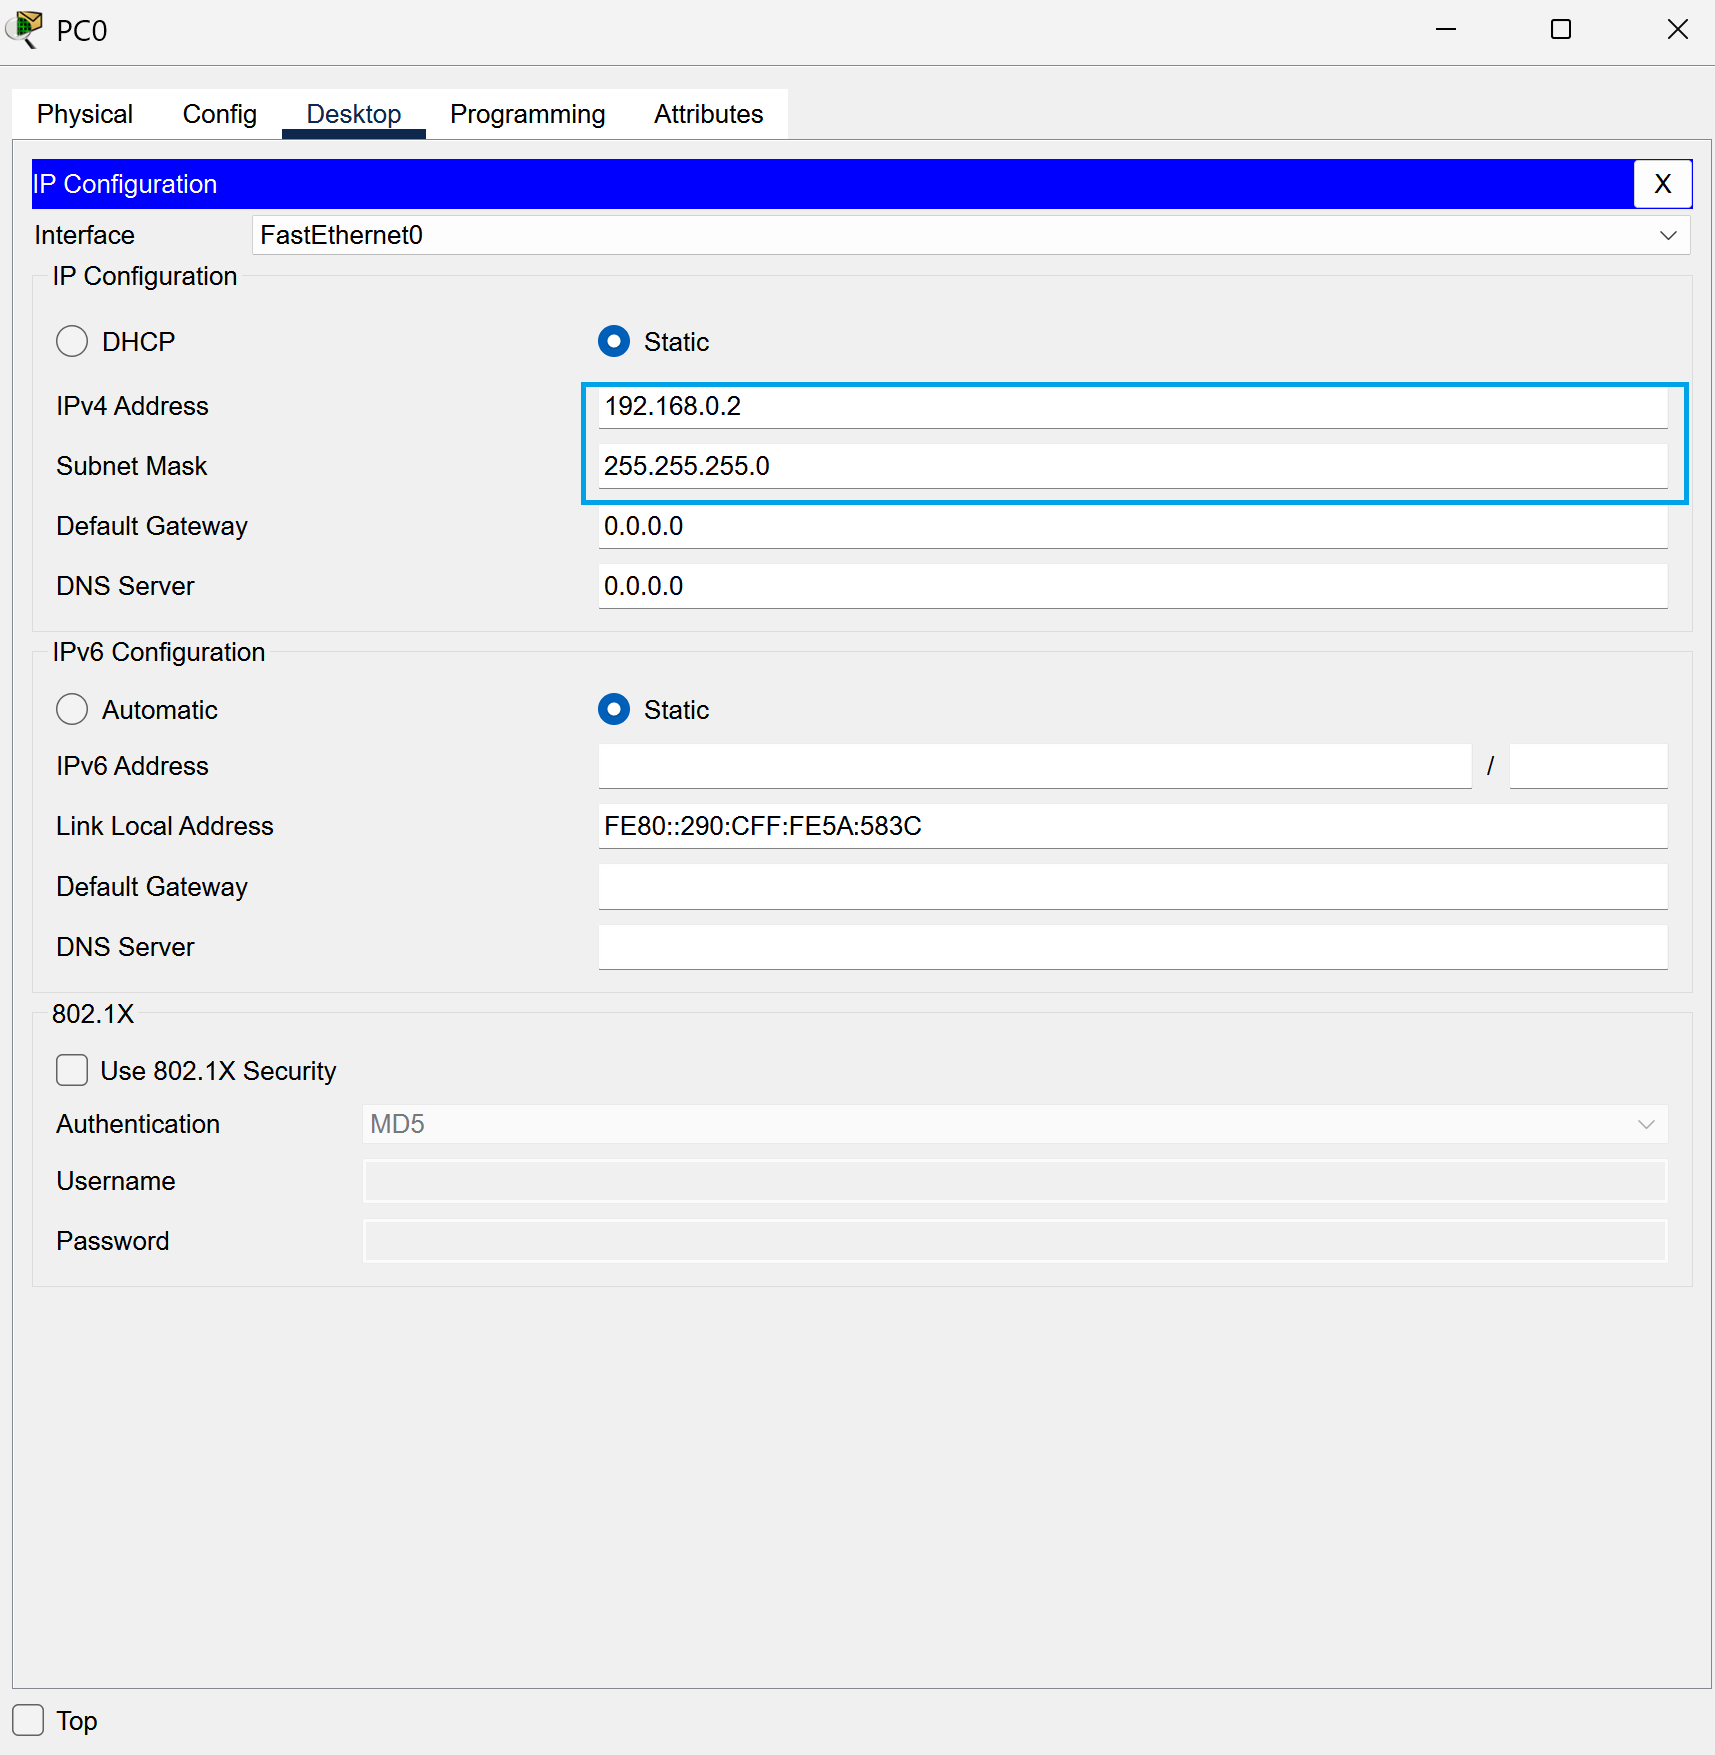
Now, head into your PC, desktop, and then the IP configuration tab.
Input 192.168.0.2 into the Ipv4 tab and 255.255.255.0 into the subnet mask tab.
Time to Test
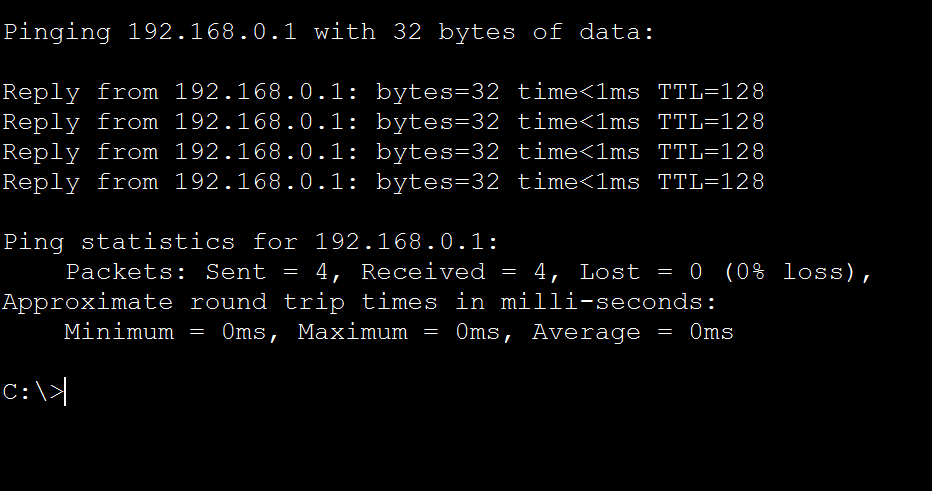
Now we’re going to ping one of our IP addresses to see if they’re up and accessable. This is before we set up our firewall. Head into your PC, select the command prompt, and type ping 192.168.0.1. This will ping the IP address and show that it’s reachable and list a few statistics with it.
Let there be fire!
Now we’re going to configure our firewall! Aren’t you excited? I am!
Head to your server and go to desktop, firewall, and you shall see a whole list of options.
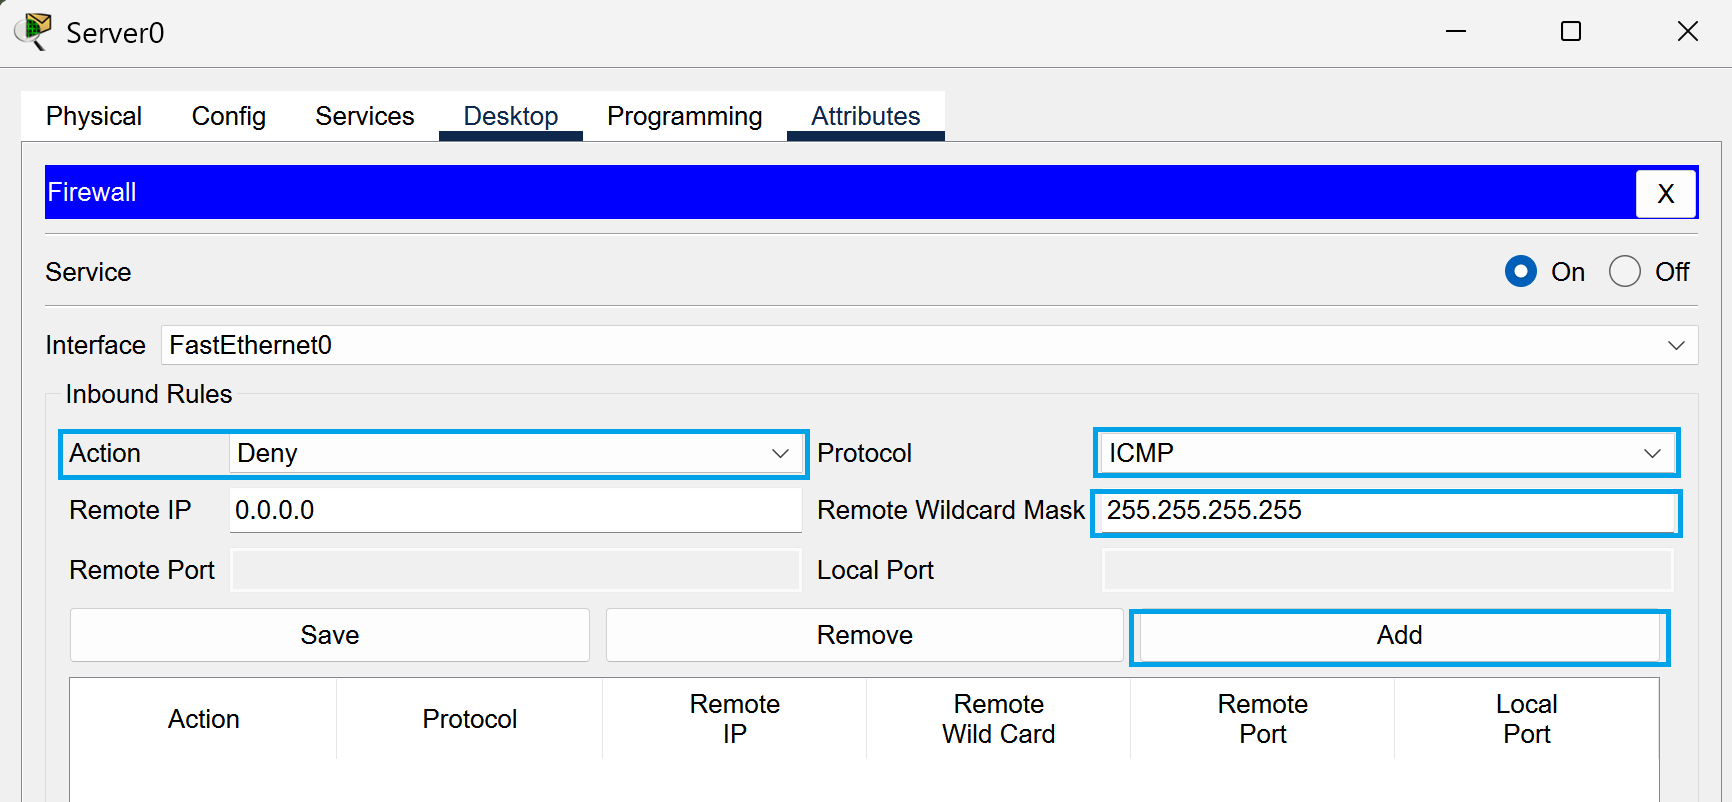
For the first action, we’re going to turn on the firewall. Select the On option in the service box.
Next select deny, pick ICMP into the protocol. For the remote wildcard mask enter in 255.255.255.255. Once that’s all done, select add.
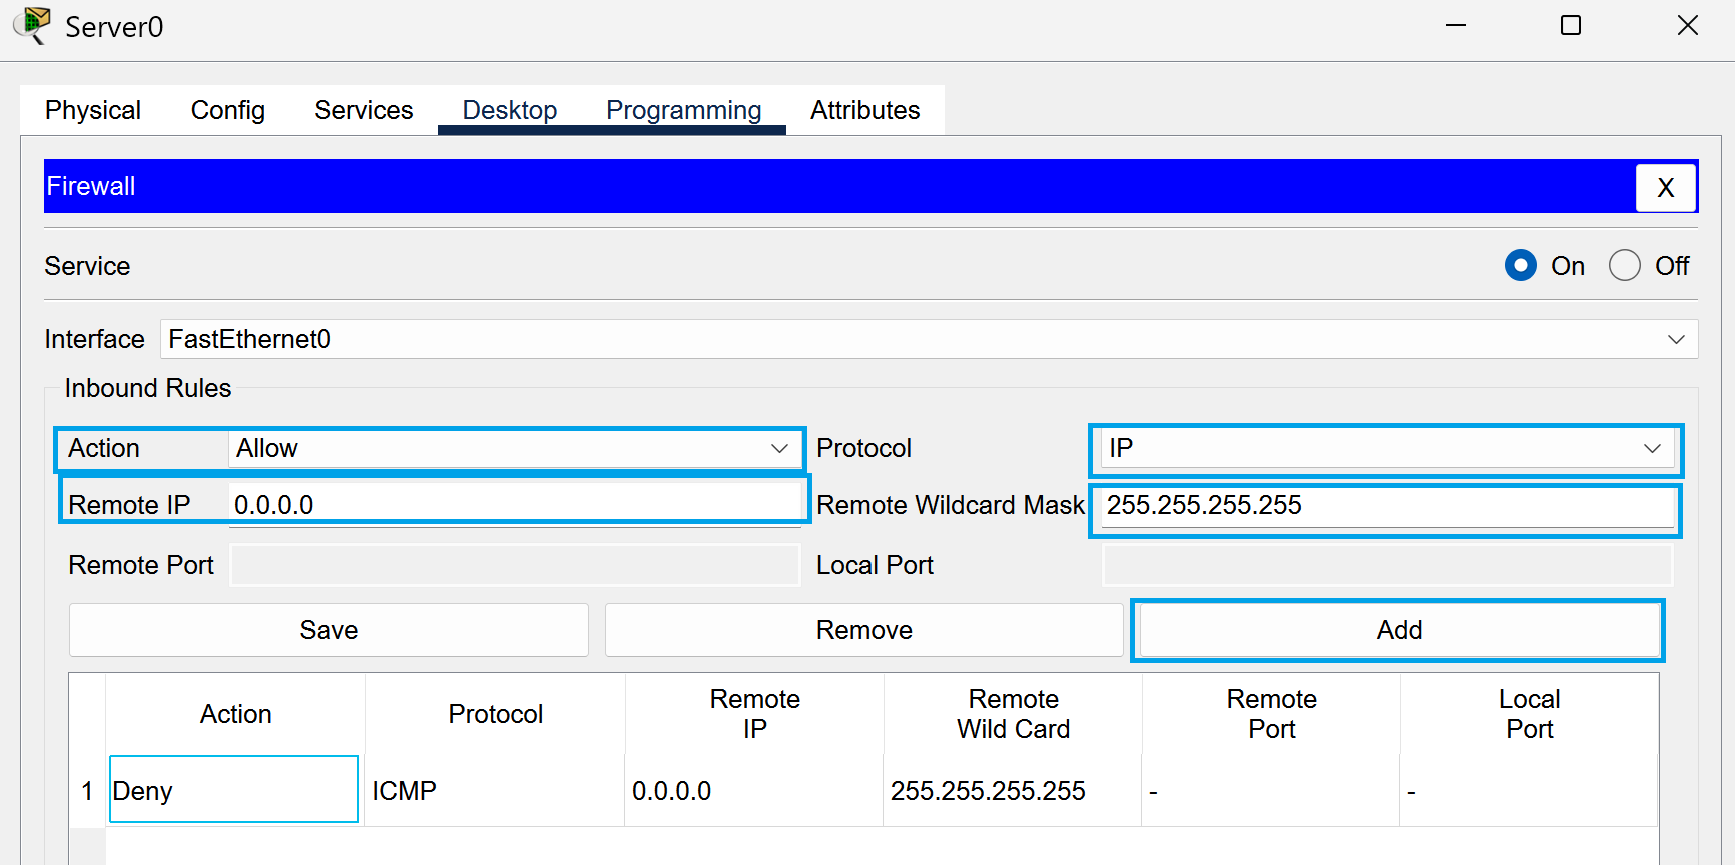
Next we’re going to create an allow rule.
Select allow, pick IP into the protocol. For the IP enter in 0.0.0.0. For the remote wildcard mask enter in 255.255.255.255. Once that’s all done, select add.
More Testing!
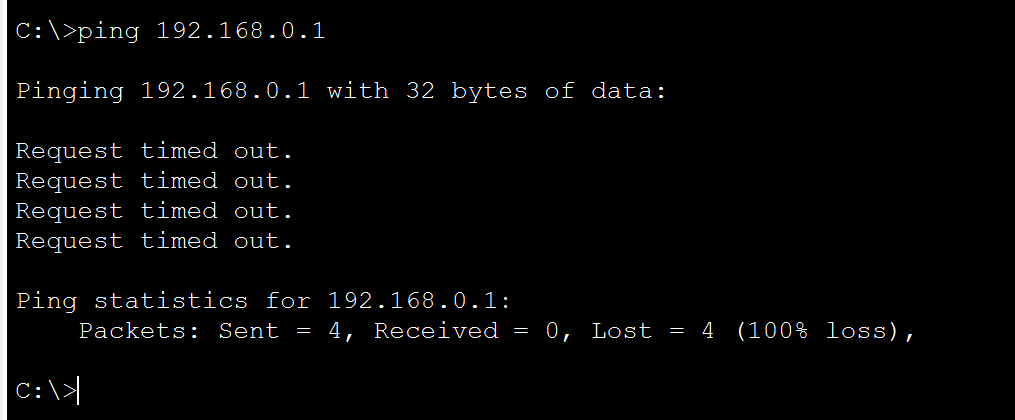
Now we’re going to see if the previous IP is able to be reached. Head to your PC, head into desktop, and then command prompt.
Type ping 192.168.0.1 and we’ll see that it’s timing out! This shows that our firewall is now active, woohoo!
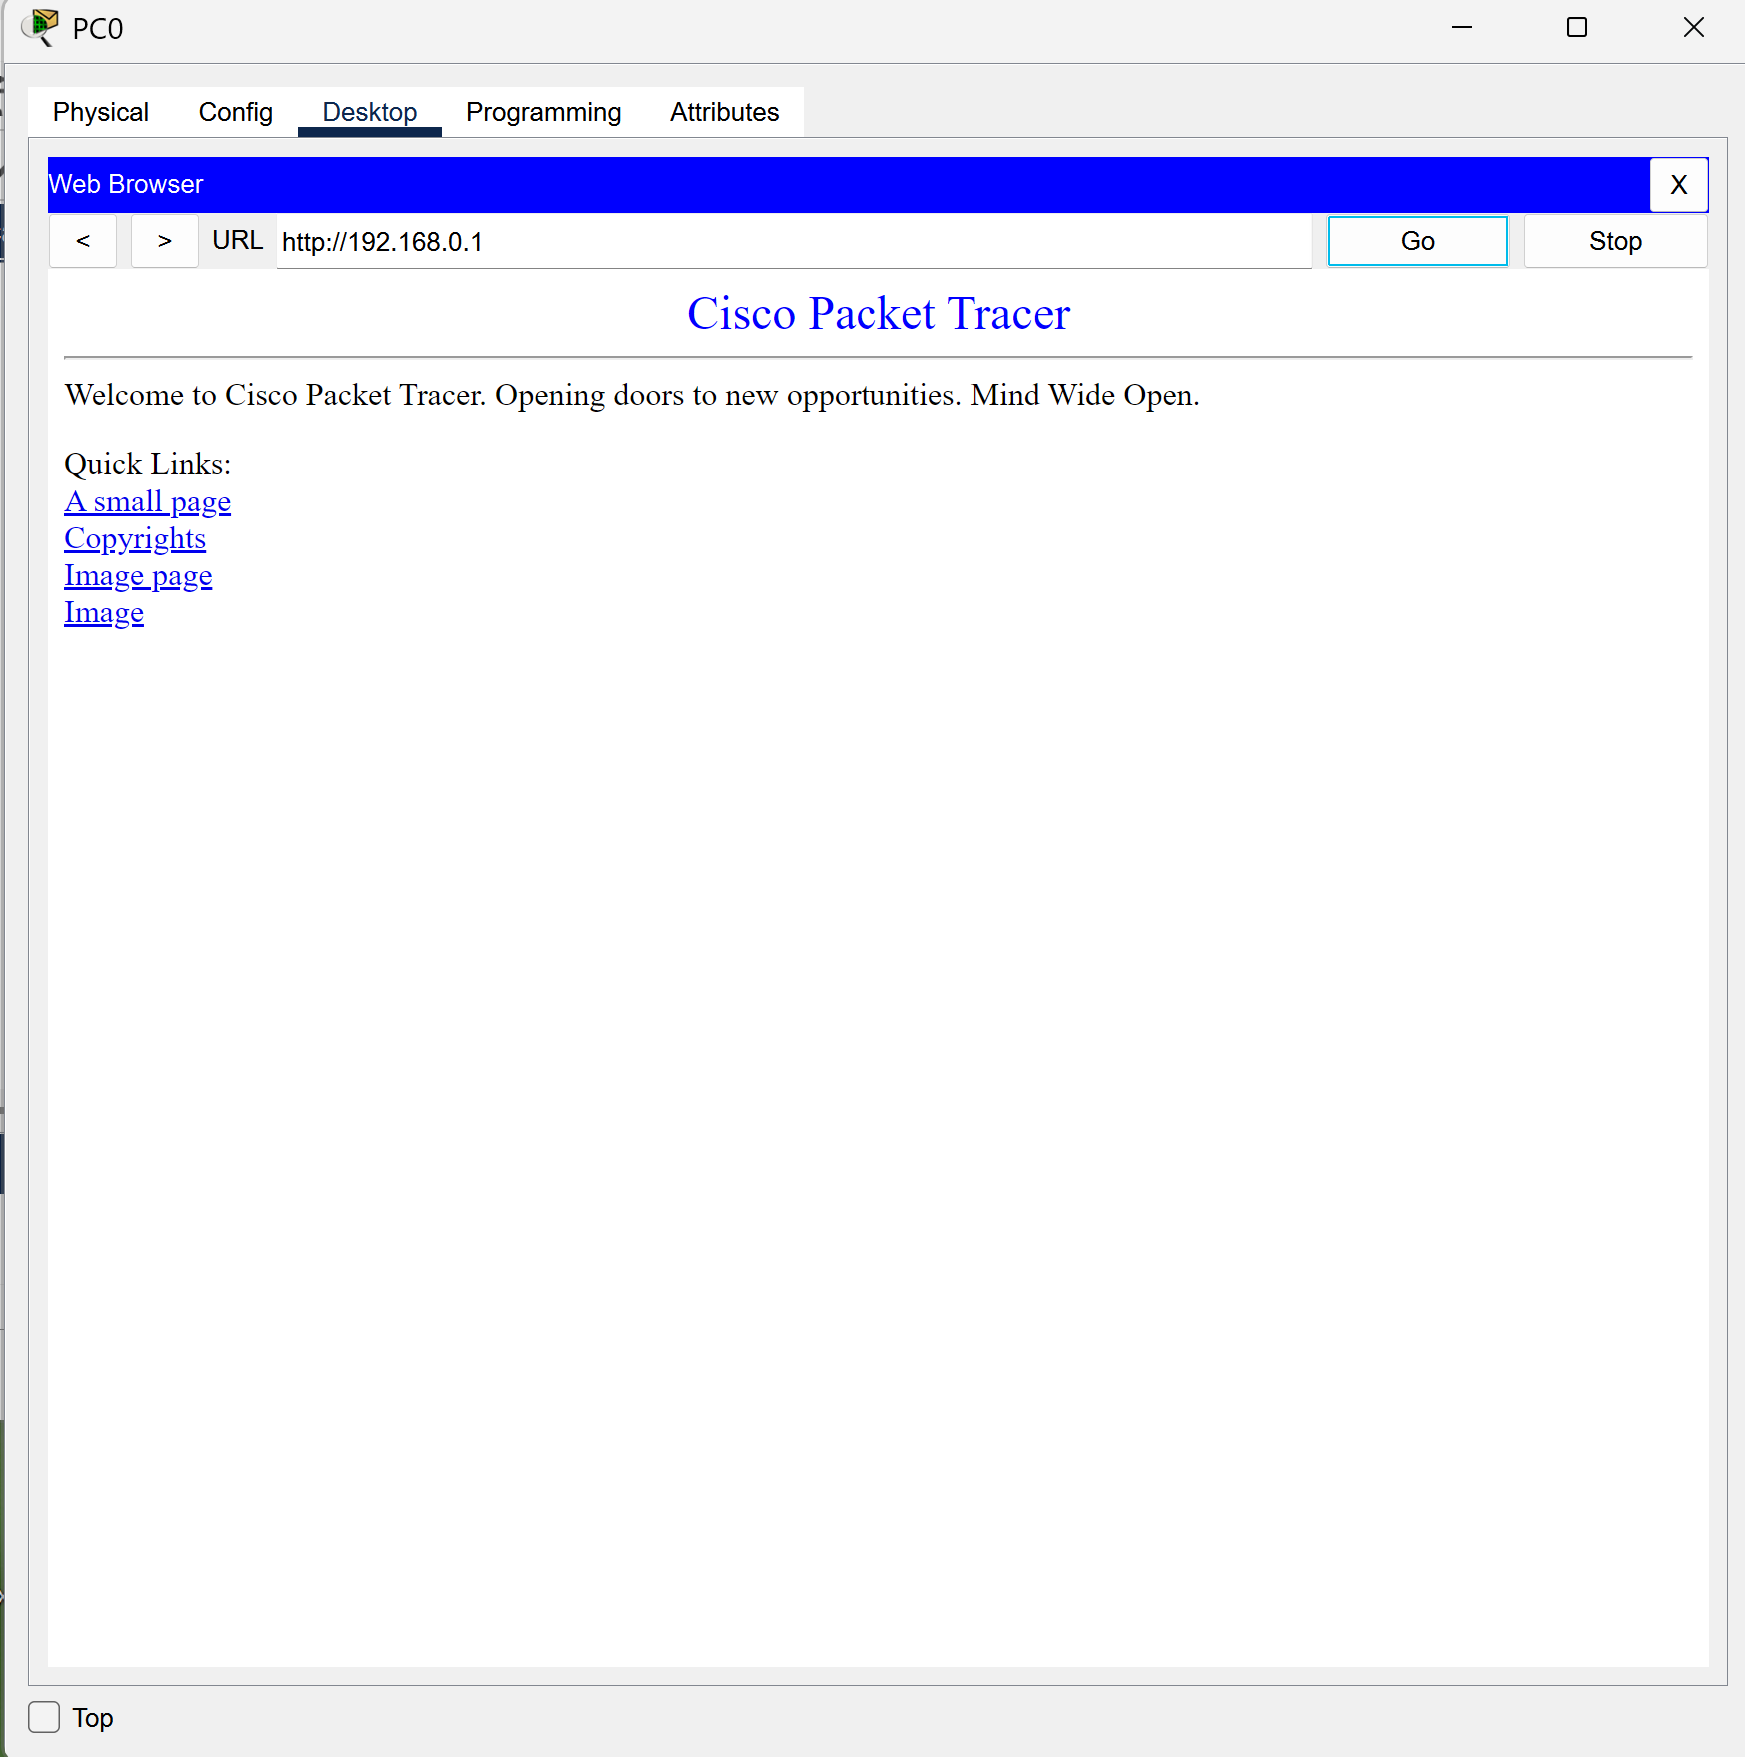
Next, head to the desktop top on your PC and open up the browser. We’re going to see if we can reach the IP. Type 192.168.0.1 into the address bar!
It works! Wow! Our firewall rules are now active and our firewall is too! Great job!
It Is Finished!
You have now set up and configured a basic firewall set up! Congratulations! We were using Cisco Packet Tracer but this can apply to your own devices at home as well. We only implemented two rules but with a real firewall at home or in a corporate building it can get a LOT more complicated. Nonetheless, awesome job and keep exploring with your firewall to see what else you can do. Please do be careful though as you’re literally playing with fire.